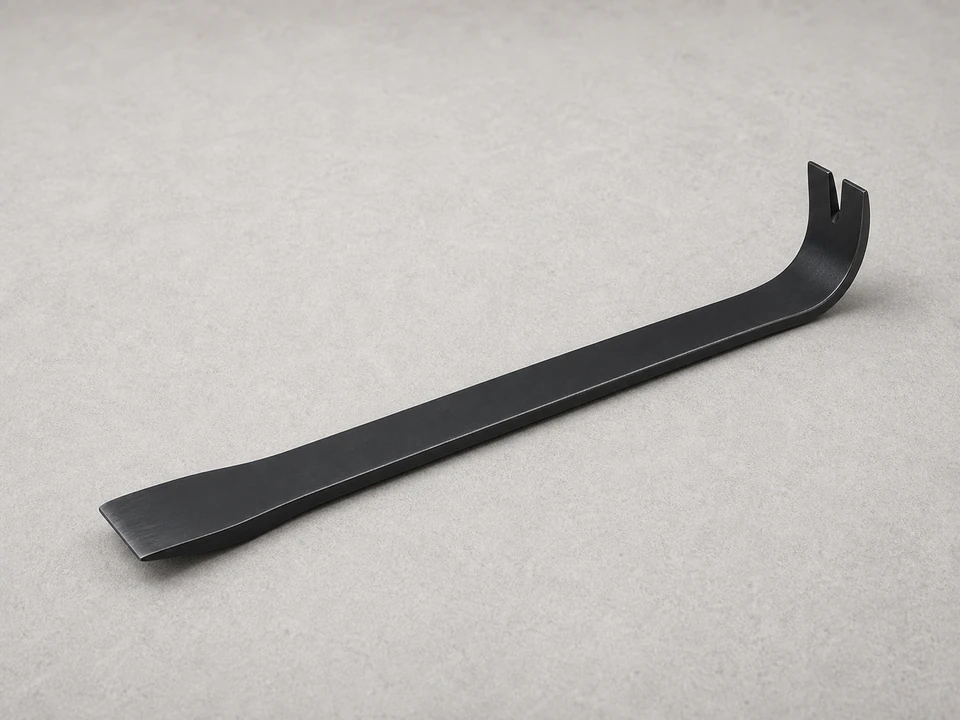
Flat pry bar
Use it for: To loosen the old trim board without tearing up the wall or window frame more than necessary.
Shop flat pry barsTo replace a window exterior trim board, remove the damaged board carefully, inspect the area behind it for rot or water damage, cut a matching replacement, fasten it securely, then caulk, prime, and paint the repair.
This is a good DIY repair when one trim board is split, soft, swollen, or pulling away but the window itself is still solid. The goal is not just to swap wood—it is to stop water from getting back in.
Before you start: Match the replacement board’s material, thickness, width, and profile to the existing trim so it fits the window opening and sheds water the same way.
Use it for: To loosen the old trim board without tearing up the wall or window frame more than necessary.
Shop flat pry bars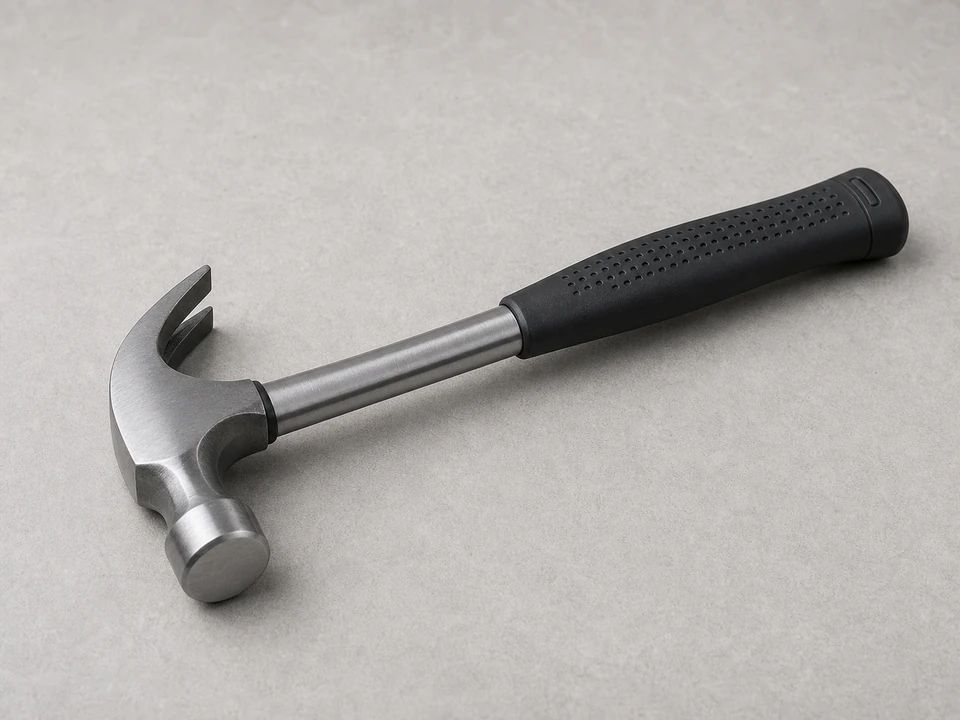
Use it for: To pull nails, tap the pry bar, and set the new board in place.
Shop hammers
Use it for: To measure the old board and confirm the replacement size before cutting.
Shop tape measures
Use it for: To cut the replacement board to length and match any angled ends.
Shop saws for trim cutting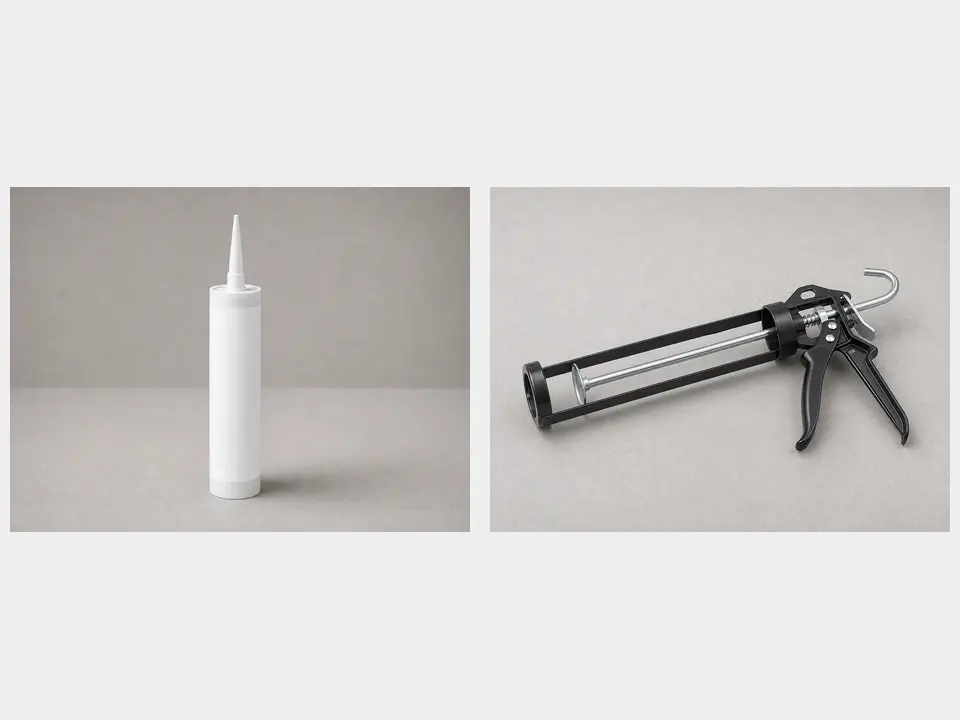
Use it for: To seal the trim edges so water cannot get behind the new board.
Shop exterior caulk and guns
Use it for: To fasten the new board securely without splitting it.
Shop drills and trim nailers
Use it for: To protect the new trim board from moisture and sun exposure.
Shop exterior primer and paintAs an Amazon Associate I earn from qualifying purchases. Repair Riot may earn a commission at no extra cost to you.
If it works: You have confirmed the exterior trim board is damaged and the surrounding window assembly appears mostly sound.
If it doesn’t: If the board is solid and the issue is only peeling paint or a failed caulk joint, clean, recaulk, and repaint instead of replacing the board.
If it works: The damaged trim board is off, and the opening is exposed enough to inspect and measure.
If it doesn’t: If the board will not release, cut through stubborn fasteners carefully and keep prying pressure close to the fastener locations to avoid damaging nearby trim.
If it works: The area behind the trim is clean and sound, and you have accurate measurements for the new board.
If it doesn’t: If you cannot match the exact profile, use the closest practical trim board size that still fits cleanly and does not interfere with the window or siding.
If it works: The new trim board fits the opening cleanly and is ready to install.
If it doesn’t: If the board rocks, binds, or leaves uneven gaps, recut or plane the piece until it sits flat and lines up with the surrounding trim.
If it works: The new trim board is secure, aligned, and sealed against water entry at the edges.
If it doesn’t: If the board shifts while fastening, remove the last fastener, reset the board flush, and refasten before the caulk skins over.
If it works: The trim board stays solid, the joints remain sealed, and no new water shows up around the window in normal use.
If it doesn’t: If water still gets in, the leak may be coming from flashing, siding, the window frame, or a higher wall joint rather than the trim board alone.
Match the replacement board’s material, thickness, width, and profile to the existing trim so it fits the window opening and sheds water the same way.
As an Amazon Associate I earn from qualifying purchases. Repair Riot may earn a commission at no extra cost to you.
Yes, if the damage is limited to one board and the surrounding trim, wall, and window frame are still solid. If rot extends behind the trim, the repair may need to go deeper first.
Use an exterior-rated trim material that matches the existing board as closely as possible in size and profile. The important part is that it fits properly, holds paint well, and stands up to weather.
Caulk the joints that were originally sealed, especially where the trim meets the wall and window casing. Do not seal over any intentional drainage path that lets water escape from the window assembly.
Priming before installation is a good idea, especially on cut ends and bare wood. Final paint usually goes on after the board is fastened and caulked so the whole repair is protected.
Replacing the board alone will not solve the problem if water is getting in from failed flashing, siding joints, or the window frame. If the new board gets wet again quickly, the leak source needs to be found and fixed.