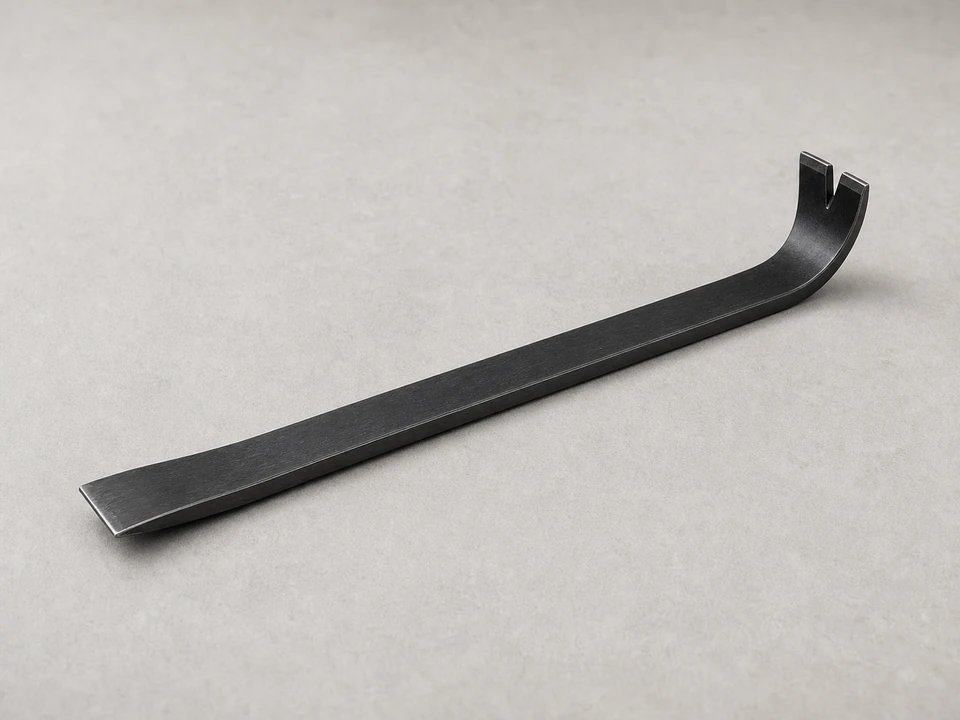
Pry bar
Use it for: To lift the old trim board without breaking surrounding trim or drywall.
Shop pry barsTo replace a window casing trim board, first confirm the trim itself is damaged and not the wall or window frame, then remove the old board, cut a matching replacement, fasten it in place, and seal the joints so water cannot get back in.
This is a manageable repair if the damage is limited to the trim board. Work slowly around the window so you do not tear drywall, crack glass, or miss hidden rot behind the casing.
Before you start: Match the replacement part to your exact window before ordering.
Use it for: To lift the old trim board without breaking surrounding trim or drywall.
Shop pry bars
Use it for: To score paint and caulk lines before removal for a cleaner edge.
Shop utility knives
Use it for: To measure the old board and mark the replacement accurately.
Shop tape measures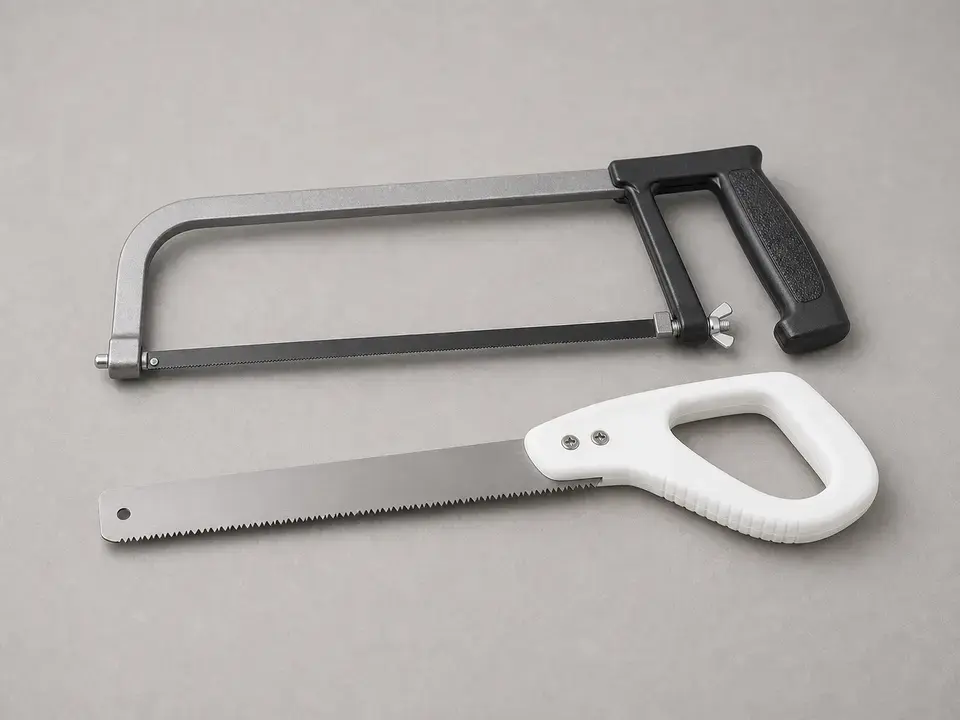
Use it for: To cut the new trim board to length and angle if needed.
Shop trim saws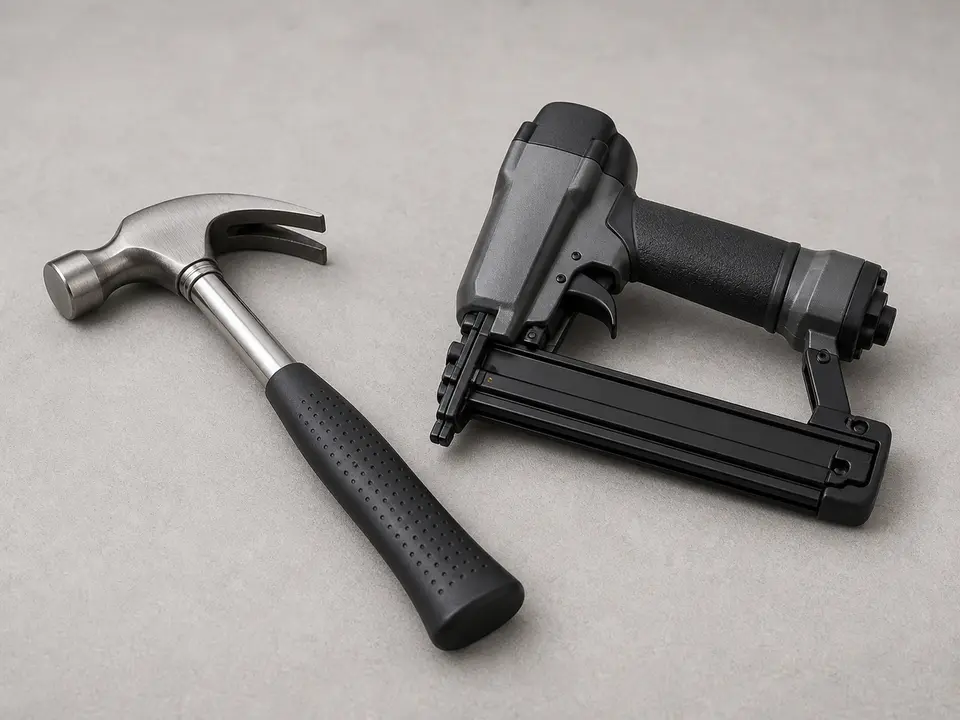
Use it for: To fasten the new casing trim board in place.
Shop trim fastening tools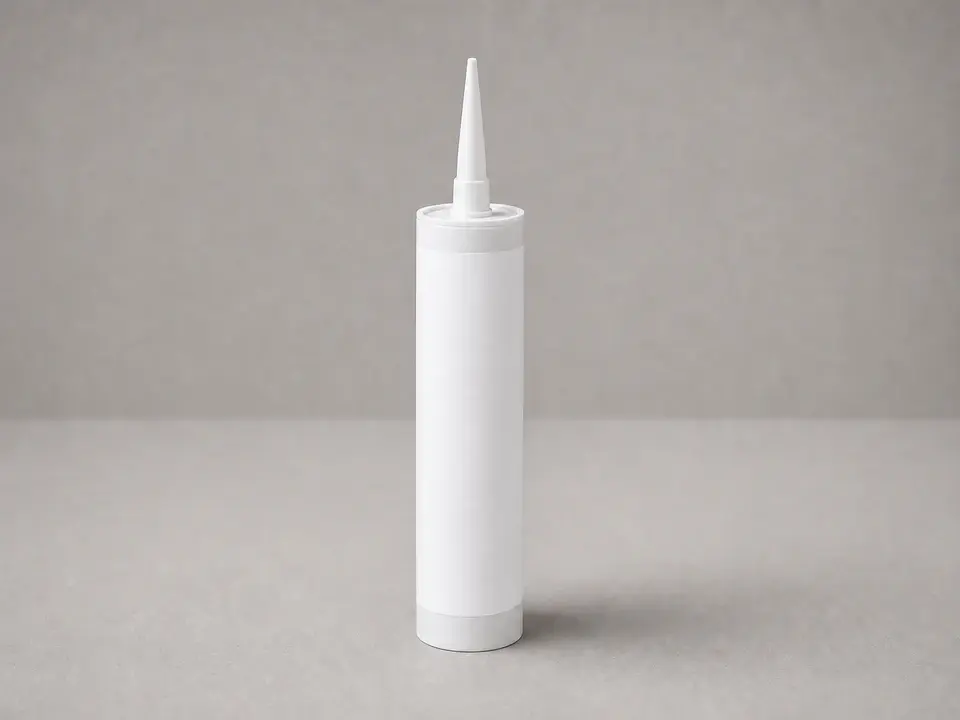
Use it for: To seal the trim joints and edge gaps against air and water.
Shop paintable caulkAs an Amazon Associate I earn from qualifying purchases. Repair Riot may earn a commission at no extra cost to you.
If it works: You have confirmed the trim board itself is damaged and the repair is a trim replacement, not just caulk or paint touch-up.
If it doesn’t: If the board is still solid and only has open caulk joints or peeling paint, a cleaning, recaulk, and repaint may be enough instead of full replacement.
If it works: The old trim board is off and the surrounding wall and frame are still in good shape for the new piece.
If it doesn’t: If the board breaks during removal, keep the largest pieces so you can still use them as a size and profile reference.
If it works: The replacement board fits the opening cleanly and lines up with the rest of the window trim.
If it doesn’t: If the fit is tight in one spot and open in another, recheck for old caulk buildup or a slightly out-of-square cut before cutting a second board.
If it works: The new trim board is secure, straight, and tight to the surfaces around it.
If it doesn’t: If the board will not sit flat, remove it and correct the obstruction or recut the piece rather than forcing it tight with nails.
If it works: The repair looks finished and the trim edges are sealed against drafts and moisture.
If it doesn’t: If gaps keep reopening, the board may not be fully supported or the surrounding materials may still be moving.
If it works: The trim stays tight, the window works normally, and no new gaps or moisture signs show up in real use.
If it doesn’t: If the trim loosens again or staining returns, the root problem is likely water intrusion or hidden damage behind the casing and needs a deeper inspection.
Match the replacement part to your exact window before ordering.
As an Amazon Associate I earn from qualifying purchases. Repair Riot may earn a commission at no extra cost to you.
Yes, if the damage is limited to one piece and the surrounding trim is still solid. Match the width, thickness, and cut style so the repair blends in.
Bottom trim damage often points to repeated moisture exposure. Replace the board, but also look for failed caulk, poor drainage, or water getting in around the window so the new piece does not rot again.
Not always, but the replacement should match the existing trim size and be suitable for the location. For areas that see moisture, choose a material and finish approach that can handle that exposure.
Yes, a paintable caulk bead helps seal small gaps and gives the repair a finished look. Do not rely on caulk to pull a badly fitting board into place.
If the wall is soft, the window frame is rotted, the opening has shifted, or staining comes back quickly, the casing board is probably not the only damaged part. That is the point to inspect deeper before reinstalling trim.