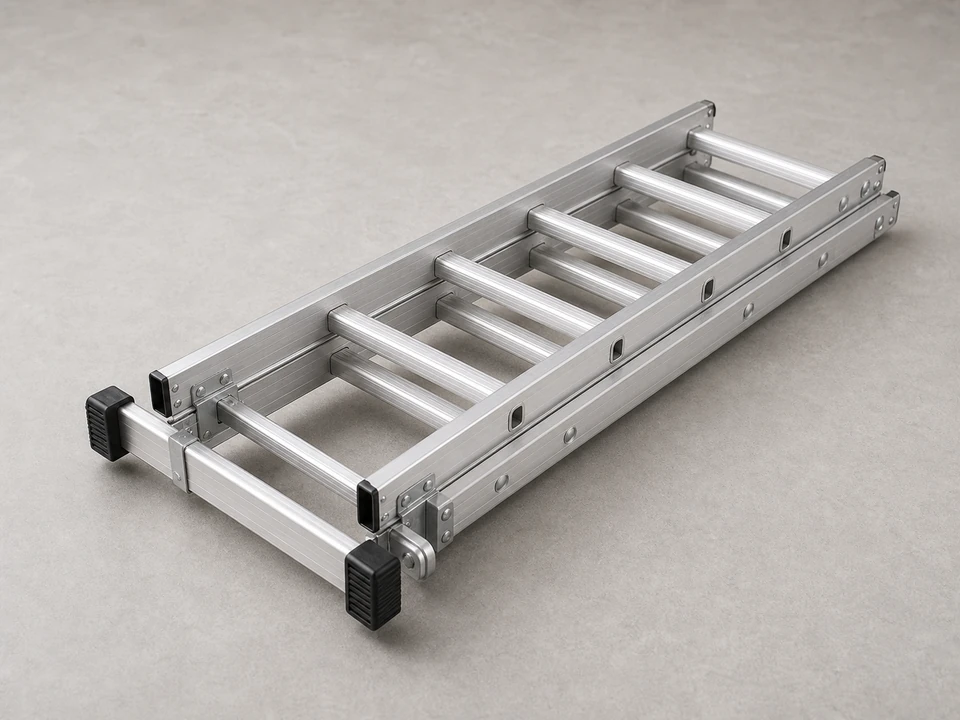
Extension ladder
Use it for: To reach the exterior wall or roof vent safely.
Shop extension laddersTo replace a bathroom fan exterior vent cover, confirm the old cover is cracked, stuck open, missing, or leaking around the hood, then remove it carefully, install a matching replacement, seal the edges, and test the fan to make sure air exits outside without leaking back in.
This is usually a manageable exterior repair if the vent is easy to reach and the surrounding siding or roofing is still solid. The main goals are to match the vent connection, keep water out, and make sure the damper flap opens and closes freely.
Before you start: Match the replacement part to your exact attic ventilation before ordering.
Use it for: To reach the exterior wall or roof vent safely.
Shop extension ladders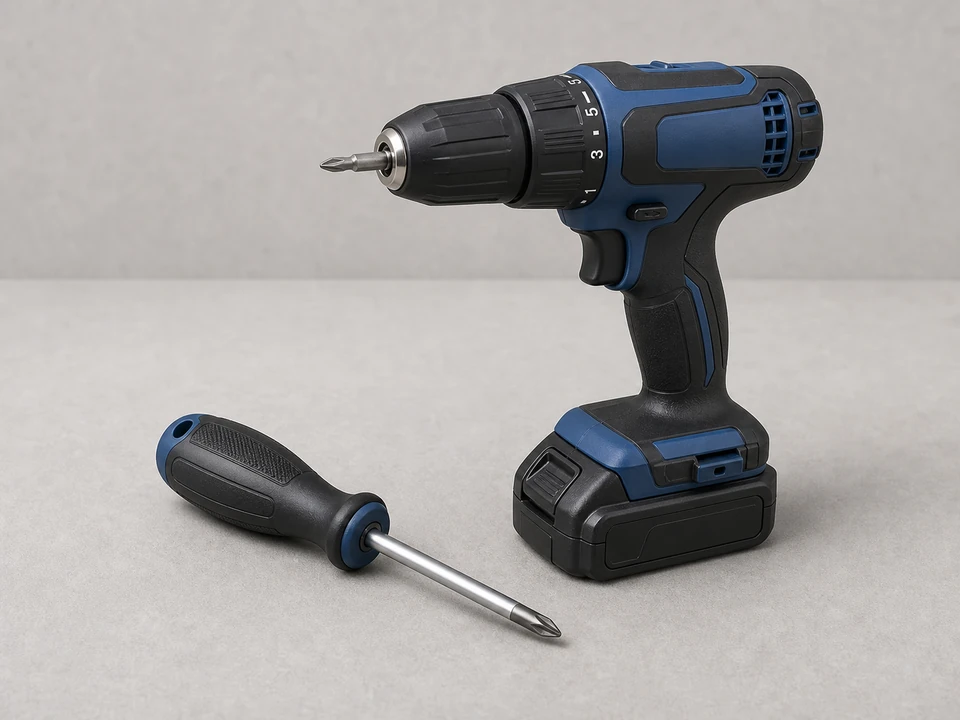
Use it for: To remove old fasteners and secure the new vent cover.
Shop drill drivers
Use it for: To cut old caulk or sealant around the existing vent cover.
Shop utility knives
Use it for: To seal the vent flange so water cannot get behind it.
Shop exterior caulk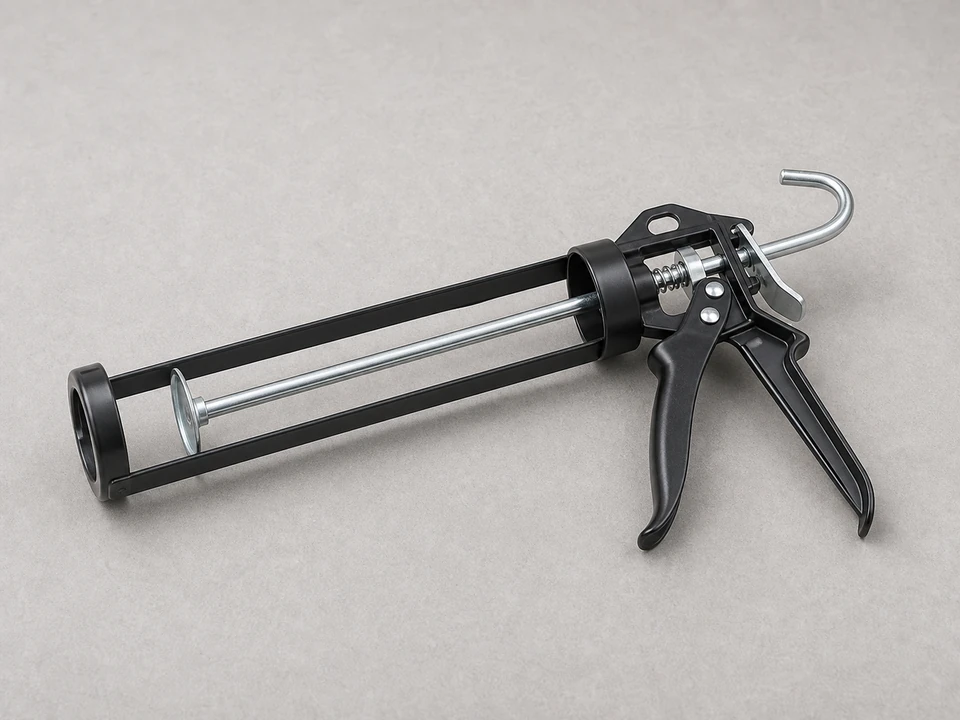
Use it for: To apply a clean bead of sealant around the new vent cover.
Shop caulk guns
Use it for: To protect your hands from sharp metal edges and old fasteners.
Shop work glovesAs an Amazon Associate I earn from qualifying purchases. Repair Riot may earn a commission at no extra cost to you.
If it works: You have clear signs that the bathroom fan exterior vent cover is damaged or no longer sealing properly.
If it doesn’t: If the cover looks sound and the problem is weak airflow, dripping, or noise, the issue may be a clogged duct, fan problem, or condensation instead of the exterior cover.
If it works: You have a replacement vent cover that matches the opening closely enough to install and seal properly.
If it doesn’t: If the new cover does not match the duct size or leaves major gaps around the opening, pause and get the correct part before removing the old one.
If it works: The old cover is off, the duct end is accessible, and the mounting surface is clean enough for the new vent cover.
If it doesn’t: If the old cover will not release, keep cutting the sealant and work slowly so you do not damage the surrounding surface.
If it works: The new vent cover is mounted securely, aligned with the duct, and the flap moves freely.
If it doesn’t: If the cover rocks, twists, or leaves a visible gap, remove it and correct the fit before sealing.
If it works: The vent cover is sealed neatly and there are no obvious gaps where water can get behind the flange.
If it doesn’t: If the sealant will not bond because the surface is wet, dirty, or crumbling, clean and dry the area or repair the surface before relying on caulk alone.
If it works: Air vents outside, the flap opens and closes properly, and the new cover stays sealed in normal use.
If it doesn’t: If airflow is still weak or moisture problems continue, inspect the fan duct for clogs, long sagging runs, or disconnected sections inside the attic or wall.
Match the replacement part to your exact attic ventilation before ordering.
As an Amazon Associate I earn from qualifying purchases. Repair Riot may earn a commission at no extra cost to you.
Replace it if the hood is cracked, the flap is broken or missing, the metal is rusted through, or the flange will not seal to the wall or roof anymore. If it is just dirty or lightly stuck, cleaning may be enough.
You can if they are still straight and not badly rusted, but many homeowners use new exterior-rated screws so the new cover mounts more securely.
Seal the sides and top well. Some vent designs need the bottom edge to drain, so do not block a built-in drainage path.
That usually points to weak airflow, a clogged duct, a crushed duct, or a fan issue rather than the cover itself. The flap should move freely if the exhaust path is clear.
Yes. A cracked hood, missing flap, or failed seal around the flange can let rain in or allow damp air to collect where it should be venting outside.