
Adjustable wrench
Use it for: To loosen and tighten compression nuts and supply line connections.
Shop adjustable wrenchesTo replace a bathroom sink shutoff valve, confirm the valve itself is leaking or no longer shuts off, turn off the home water supply, drain the line, remove the old valve, install the matching replacement, and test it under pressure for leaks.
This is a manageable repair if the valve is exposed under the sink and the supply pipe is in good shape. The key is matching the new valve to the existing pipe and connection style before you take the old one off.
Before you start: Match the connection type, outlet size, and valve orientation before ordering.
Use it for: To loosen and tighten compression nuts and supply line connections.
Shop adjustable wrenches
Use it for: To hold the valve body or back up the pipe while you loosen fittings.
Shop tongue-and-groove pliers
Use it for: To catch water left in the supply line when the valve comes off.
Find a drain pan or bucket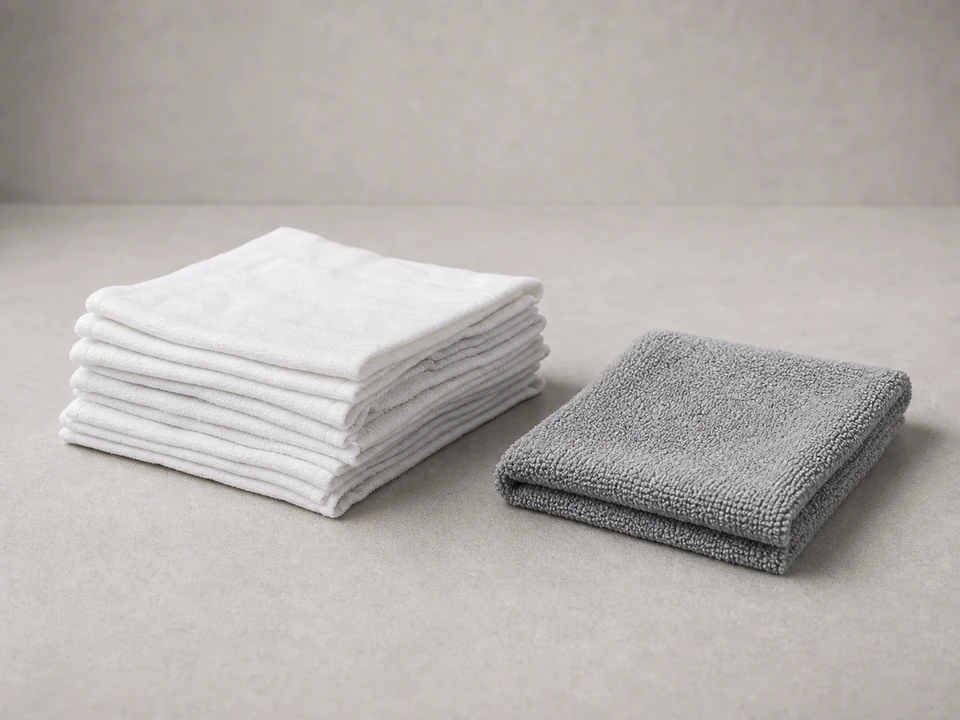
Use it for: To protect the cabinet and wipe fittings dry during leak checks.
Shop absorbent shop towels
Use it for: To see the back side of the valve and check for small drips.
Find a work flashlightAs an Amazon Associate I earn from qualifying purchases. Repair Riot may earn a commission at no extra cost to you.
If it works: You have confirmed the shutoff valve is leaking, seized, or failing to shut off and replacement makes sense.
If it doesn’t: If the drip is coming from the supply line connection only, try tightening that connection slightly first. If the faucet still shuts off normally and the valve body stays dry, the valve may not need replacement.
If it doesn’t: If you see a small drip at a connection, shut the water back off and tighten that connection slightly, then test again.
If it works: The new bathroom sink shutoff valve works normally and stays dry during real use, not just during the first quick test.
If it doesn’t: If moisture returns later, dry everything again and pinpoint whether the seepage is from the valve, the supply line, or the wall connection before tightening or replacing anything else.
Match the connection type, outlet size, and valve orientation before ordering.
As an Amazon Associate I earn from qualifying purchases. Repair Riot may earn a commission at no extra cost to you.
If the valve leaks from the stem or body, will not fully shut off, or the handle is seized, replacement is usually the better fix. A loose supply line nut can sometimes be tightened, but a failing valve itself usually keeps coming back.
Yes. If only one valve is leaking or not working, you can replace that one. Just make sure the new valve matches the existing pipe connection and the faucet supply line size.
Stop before using enough force to twist the pipe in the wall. Corrosion can lock fittings together, and forcing them can turn a simple valve swap into a bigger pipe repair.
Not always, but it is worth checking closely. If the line is kinked, corroded, or the connection looks worn, replacing it while the valve is already disconnected can prevent another leak point.
Most post-install drips come from a connection that is slightly loose, misaligned, or matched to the wrong fitting type. Dry the area, identify the exact leak point, and retighten carefully. If the valve body itself leaks, the part may be defective or the wrong style for the pipe.