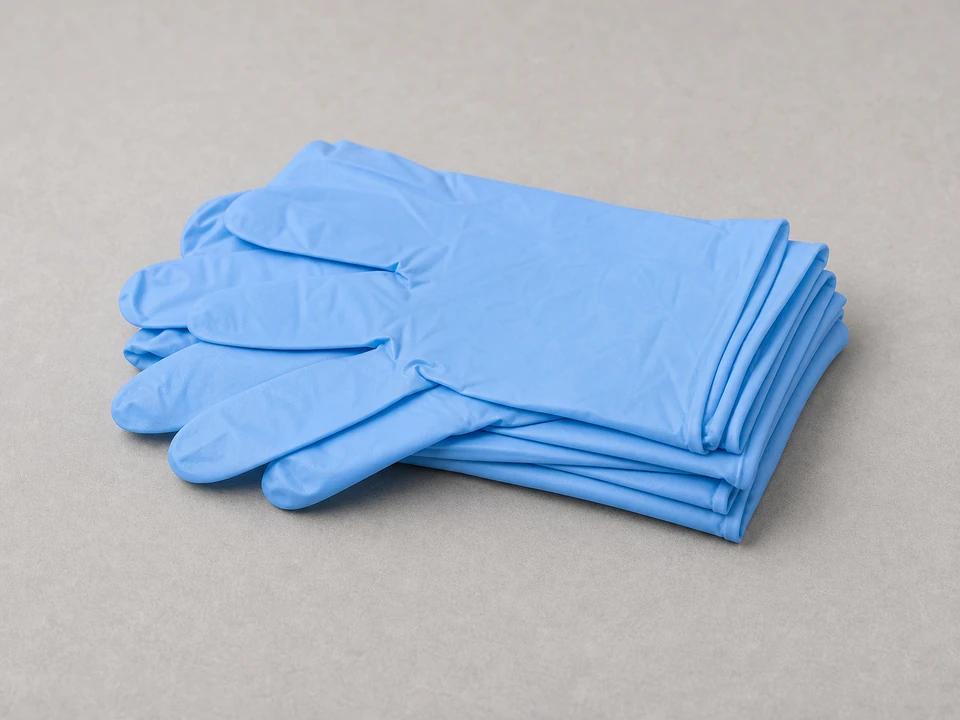
Nitrile gloves
Use it for: Keeps resin, filler, and solvents off your skin while you mix and apply the patch.
Shop nitrile glovesTo replace a bathtub repair kit for acrylic or fiberglass surface, first make sure the damage is a small surface chip, crack, or hole that a patch kit is meant to fix. Then clean and dry the area, remove any loose material, apply the filler or patch material from the new kit, sand it smooth after it cures, and test the tub in normal use.
This repair works best for cosmetic or shallow surface damage on an acrylic or fiberglass tub. If the tub flexes badly, leaks through the shell, or has wide structural cracks, a simple repair kit usually will not hold for long.
Before you start: Match the replacement part to your exact bathtub before ordering.
Use it for: Keeps resin, filler, and solvents off your skin while you mix and apply the patch.
Shop nitrile gloves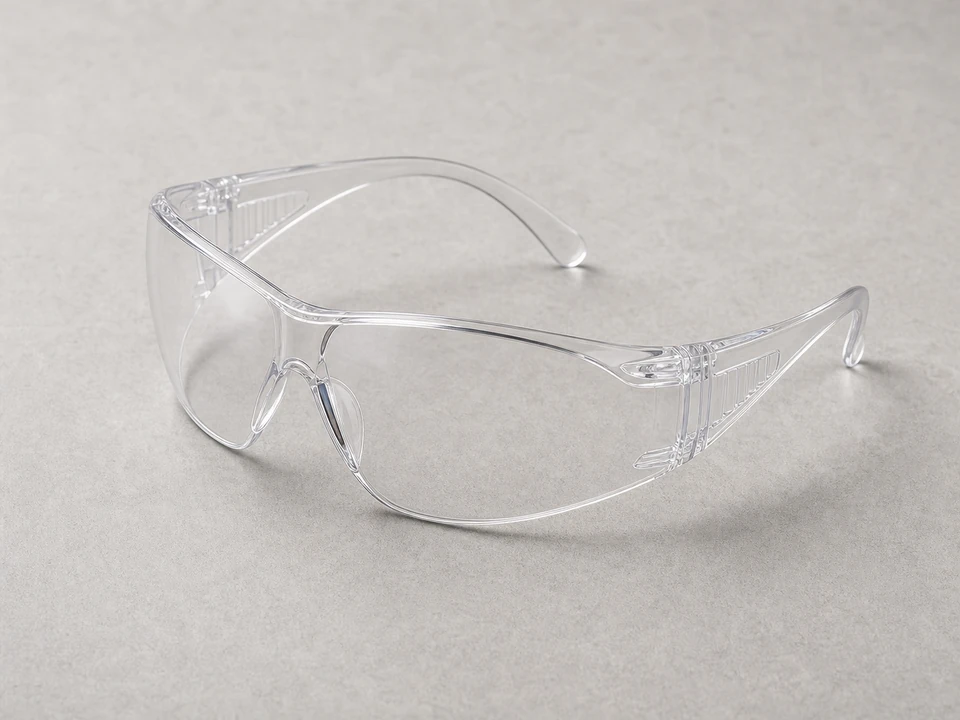
Use it for: Protects your eyes while sanding and cleaning the damaged area.
Shop safety glasses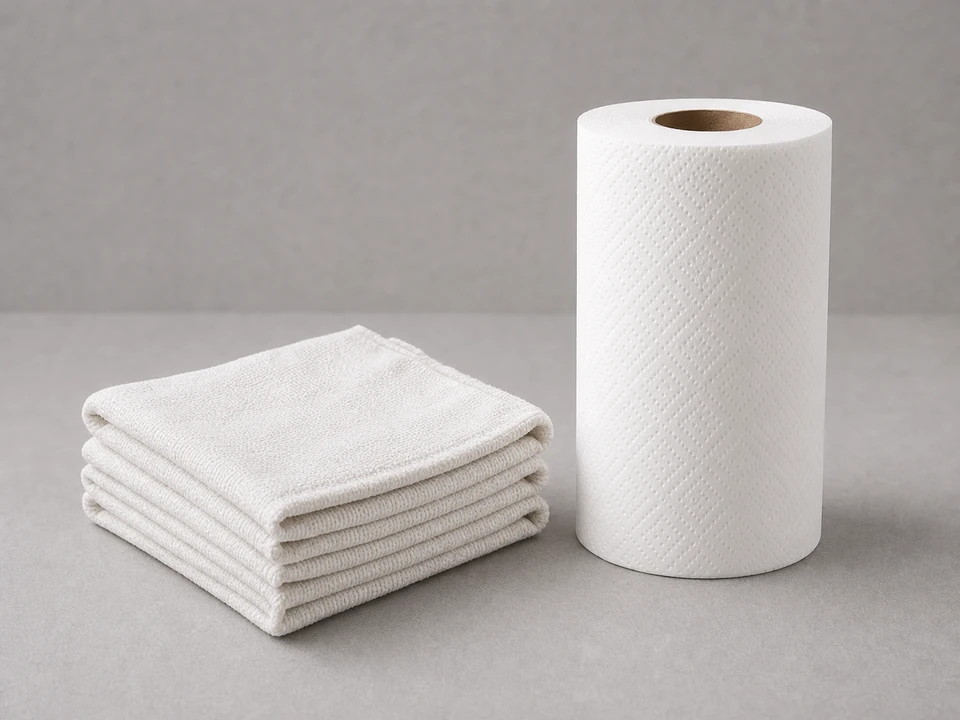
Use it for: Used to dry the tub and wipe away dust, residue, and excess repair material.
Shop cleaning rags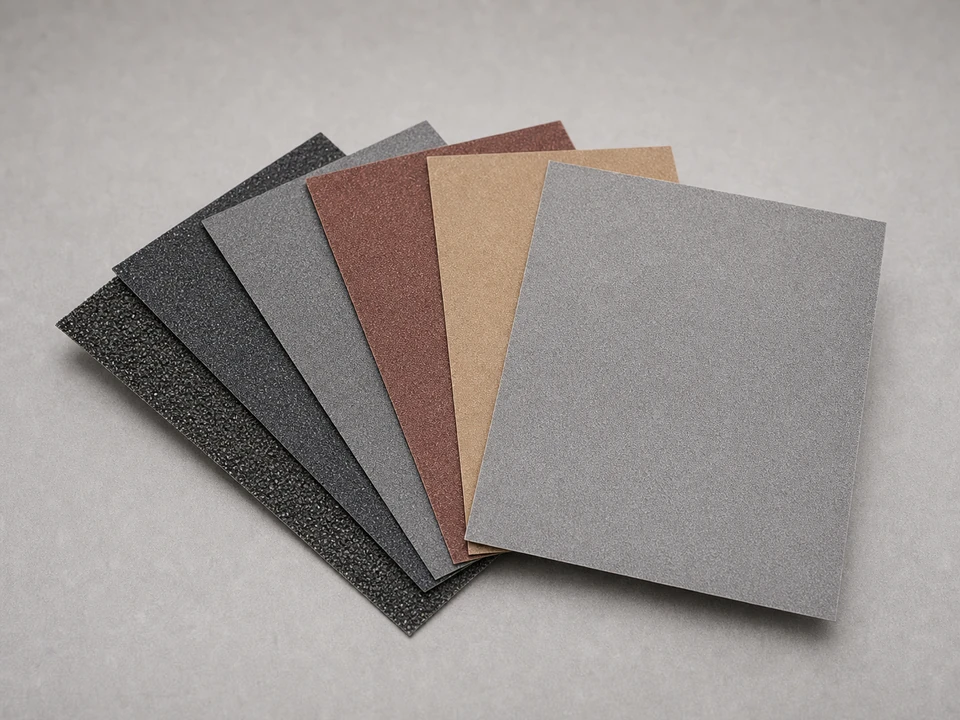
Use it for: Helps roughen the damaged area before repair and smooth the patch after it cures.
Shop fine-grit sandpaper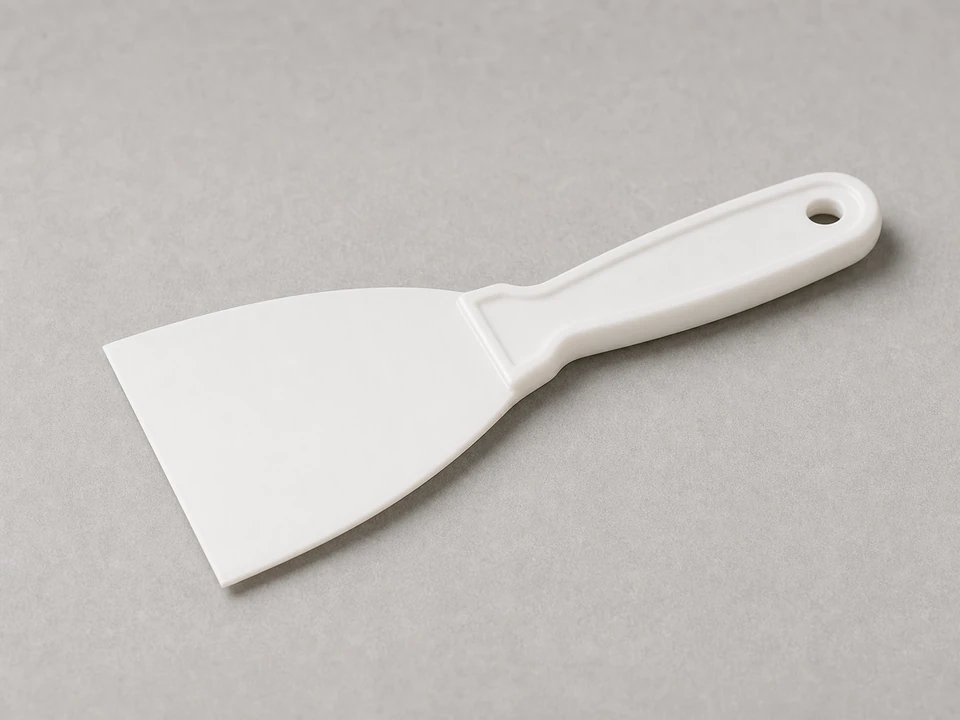
Use it for: Lets you press filler into the damage and level it without scratching the tub more than necessary.
Shop plastic spreaders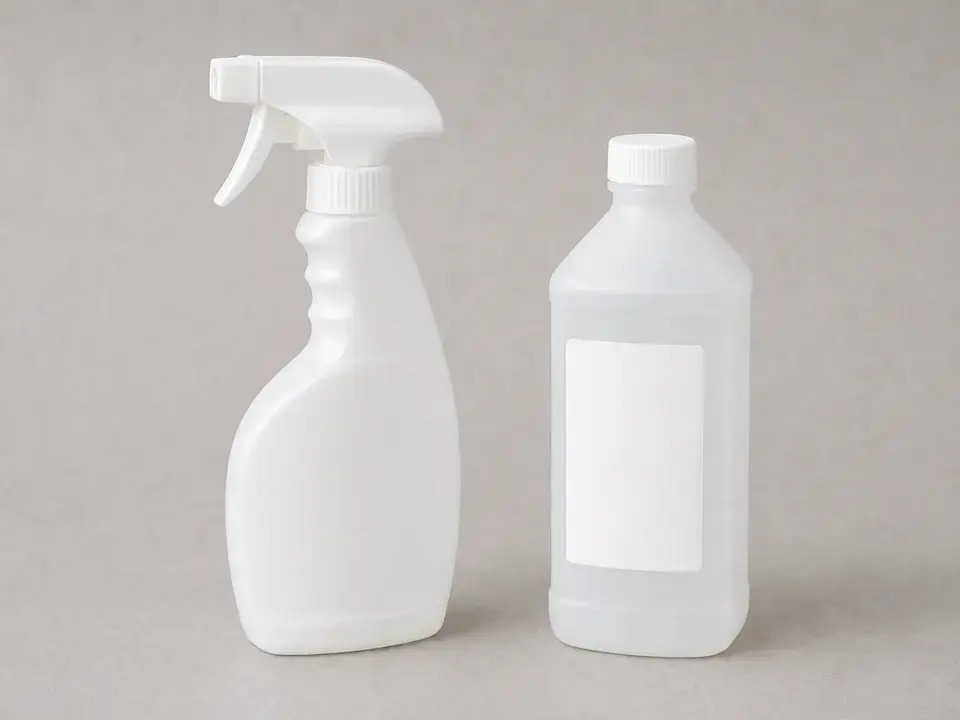
Use it for: Removes soap film, body oils, and sanding dust so the patch bonds better.
Shop surface prep cleanerAs an Amazon Associate I earn from qualifying purchases. Repair Riot may earn a commission at no extra cost to you.
If it works: You have a small surface-level tub defect and a matching repair kit for acrylic or fiberglass.
If it doesn’t: If the damage is large, keeps spreading, or the tub shell feels weak, move to a larger tub repair or replacement plan instead of using a surface kit.
If it works: The repair area is clean, dull, dry, and free of loose material.
If it doesn’t: If the surface still feels slick or contaminated, clean it again before opening the repair kit.
If it works: The damaged area is fully filled and the patch is slightly higher than the tub surface.
If it doesn’t: If the filler slumps, pulls out, or will not stick, remove it before it hardens, clean the area again, and reapply with a fresh mix.
If it works: The patch is hard enough to sand without smearing, denting, or lifting.
If it doesn’t: If the patch is still soft, give it more cure time before moving on.
If it works: The repaired area is smooth, flush, and visually blended as well as the kit allows.
If it doesn’t: If you sand too low and expose a dip, add a thin second application, let it cure, and sand again.
If it works: The patch stays firm, dry, and intact during normal bathtub use.
If it doesn’t: If the repair loosens, leaks, or re-cracks quickly, the tub likely has deeper damage and should be evaluated for a more substantial repair or replacement.
Match the replacement part to your exact bathtub before ordering.
As an Amazon Associate I earn from qualifying purchases. Repair Riot may earn a commission at no extra cost to you.
No. These kits are usually made for acrylic or fiberglass surfaces. Porcelain, cast iron, and other materials often need a different repair product.
A repair kit is best for small surface damage. If the crack is long, wide, growing, or the tub flexes around it, the problem is likely structural and a simple patch may not last.
Yes. Loose, cracked, or peeling old repair material should be removed so the new patch can bond to a solid surface.
The most common causes are moisture, soap residue, body oils, poor sanding prep, or trying to patch damage that is too large or unstable for the kit.
Wait for the full cure time listed by the repair kit. A patch can feel dry on the surface before it is strong enough for water and body weight.