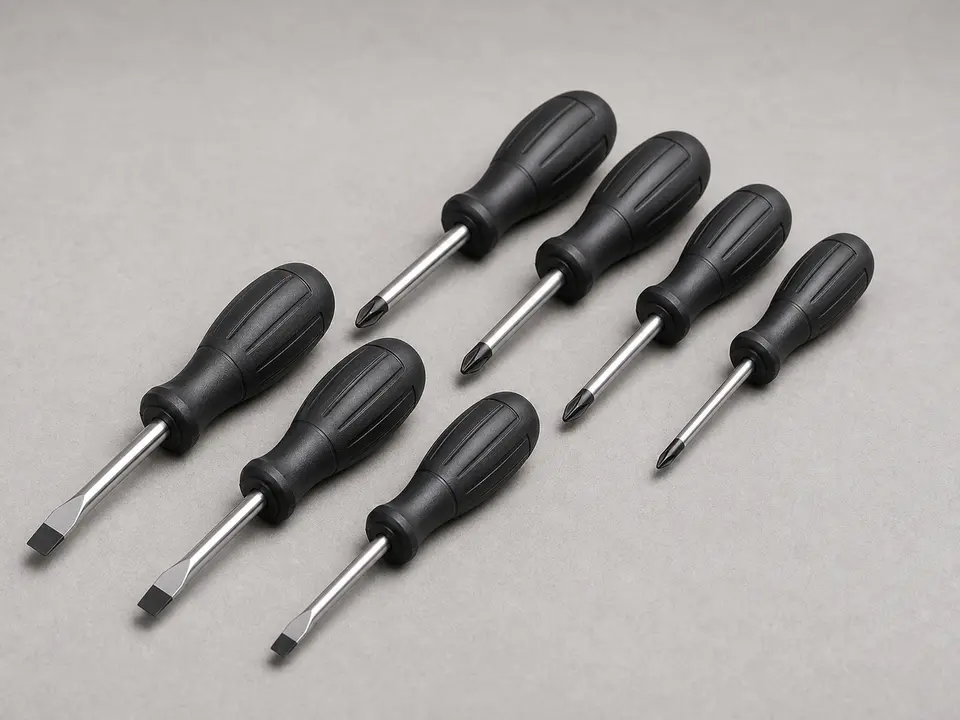
Phillips and flathead screwdriver set
Use it for: To remove the handle screw, trim screws, and pry off a decorative cap without damaging the finish.
Shop screwdriver setsIf your bathtub or shower handle spins, feels loose, slips on the stem, or no longer turns the valve correctly, replacing the bathtub shower handle adapter kit is often the right fix.
This repair is usually straightforward if the valve itself still works and the problem is in the handle connection. You will remove the handle and trim as needed, swap the worn adapter parts, then test that the handle turns smoothly and shuts the water off fully.
Before you start: Match the handle style, broach or stem connection, screw pattern, and trim fit before ordering so the new adapter kit mates with your valve and handle.
Use it for: To remove the handle screw, trim screws, and pry off a decorative cap without damaging the finish.
Shop screwdriver sets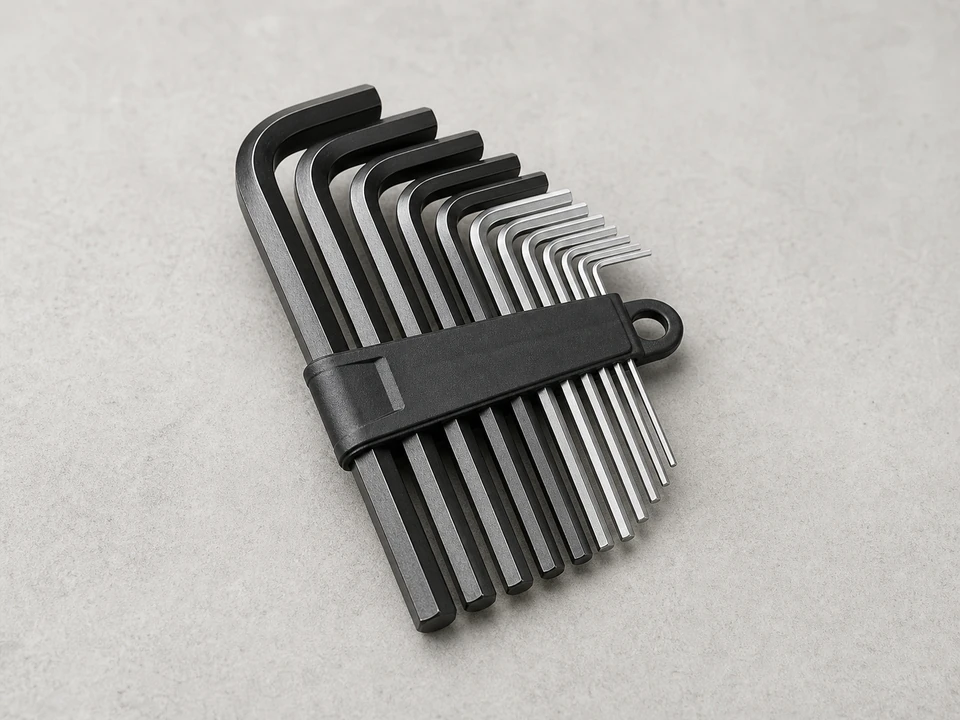
Use it for: Many shower handles use a small set screw instead of a face screw.
Shop Allen key sets
Use it for: To pull small adapter pieces, clips, or stripped inserts out of the handle.
Shop needle-nose pliers
Use it for: To see the stem shape, screw holes, and adapter alignment inside the handle.
Shop flashlights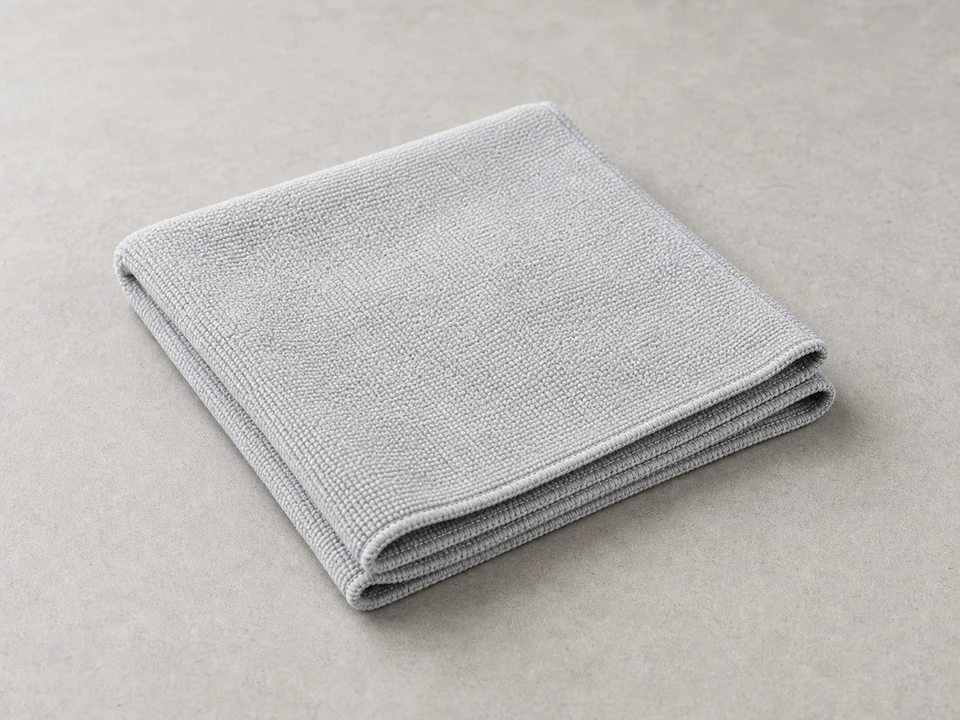
Use it for: To protect trim finishes and wipe away mineral buildup before reassembly.
Shop microfiber clothsAs an Amazon Associate I earn from qualifying purchases. Repair Riot may earn a commission at no extra cost to you.
If it works: You have confirmed the problem is in the handle-to-stem connection, not just a loose screw.
If it doesn’t: If tightening the screw fixes the problem and the handle now turns the valve normally, you do not need this repair yet.
If it works: The handle is off and the stem and adapter area are exposed.
If it doesn’t: If the handle is stuck from mineral buildup, apply steady hand pressure and work it loose gradually. Avoid prying against finished trim.
If it works: The old adapter parts are out, the area is clean, and you know which new pieces belong in the handle.
If it doesn’t: If none of the new pieces match the old adapter or stem connection, pause and verify the replacement kit before forcing anything together.
If it works: The handle is mounted firmly and engages the valve stem without slipping.
If it doesn’t: If the handle rocks, sits crooked, or will not seat fully, remove it and recheck the adapter orientation and spacer choice.
If it works: The handle moves smoothly, sits straight, and returns to the proper off position.
If it doesn’t: If the handle binds or stops in the wrong place, remove it and check for a misaligned adapter or an underlying valve issue.
If it works: The handle feels solid, controls the valve normally, and the water shuts off cleanly with no slipping or new leaks.
If it doesn’t: If the handle still slips or the valve does not shut off properly, the wrong adapter may be installed or the valve stem or cartridge may also need repair.
Match the handle style, broach or stem connection, screw pattern, and trim fit before ordering so the new adapter kit mates with your valve and handle.
As an Amazon Associate I earn from qualifying purchases. Repair Riot may earn a commission at no extra cost to you.
It connects the handle to the valve stem so your turning motion actually opens, closes, or adjusts the water. When it wears out, the handle may spin, wobble, or stop controlling the valve correctly.
If the handle is loose or slipping but the stem itself still turns and the valve works when engaged directly, the adapter kit is a likely fix. If the stem is hard to turn, the water will not shut off, or temperature control is erratic even with the handle removed, the valve cartridge or stem may be the real problem.
Often you can remove only the handle without shutting off the water because you are not opening the pressurized valve body. If you are unsure, or if trim removal may expose more of the valve, shut the water off first.
Usually yes, if the handle body is not cracked or stripped and the new adapter kit is made to fit that handle and stem connection. If the inside of the handle is damaged, replacing the handle too may save time.
The most common reasons are the wrong insert shape, a missing spacer, a stripped handle body, or a worn valve stem. Compare the old and new parts closely and inspect the stem for rounded edges or damage.