
Screwdriver set
Use it for: Removes the handle screw, trim screws, and access pieces.
Shop screwdriver setsTo replace a bathtub valve cartridge, shut off the water, remove the handle and trim, pull out the old cartridge, install the matching replacement in the same orientation, then reassemble and test for steady temperature and no leaks.
A worn bathtub valve cartridge can cause hot-then-cold water, dripping from the spout, or a handle that feels stiff or loose. This repair is usually manageable for a careful homeowner as long as you can shut the water off and remove the old cartridge without damaging the valve body in the wall.
Before you start: Match the cartridge stem shape, length, ports, seal locations, and fixture compatibility before ordering.
Use it for: Removes the handle screw, trim screws, and access pieces.
Shop screwdriver sets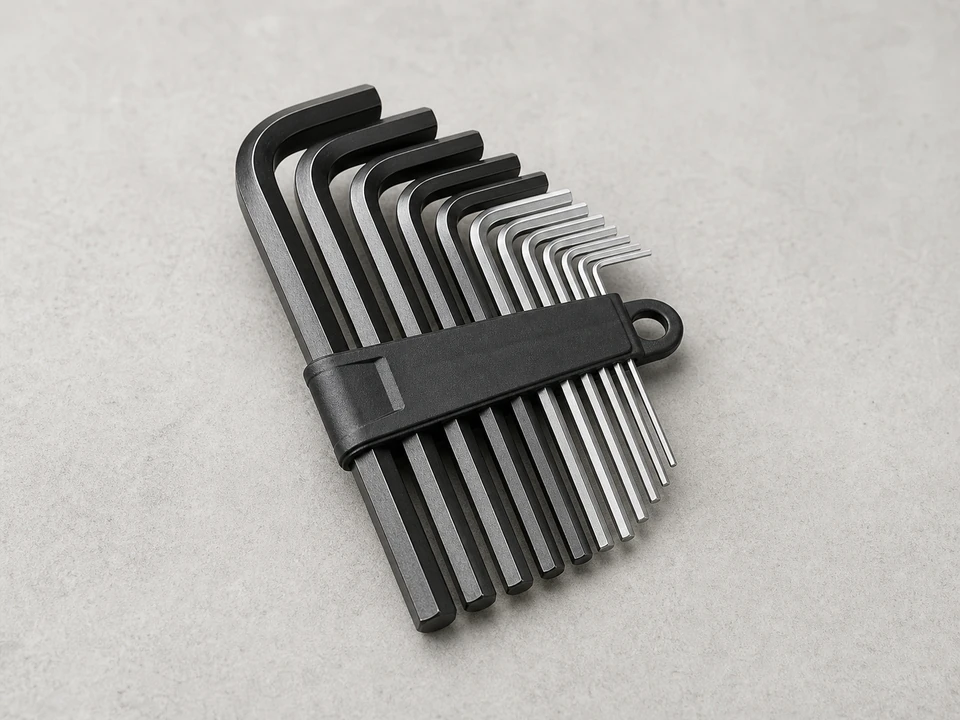
Use it for: Many tub handles use a small set screw instead of a visible face screw.
Shop Allen wrench sets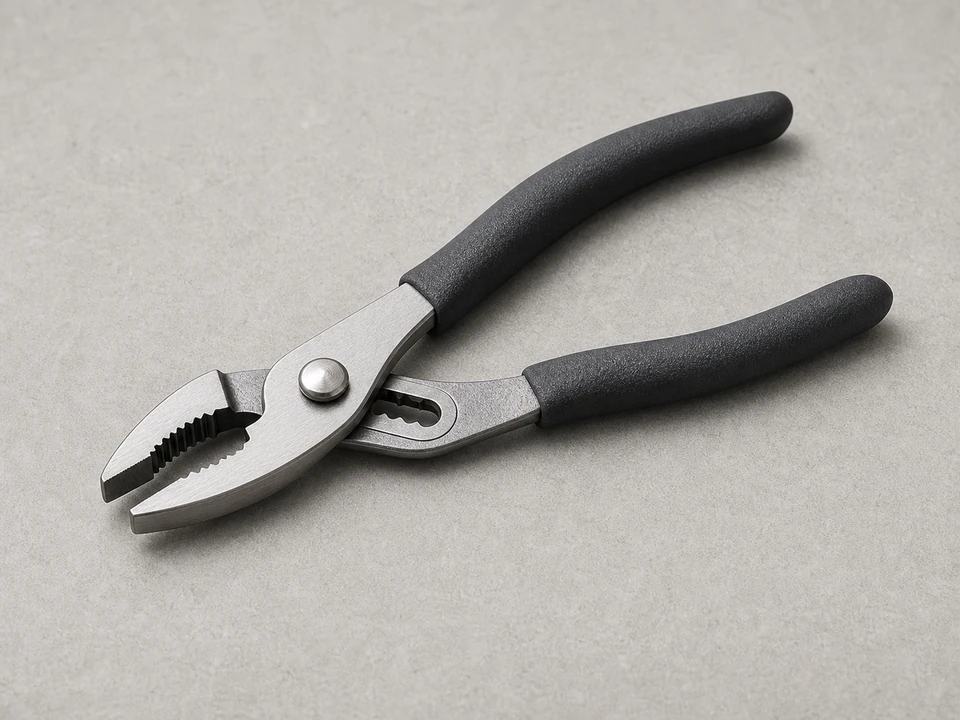
Use it for: Helps remove retaining clips, nuts, or stubborn trim parts.
Shop slip-joint pliers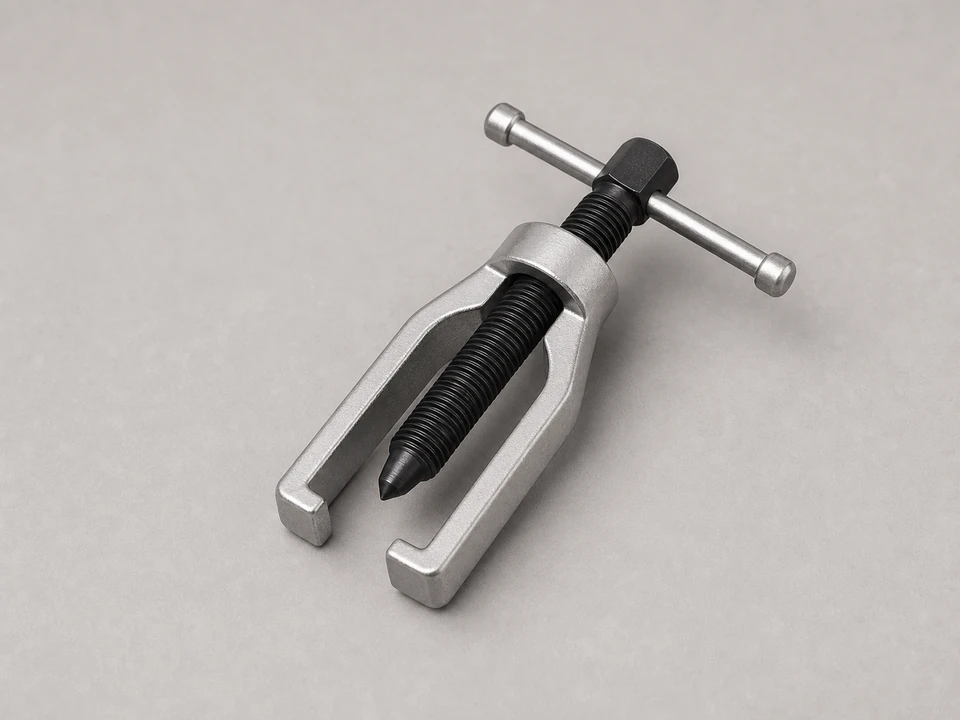
Use it for: Helps extract a stuck cartridge without twisting the valve body too hard.
Shop cartridge pullers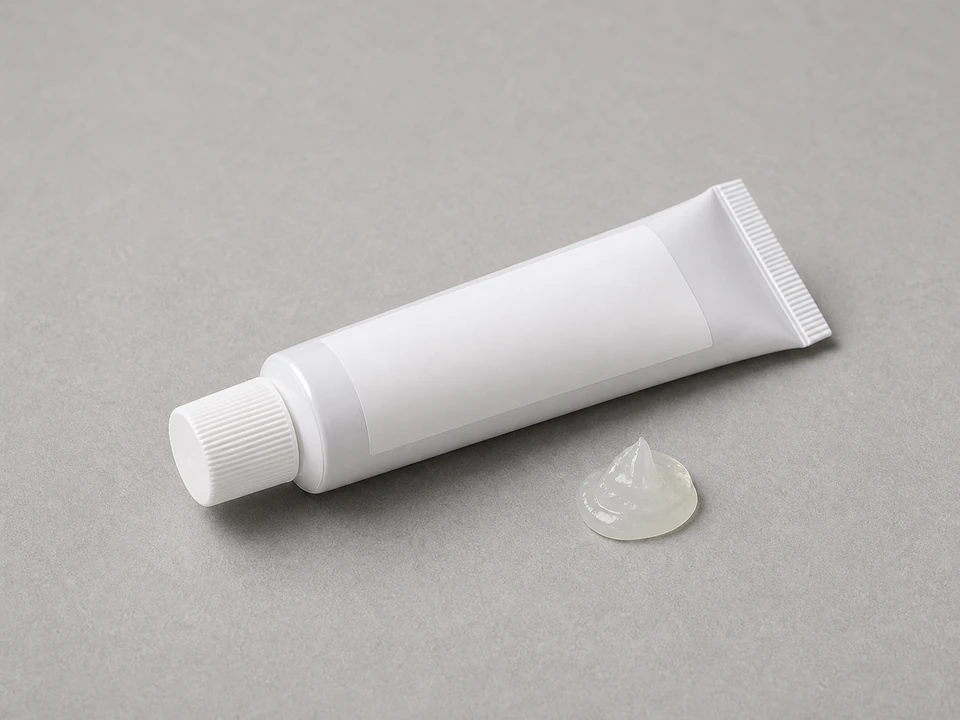
Use it for: Lubricates seals so the new cartridge slides in cleanly without tearing O-rings.
Shop silicone plumber's grease
Use it for: Lets you see the retaining clip, cartridge orientation, and valve body clearly.
Shop flashlightsAs an Amazon Associate I earn from qualifying purchases. Repair Riot may earn a commission at no extra cost to you.
If it works: The symptoms fit a worn or sticking bathtub valve cartridge, and you know how you will shut the water off.
If it doesn’t: If the problem affects multiple fixtures, troubleshoot the water supply or water heater first instead of opening the tub valve.
If it works: The water is off, the handle and trim are removed, and the cartridge area is exposed.
If it doesn’t: If the handle is stuck, wiggle it gently and use penetrating time rather than prying hard against finished surfaces.
If it works: The old cartridge is out, and the replacement matches the important features of the original.
If it doesn’t: If the new cartridge does not match, stop and get the correct replacement before reassembly.
If it works: The new cartridge is fully seated in the correct direction and locked in place.
If it doesn’t: If the cartridge will not seat fully, remove it and recheck for debris, misalignment, or a mismatched part.
If it works: The tub valve is back together, water is restored, and there are no immediate leaks.
If it doesn’t: If you see dripping at the trim or spout right away, shut the water back off and check cartridge seating and retaining parts.
If it works: The bathtub now shuts off properly, the temperature is stable, and no leaks show up during or after use.
If it doesn’t: If the same symptoms remain, the diagnosis may be wrong or the replacement may not match the valve. Recheck the cartridge fit and consider a deeper valve or supply issue.
Match the cartridge stem shape, length, ports, seal locations, and fixture compatibility before ordering.
As an Amazon Associate I earn from qualifying purchases. Repair Riot may earn a commission at no extra cost to you.
Common signs are hot-then-cold water, poor temperature control, dripping from the tub spout when off, or a handle that feels stiff or rough.
You need a cartridge that matches the valve design. Compare stem shape, overall length, ports, seal locations, and how it locks into the valve body before ordering.
Mineral buildup can lock it in place. Remove the retaining parts first, then use steady pulling force or a cartridge puller. If the valve body starts moving in the wall, stop before you create a bigger leak.
A light coat of silicone plumber's grease on the seals is usually helpful unless the part is already lubricated. It helps the cartridge slide in without damaging O-rings.
The new cartridge may not be fully seated, may be installed in the wrong orientation, or may not match the valve. Less commonly, the valve body itself is worn or damaged.