
Work gloves
Use it for: Protects your hands from sharp sheet metal edges and insulation.
Shop work glovesTo replace a branch duct damper, first confirm the damper is actually stuck, broken, or missing inside the branch run, then shut the system off, remove the old damper, install a matching replacement in the same orientation, seal the duct joints, and test airflow at the vent.
This is a manageable repair if the damper is accessible and the duct is in good shape. The key is making sure low airflow is really coming from a failed damper and not from a dirty filter, closed register, crushed flex duct, or a larger system problem.
Before you start: Match the replacement part to your exact ductwork vent before ordering.
Use it for: Protects your hands from sharp sheet metal edges and insulation.
Shop work gloves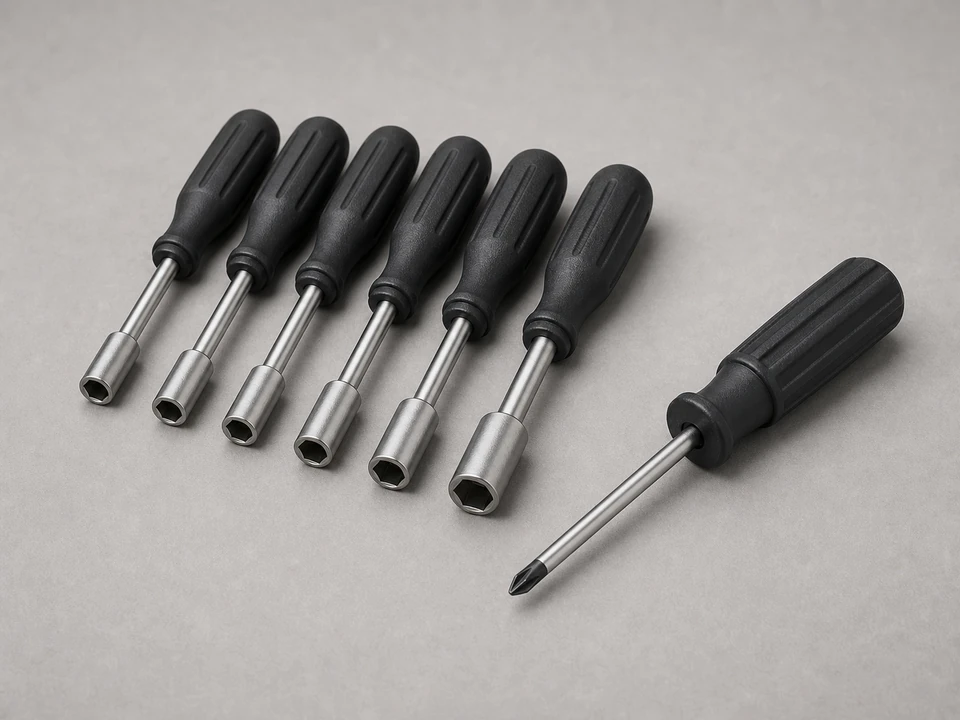
Use it for: Removes and reinstalls sheet metal screws on the duct connection.
Shop screwdriver and nut driver sets
Use it for: Helps you match the replacement damper size to the duct.
Shop tape measures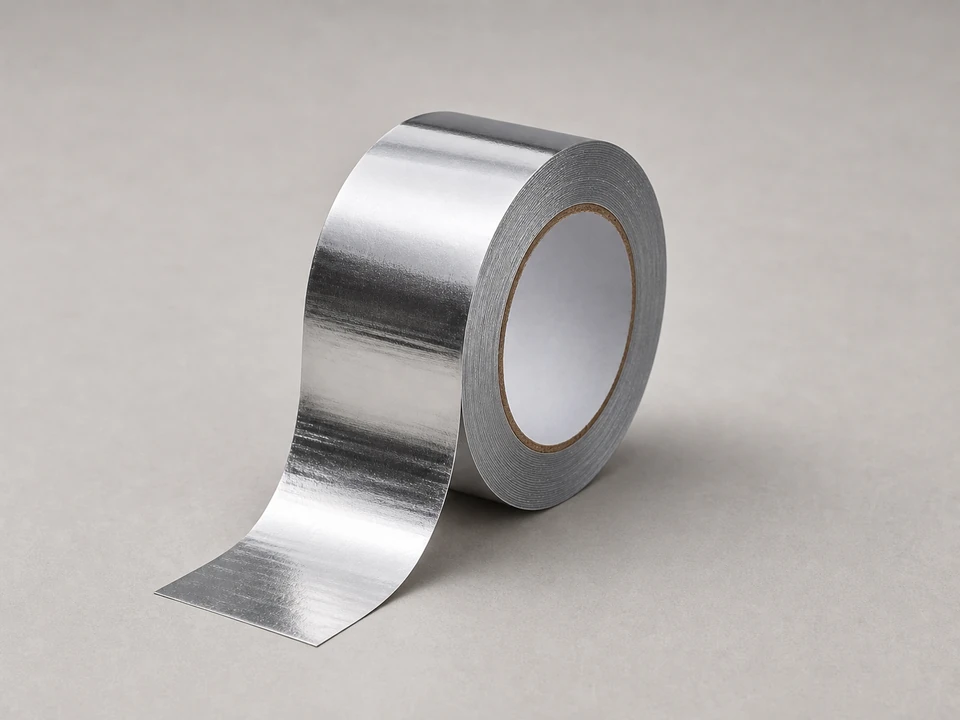
Use it for: Seals duct seams after the new damper is installed.
Shop foil HVAC tape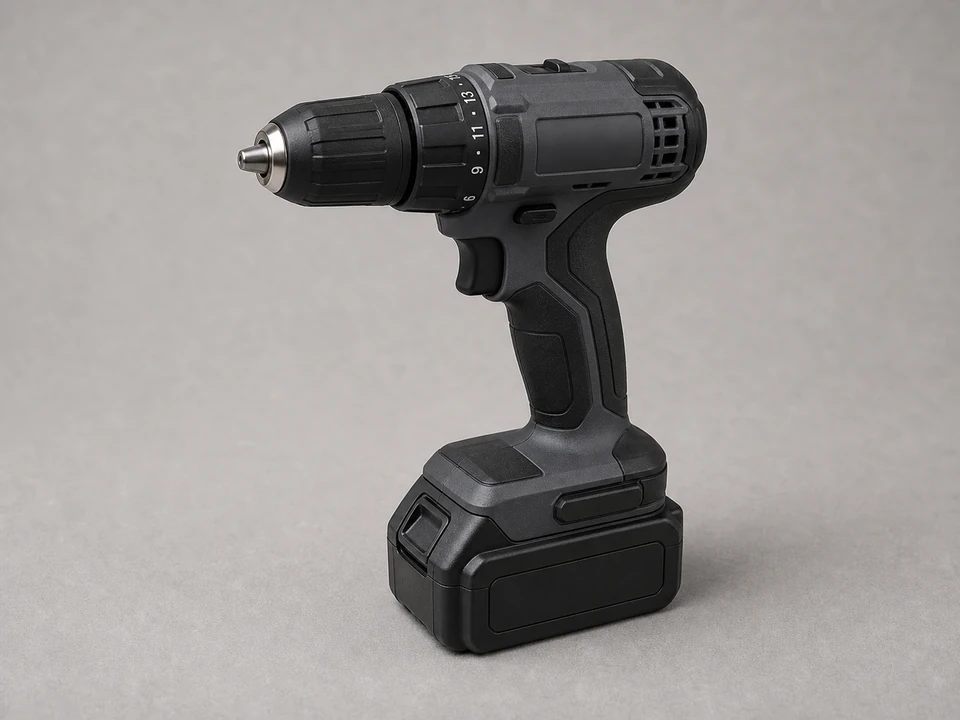
Use it for: Speeds up removing and reinstalling duct screws.
Shop cordless drills
Use it for: Lets you inspect the inside of the branch duct and damper blade position.
Shop flashlightsAs an Amazon Associate I earn from qualifying purchases. Repair Riot may earn a commission at no extra cost to you.
If it works: You have a clear reason to replace the branch duct damper rather than chasing a general airflow problem.
If it doesn’t: If airflow is weak at many vents, start with filter, blower, and main duct issues before replacing this part.
If it works: The system is off and you have a replacement damper that matches the duct size and style.
If it doesn’t: If the replacement does not match the duct shape, diameter, or connection style, pause and get the correct part before taking the duct apart.
If it works: The old damper is out and the duct opening is clean enough for the new part to seat properly.
If it doesn’t: If the old damper is stuck because the duct is crushed or out of round, straighten the duct first or replace the damaged duct section.
If it works: The new branch duct damper is secured in place and moves freely through its full range.
If it doesn’t: If the blade binds, loosen the joint, realign the damper, and test the handle again before sealing anything.
If it works: The duct is sealed, the system is running again, and the repaired branch is not leaking badly.
If it doesn’t: If you still hear air escaping, add more foil tape or recheck the joint for gaps and loose screws.
If it works: Airflow is improved, the damper stays where you set it, and the duct remains sealed during normal system operation.
If it doesn’t: If airflow is still poor, look next for a blocked branch, crushed flex duct, closed balancing dampers elsewhere, blower issues, or undersized ductwork.
Match the replacement part to your exact ductwork vent before ordering.
As an Amazon Associate I earn from qualifying purchases. Repair Riot may earn a commission at no extra cost to you.
A closed damper usually still has a working handle and blade. A bad damper is often jammed, loose, disconnected from the blade, missing parts, or unable to stay in position.
Usually yes, if the damper is accessible and the surrounding duct is still solid. If the duct is crushed, rusted through, or falling apart, the duct section may need repair too.
That usually points to a bigger airflow problem than one branch damper. Check the filter, blower operation, main trunk dampers, and visible duct restrictions before focusing on a single branch.
For a normal airflow test, yes. After you confirm the repair worked, you can fine-tune the handle slightly if you are balancing one room against others.
No. Regular cloth duct tape dries out and fails. Use foil HVAC tape made for duct sealing.