
Tape measure
Use it for: To match the replacement damper to the duct diameter or duct size.
Shop tape measuresTo replace a duct balancing damper for an upstairs branch, first confirm the upstairs run is the one with weak airflow and that the damper is stuck, broken, or missing. Then remove the old damper section or blade assembly, install a matching replacement in the same airflow direction, seal the duct joints, and test airflow at the upstairs registers with the system running.
This is a manageable repair if you can safely reach the branch duct and the damage is limited to the damper itself. The goal is not just to swap parts, but to restore controlled airflow to the upstairs run and make sure the new setting actually stays where you put it.
Before you start: Match the replacement part to your exact ductwork vent before ordering.
Use it for: To match the replacement damper to the duct diameter or duct size.
Shop tape measures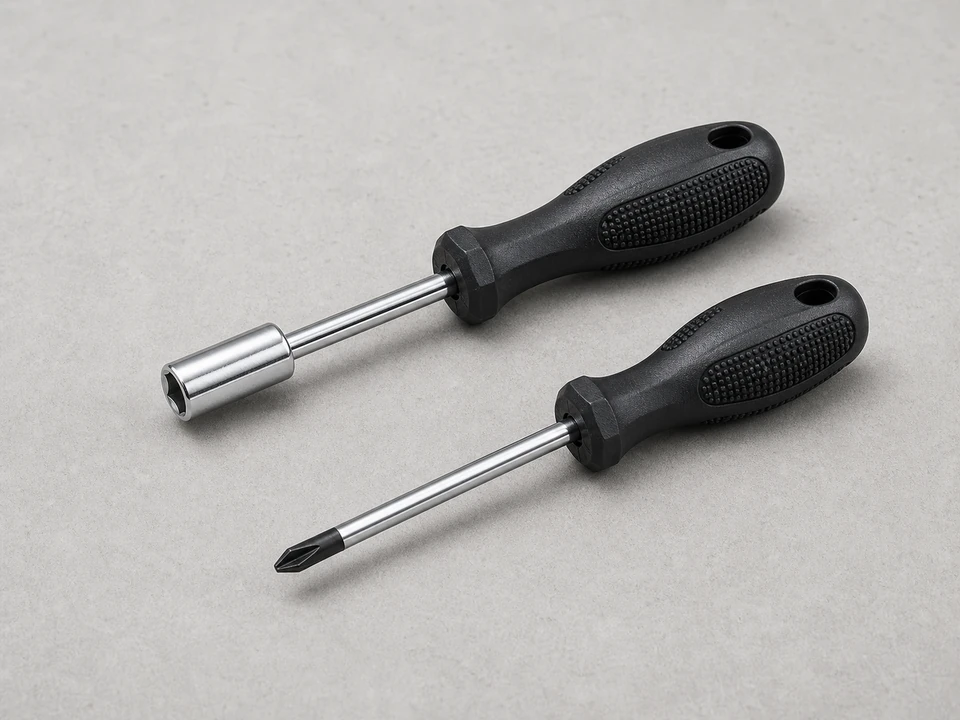
Use it for: To remove and reinstall sheet metal screws on the duct and damper hardware.
Shop screwdrivers and nut drivers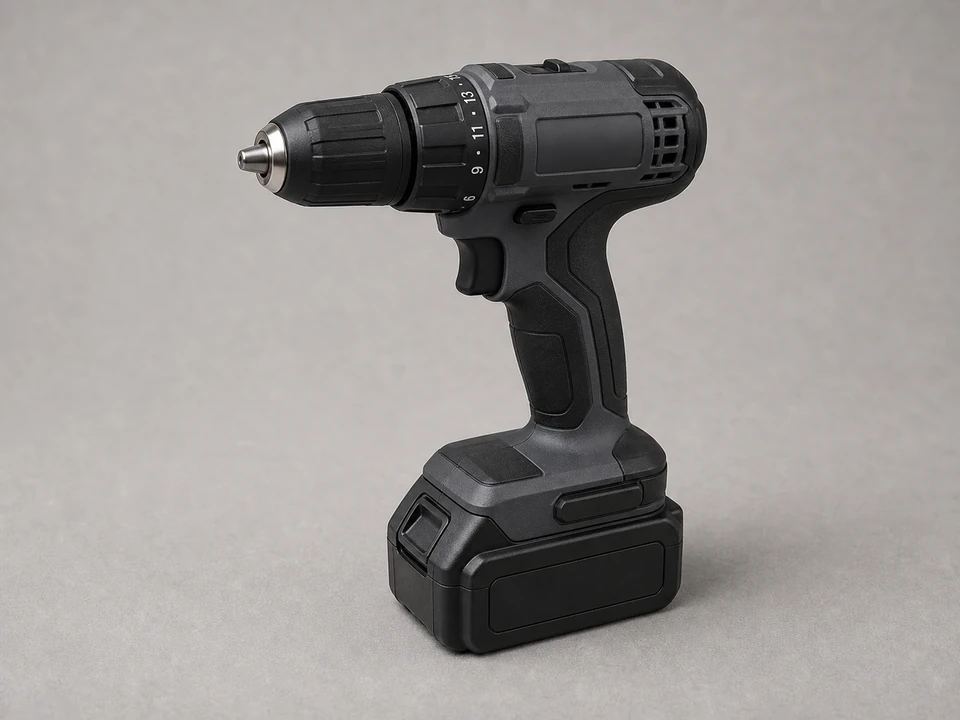
Use it for: To speed up removing screws and fastening the new damper section.
Shop cordless drills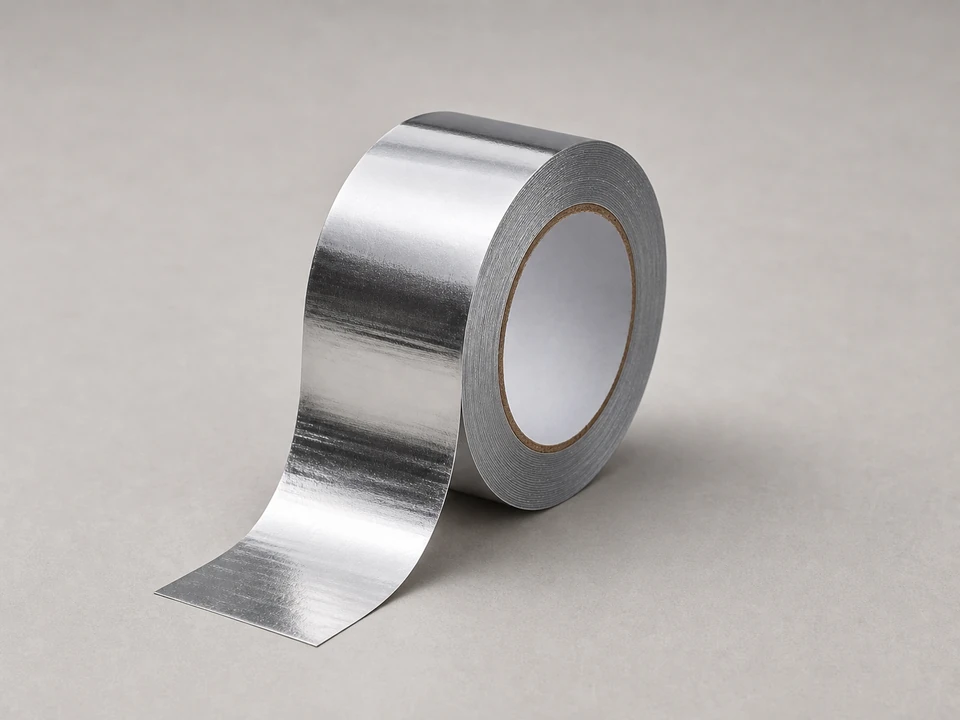
Use it for: To reseal duct seams after the new damper is installed.
Shop foil HVAC tape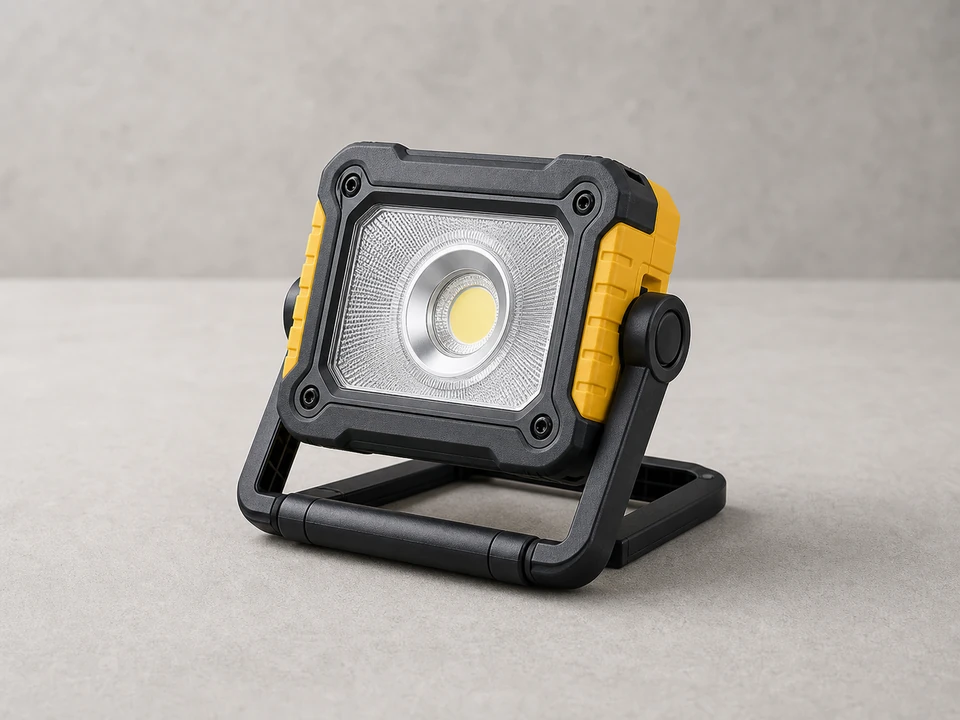
Use it for: To see the damper handle, blade position, and duct seams in an attic, crawlspace, or basement.
Shop work lights
Use it for: To protect your hands from sharp sheet metal edges.
Shop work glovesAs an Amazon Associate I earn from qualifying purchases. Repair Riot may earn a commission at no extra cost to you.
If it works: You have confirmed the upstairs branch damper is damaged, stuck, missing, or no longer controlling airflow and you know the duct size.
If it doesn’t: If the handle moves normally and airflow changes as expected, the problem is likely elsewhere, such as a disconnected duct, blocked register, dirty filter, or blower issue.
If it works: The system is off and the damaged damper assembly is exposed and ready to remove.
If it doesn’t: If foil tape or mastic is covering the joint, peel or cut it back carefully until the fasteners are visible.
If it works: The old damper is out and the replacement matches the duct size and basic configuration.
If it doesn’t: If the replacement does not match the duct size or connection style, pause and get the correct part before installing anything.
If it works: The new damper is mounted securely, the handle moves smoothly, and the blade opens and closes the branch as intended.
If it doesn’t: If the blade binds, loosen the connection, realign the section, and test the handle again before sealing the joint.
If it works: The duct is sealed, the system is running again, and the upstairs branch responds when you adjust the damper.
If it doesn’t: If airflow is still weak with the new damper mostly open, inspect farther down the branch for a disconnected, crushed, or blocked duct.
If it works: The upstairs branch now has controllable airflow, the handle holds its setting, and the repair stays sealed during real operation.
If it doesn’t: If comfort upstairs still does not improve after the damper replacement and adjustment, the system likely needs a broader airflow diagnosis.
Match the replacement part to your exact ductwork vent before ordering.
As an Amazon Associate I earn from qualifying purchases. Repair Riot may earn a commission at no extra cost to you.
If the handle is broken, the shaft is disconnected, the blade is stuck, or moving the handle does not change airflow upstairs, replacement is more likely than simple adjustment.
Sometimes, but only if the blade and shaft are still intact and the hardware is available to match. If the blade is bent, seized, or loose inside the duct, replacing the damper assembly is the safer fix.
Start mostly open, then make small adjustments with the system running. The goal is balanced airflow, not automatically fully open or fully closed.
Yes. Any joint you opened should be resealed so air does not leak out around the repair and reduce airflow to the upstairs run.
That usually means the root cause is elsewhere, such as a disconnected branch, crushed flex duct, blocked register boot, dirty filter, or a larger system airflow problem.