
Work gloves
Use it for: Protects your hands while digging, handling metal edges, and pulling apart dirty fittings.
Shop work glovesTo replace a buried downspout connector, uncover the connection at the base of the downspout, remove the damaged or loose fitting, install a matching new connector, secure the joints, and test with water before backfilling.
This repair is usually needed when water spills out at the base of the downspout, the connector is cracked or crushed, or the downspout no longer lines up with the buried drain pipe. Work slowly so you do not damage the drain line while digging.
Before you start: Match the gutter or downspout size, profile, and connection style before ordering.
Use it for: Protects your hands while digging, handling metal edges, and pulling apart dirty fittings.
Shop work gloves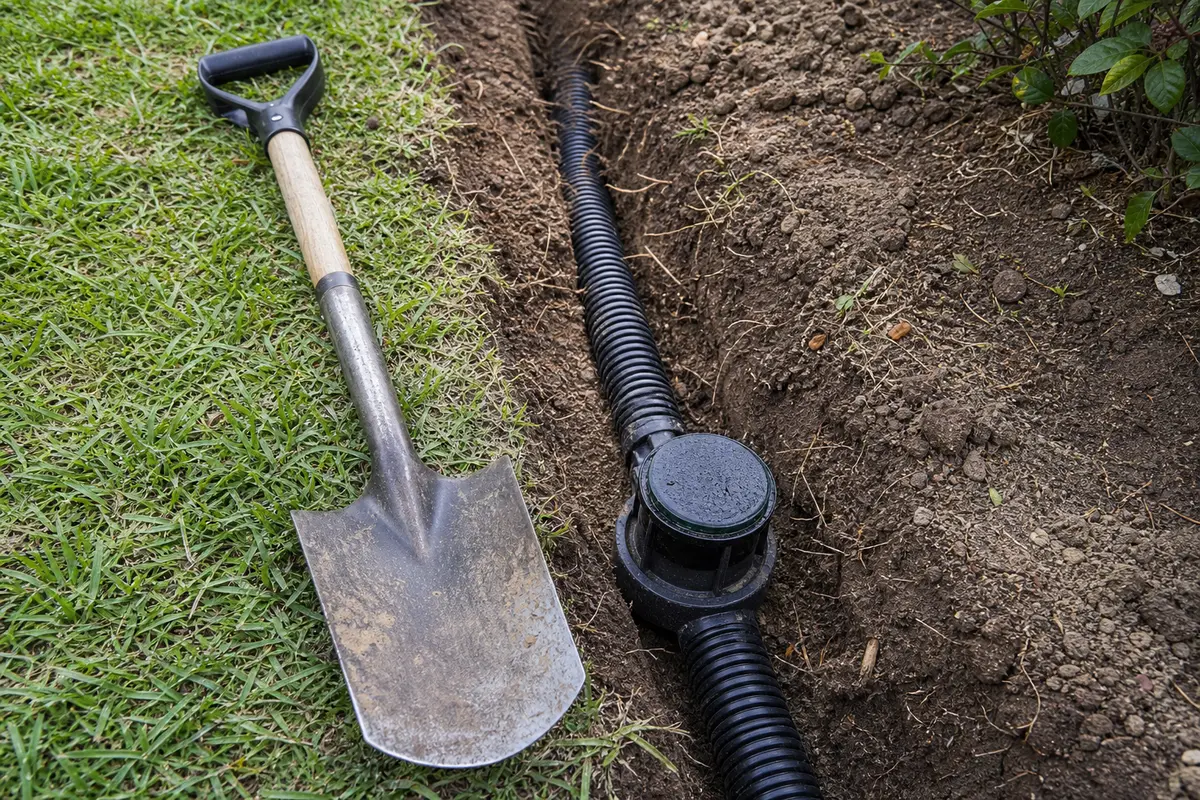
Use it for: Lets you uncover the connector without hitting the buried pipe too hard.
Shop a trenching shovel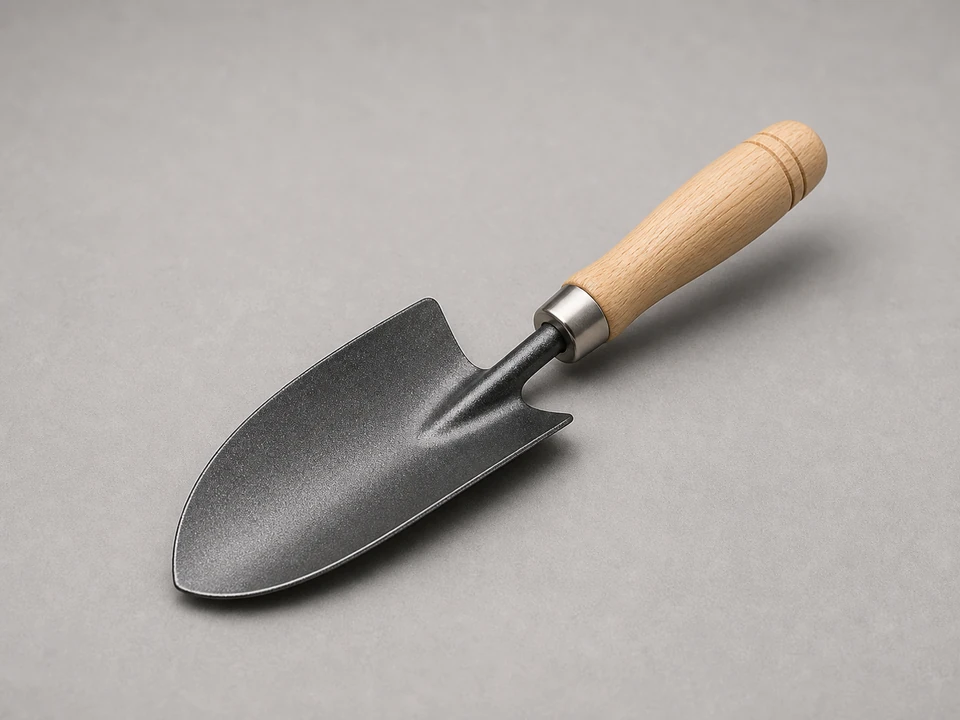
Use it for: Helps clean soil away from the fitting for the last few inches of careful digging.
Shop a garden trowel
Use it for: Used to match the connector size and check how much overlap you need at each joint.
Shop a tape measure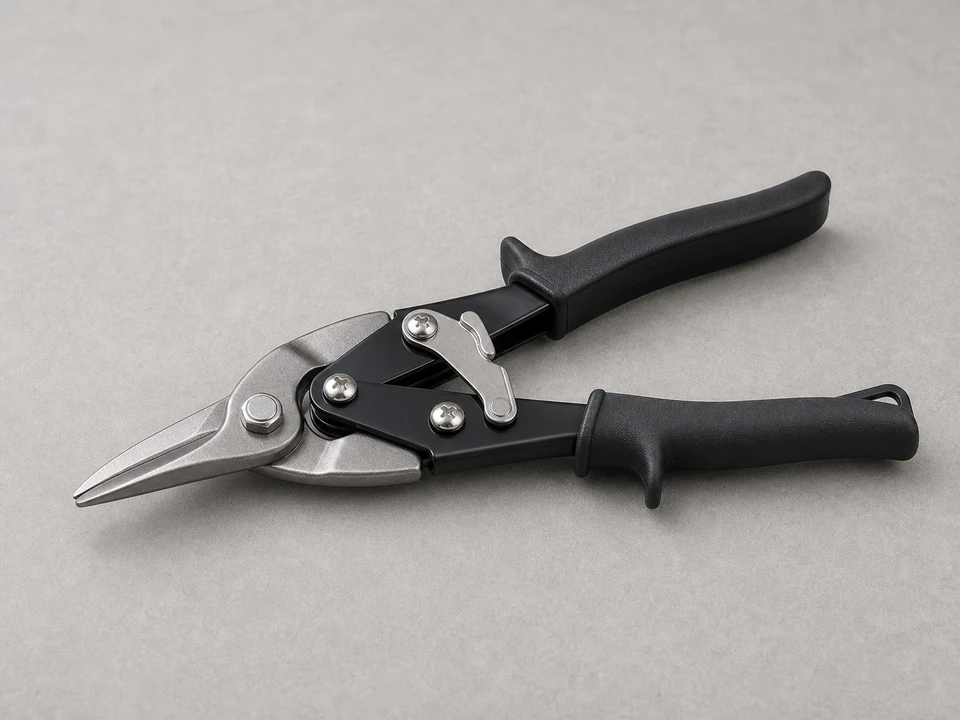
Use it for: Useful if you need to trim or square up the bottom of a metal downspout for a clean fit.
Shop tin snips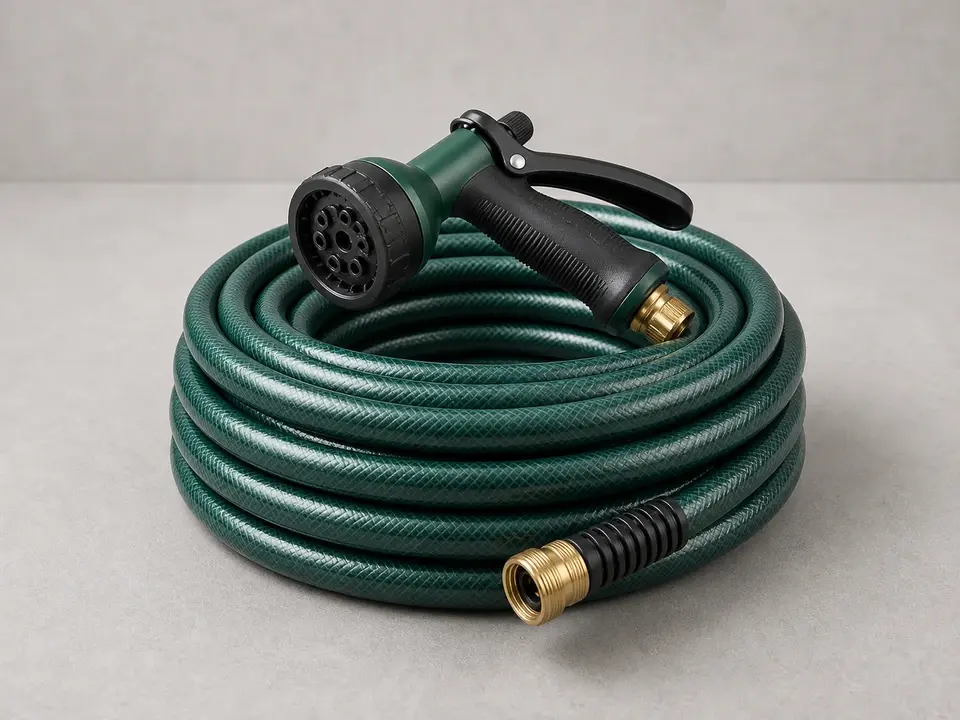
Use it for: Lets you flush and test the repaired connection under real water flow.
Shop a garden hose nozzleAs an Amazon Associate I earn from qualifying purchases. Repair Riot may earn a commission at no extra cost to you.
If it works: You have clear signs that the connector at the ground is damaged, loose, or no longer aligned with the buried drain line.
If it doesn’t: If water backs up higher in the system or the leak is not at the base, clear the downspout and buried line first before replacing the connector.
If it works: The full connector and both connection points are visible and accessible without forcing anything.
If it doesn’t: Dig a little wider and deeper until you can remove and reinstall the connector without bending the downspout or stressing the buried pipe.
If it works: The old connector is out, and the downspout and buried pipe ends are clean, solid, and ready for the new part.
If it doesn’t: If the new connector does not match the size or profile, pause and get the correct replacement rather than forcing a poor fit.
If it works: The new connector fits snugly, the downspout sits straight, and the joint is not under strain.
If it doesn’t: Recheck the connector orientation and the downspout length. A small alignment correction usually fixes a loose or awkward fit.
If it works: Water flows through the new connector without leaking, and the area can be backfilled without shifting the parts.
If it doesn’t: If you still see leakage, uncover the joint again and correct the fit, alignment, or part size before finishing the soil.
If it works: The connection stays dry in real use, runoff enters the buried line cleanly, and the soil around the repair remains stable.
If it doesn’t: If the area still gets wet only during heavy flow, inspect the buried line for a downstream clog or poor drainage capacity.
Match the gutter or downspout size, profile, and connection style before ordering.
As an Amazon Associate I earn from qualifying purchases. Repair Riot may earn a commission at no extra cost to you.
Replace it if it is cracked, crushed, split, badly loose, or no longer matches the downspout and buried pipe alignment. If it is intact and water is simply backing up, a clog farther down the line is more likely.
You need a connector that matches the downspout size and profile and also fits the buried drain connection style. A close-looking part that does not seat fully or align naturally is the wrong one.
Only if it is still solid and fits tightly, but if you already have it exposed and it has been leaking, replacement is usually the better long-term fix.
That often means the soil settled or the drain line shifted. A small difference may be manageable with the right connector, but a large height or angle change usually points to a bigger drainage repair.
Some connection styles rely mostly on a snug mechanical fit. The key is using the correct size and getting full engagement without strain. If the joint design clearly calls for sealing, follow the part instructions.