
Outdoor drainage repair

How to Replace a Buried Downspout Elbow

To replace a buried downspout elbow, uncover the elbow, remove the damaged fitting, install a matching replacement, secure the connections, and test it with water before burying it again.

This is usually the right repair when the elbow at the base of the downspout is cracked, crushed, loose, or repeatedly clogs because it has shifted out of line. The job is straightforward if the pipe is accessible and the surrounding drain line is still in good shape.

Before you start: Match the replacement part to your exact downspouts extension before ordering.

Prepared by: Repair Riot Last updated: 2026-06-05 How we build and check guides

Safety first

  • Call for utility locating before digging if you are not certain the area is clear.
  • Wear gloves because downspout edges, screws, and buried debris can be sharp.
  • Dig carefully by hand around the pipe to avoid cracking the drain line or damaging nearby utilities.
  • Do not force mismatched parts together, because that can split the elbow or pull the downspout out of alignment.

Tools you may need

Work gloves tool

Work gloves

Use it for: Protects your hands while digging, handling metal edges, and pulling apart dirty fittings.

Shop work gloves
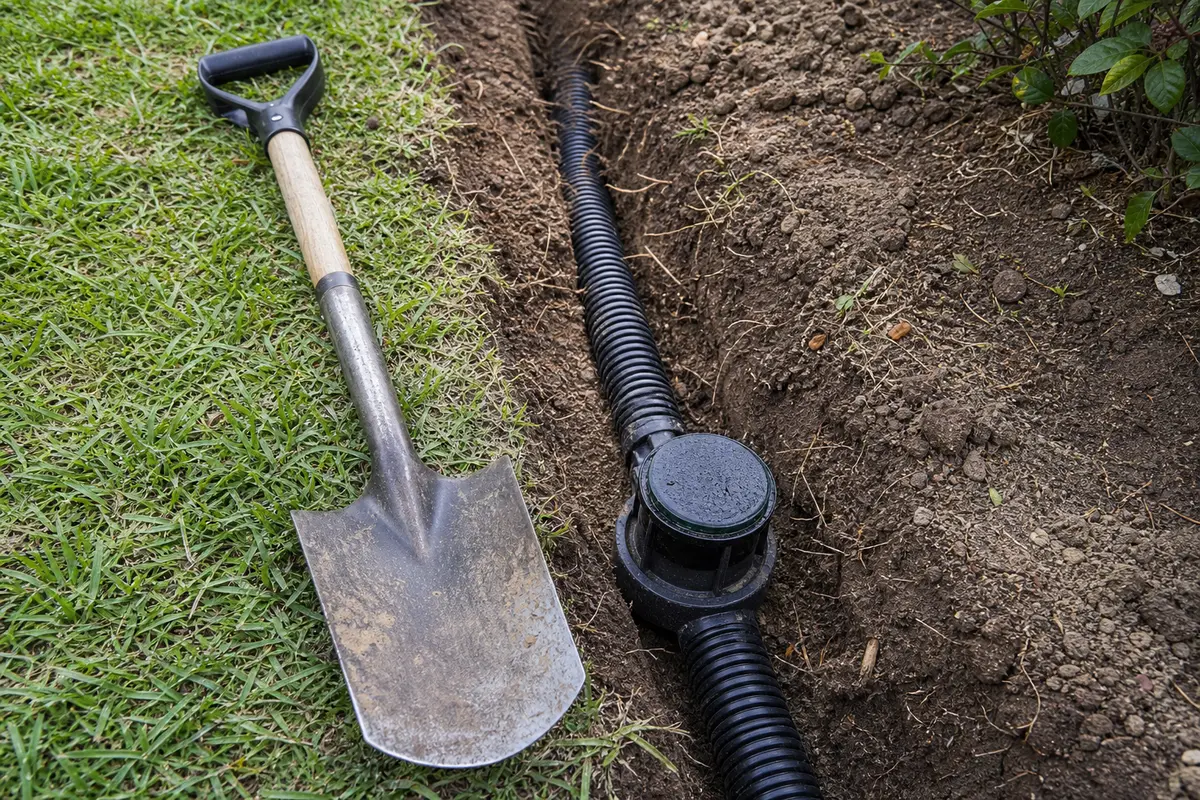
Hand shovel or trenching shovel tool

Hand shovel or trenching shovel

Use it for: Lets you uncover the elbow and nearby pipe without damaging the drain line.

Shop trenching shovels
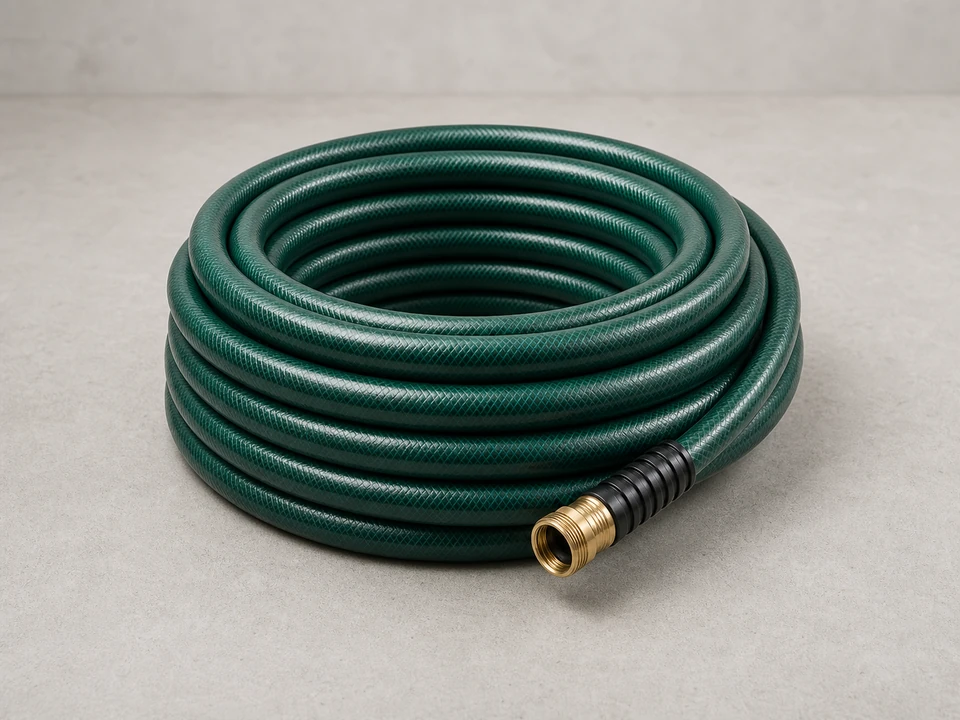
Garden hose tool

Garden hose

Use it for: Helps flush the line and test the new elbow before backfilling.

Shop garden hoses

Tape measure tool

Tape measure

Use it for: Helps you match the elbow size and check insertion depth and alignment.

Shop tape measures
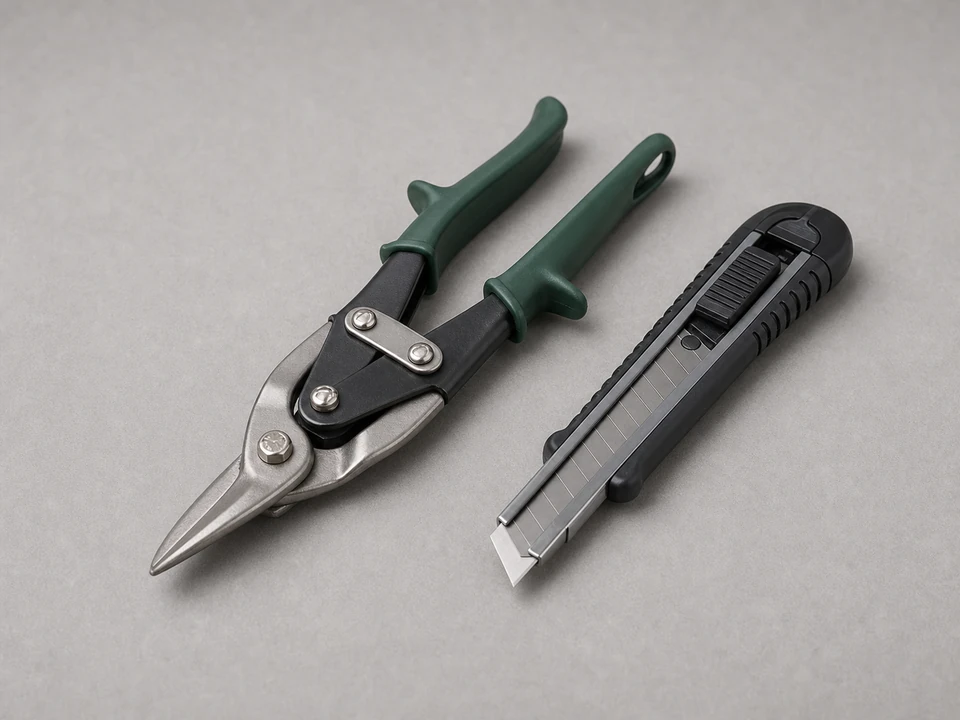
Tin snips or utility knife tool

Utility knife or tin snips

Use it for: Useful for trimming damaged connector material or cutting old fasteners if needed.

Shop utility knives
As an Amazon Associate I earn from qualifying purchases. Repair Riot may earn a commission at no extra cost to you.

Step-by-step fix

Step 1: Confirm the elbow is the problem

  1. Look at the base of the downspout where it turns into the buried drain line.
  2. Check for a visible crack, split seam, crushed bend, loose connection, or water spilling out at the elbow during rain or hose testing.
  3. Clear away leaves and mud around the opening so you can see whether the elbow itself is damaged or if the blockage is farther down the buried pipe.
  4. Run water from a hose into the downspout for a minute if conditions are dry, and watch where it leaks or backs up.

If it works: You have confirmed the buried downspout elbow is damaged, separated, or badly misshapen and is the likely cause of the drainage problem.

If it doesn’t: If water backs up but the elbow looks intact, try clearing the buried line first because the clog may be farther downstream.

Stop if:
  • The buried pipe beyond the elbow is crushed, collapsed, or badly offset.
  • You uncover major root intrusion or a broken underground drain line that extends beyond the elbow area.
  • The area is unstable, deeply eroded, or unsafe to dig around.

Step 2: Expose the elbow and loosen the connection

  1. Put on gloves and dig carefully around the elbow and the first section of buried pipe.
  2. Expose enough of the elbow and both connection points to remove and reinstall the part without forcing it.
  3. Brush off packed soil so dirt does not fall into the pipe when you separate the joint.
  4. If the elbow is attached with clamps, screws, or another simple fastener, loosen or remove them and set them aside if they are still usable.

If it works: The elbow and both ends of the connection are exposed and ready to come apart.

If it doesn’t: Dig a little farther along the pipe until you have enough room to pull the elbow free without bending the downspout or cracking the drain line.

Stop if:
  • The downspout, wall attachment, or nearby siding is loose enough that removing the elbow could pull other parts out of place.
  • You find hidden damage that makes the elbow only one part of a larger failure.

Step 3: Remove the old elbow and clean the mating ends

  1. Twist and pull the old elbow free from the downspout and buried drain connection.
  2. If it is stuck, work it loose gently instead of prying hard against the downspout or underground pipe.
  3. Remove old tape, sealant, dirt, and debris from the exposed ends so the new elbow can seat fully.
  4. Check the open drain line for packed mud or leaves and flush it lightly with a hose if needed.

If it works: The damaged elbow is out, and the connection points are clean and open.

If it doesn’t: If the elbow will not come free, cut only the damaged connector material or old fasteners and avoid cutting into the downspout or buried pipe itself.

Stop if:
  • The downspout outlet or buried pipe end is cracked, badly rusted, or too deformed to hold a new elbow securely.
  • Water will not pass through the buried line at all after the elbow is removed, which points to a deeper blockage or pipe failure.

Step 4: Fit the new buried downspout elbow

  1. Compare the new elbow to the old one for size, shape, and direction before installing it.
  2. Dry-fit the elbow first to make sure it lines up naturally between the downspout and the buried drain without strain.
  3. Slide the elbow fully into place and align it so water will turn smoothly into the underground line.
  4. Reinstall or add the simple fasteners your connection uses, such as clamps or screws, without overtightening and deforming the part.

If it works: The new elbow fits cleanly, lines up well, and feels secure at both ends.

If it doesn’t: If the elbow does not line up, recheck the size and angle before forcing it. A close-looking part can still be the wrong fit.

Stop if:
  • The replacement elbow cannot seat properly because the downspout and buried pipe no longer line up.
  • The surrounding pipe has shifted enough that the new elbow is under constant tension.

Step 5: Test the repair before backfilling

  1. Run water from a hose into the downspout for several minutes.
  2. Watch the new elbow closely for drips, seepage, or movement at both connections.
  3. Check the discharge point or downstream outlet to confirm water is actually moving through the buried line.
  4. Make any small alignment or fastener adjustments while the elbow is still exposed.

If it works: Water flows through the new elbow without leaking, backing up, or pulling the connection out of place.

If it doesn’t: If you still have backup with no leak at the elbow, the buried drain line likely needs cleaning or repair farther downstream.

Stop if:
  • Water leaks from a crack in the buried pipe rather than from the elbow connection.
  • The elbow shifts noticeably during flow, which means the fit or pipe alignment is not stable enough to bury yet.

Step 6: Backfill and confirm it holds in real use

  1. Backfill the area with the removed soil in layers, pressing it in gently so you support the elbow without crushing the pipe.
  2. Keep the downspout and elbow aligned as you finish covering the repair.
  3. After the next steady rain, or with another longer hose test, check that water enters the buried line cleanly and does not surface around the foundation.
  4. Look again a day later for settling soil that might need topping off.

If it works: The repair stays dry, the soil remains stable, and water moves away from the house the way it should.

If it doesn’t: If water resurfaces near the elbow after backfilling, uncover the connection again and check for a loose joint or a downstream blockage you missed.

Stop if:
  • The area repeatedly washes out, settles heavily, or stays soggy, which suggests a larger drainage problem beyond the elbow repair.

Replacement Parts

As an Amazon Associate I earn from qualifying purchases. Repair Riot may earn a commission at no extra cost to you.

Verify the repair

  • Water runs from the downspout into the buried line without spilling at the elbow.
  • The new elbow stays aligned and does not shift during a full hose test.
  • The downstream outlet shows steady flow, or the line otherwise drains normally.
  • No water pools near the foundation after rain or testing.

FAQ

How do I know whether the elbow needs replacement instead of just cleaning?

Replace it if it is cracked, crushed, split at a seam, badly rusted, or no longer stays connected. If it is intact and the problem is only a blockage, cleaning the line may be enough.

Can I reuse the old fasteners?

You can reuse clamps or screws if they are not rusted, stripped, or bent. If they no longer tighten securely, replace them so the new elbow stays put.

What if the new elbow is close but does not quite fit?

Do not force it. Buried downspout parts can look similar while having different sizes or angles. Match the opening size and connection style to your existing downspout and drain line.

Should I seal the connection?

Some setups rely mainly on a snug mechanical fit with clamps or screws, while others may use simple sealing methods. The key is a secure, aligned connection that does not leak during testing. Avoid heavy buildup that prevents the part from seating fully.

Why does the elbow keep clogging?

The elbow often catches debris when the buried line is partially blocked, the pipe has settled out of alignment, or the downspout carries a lot of roof grit and leaves. Replacing the elbow helps only if the elbow itself is damaged or misshapen.