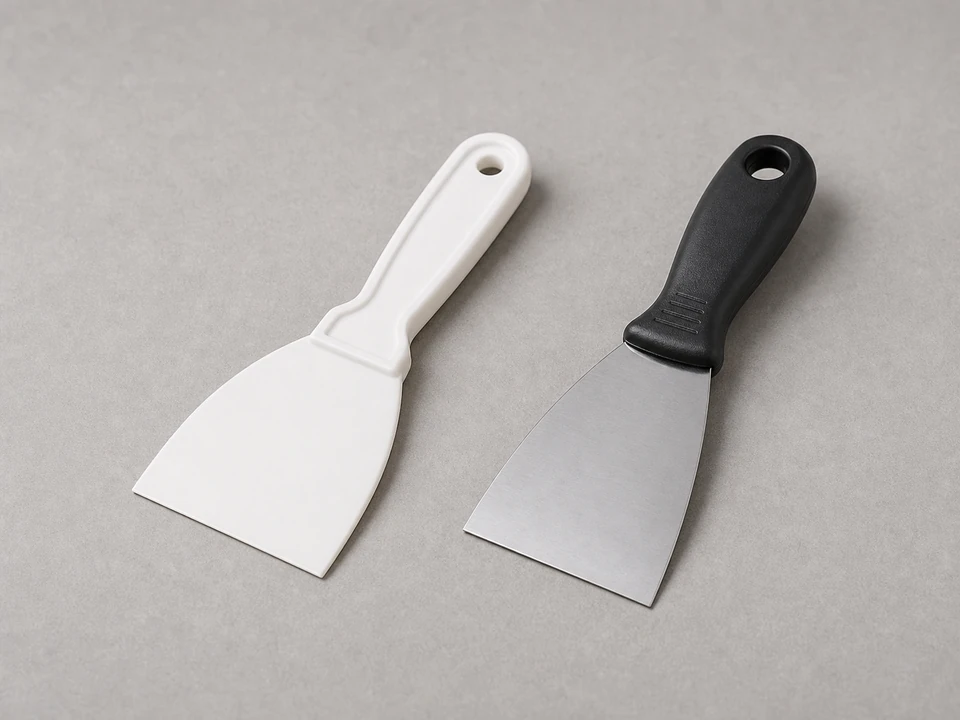
Putty knife or plastic scraper
Use it for: To lift old weatherstripping and scrape off stuck adhesive without gouging the frame.
Shop scrapers for window seal removalTo replace casement window weatherstripping, confirm the old seal is torn, flattened, loose, or missing, then remove it carefully, clean the mounting area, install matching new weatherstripping, and test the window for a smooth close and even seal.
This is a manageable homeowner repair if the window frame is solid and the sash still lines up reasonably well. The key is using the right weatherstripping shape and not forcing the sash closed against a seal that is too thick or installed crooked.
Before you start: Match the profile, length, and window compatibility before ordering.
Use it for: To lift old weatherstripping and scrape off stuck adhesive without gouging the frame.
Shop scrapers for window seal removal
Use it for: To cut the new weatherstripping cleanly to length.
Shop utility knives
Use it for: To measure each run before cutting the replacement seal.
Shop tape measures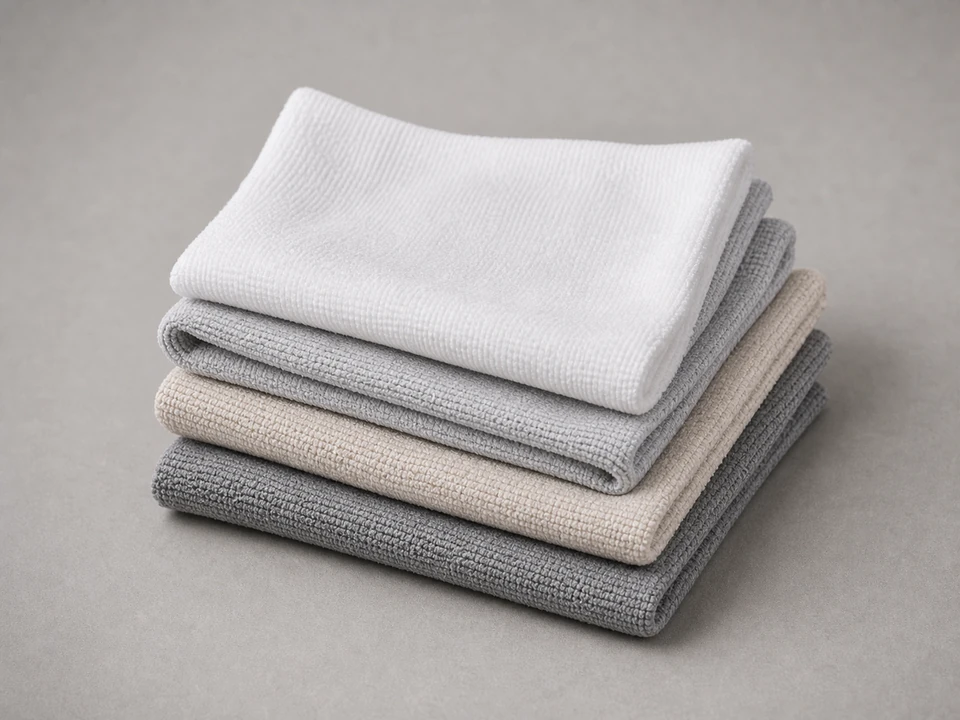
Use it for: To wipe dust, old adhesive, and grime from the channel or contact surface.
Shop cleaning rags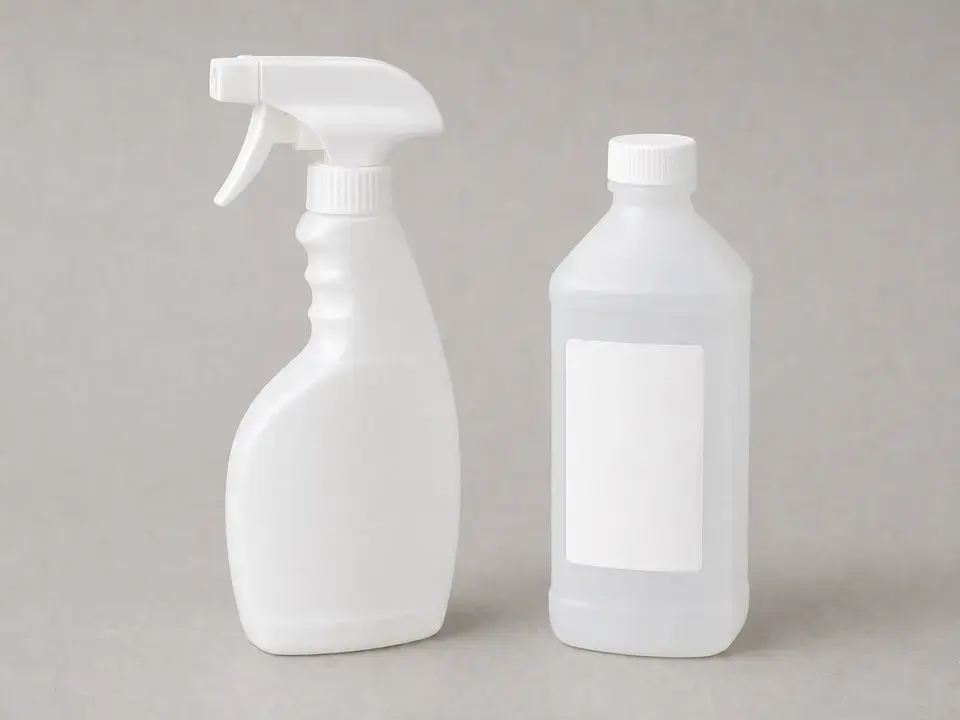
Use it for: To help remove residue so the new weatherstripping sits flat and stays in place.
Shop surface cleaner for prep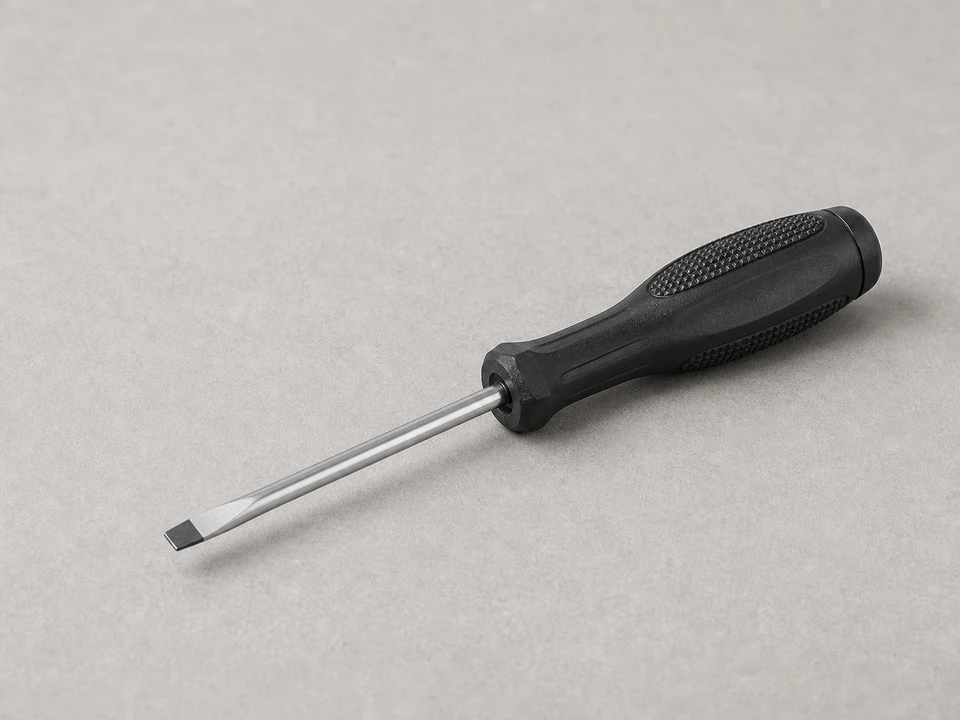
Use it for: To ease stubborn sections out of narrow grooves if needed.
Shop small flat screwdriversAs an Amazon Associate I earn from qualifying purchases. Repair Riot may earn a commission at no extra cost to you.
If it works: You can point to worn or damaged weatherstripping as the reason the window is drafty, hard to close, or no longer sealing evenly.
If it doesn’t: If the seal looks good but the sash is rubbing, sagging, or not pulling in evenly, inspect the hinges, operator, and frame alignment before replacing the weatherstripping.
If it works: The old weatherstripping is fully removed and you have a sample to match.
If it doesn’t: If part of the old seal breaks off in the groove, keep picking it out carefully until the channel is clear enough for the new piece to seat fully.
If it works: The mounting area is clean, dry, and smooth enough for the new weatherstripping to fit evenly.
If it doesn’t: If residue keeps the surface uneven, continue cleaning until the replacement can lie flat without rocking or bunching.
If it works: You have replacement pieces cut to the right lengths and matched to the original profile.
If it doesn’t: If the new weatherstripping looks much thicker, thinner, or shaped differently than the old piece, pause and get a better match before installing it.
If it works: The new weatherstripping sits evenly along the sash or frame with no obvious gaps, twists, or loose sections.
If it doesn’t: If a section pops out or wrinkles, pull that section back up and reinstall it straight before moving on.
If it works: The window closes and latches normally, the new weatherstripping stays in place, and the seal feels tighter than before.
If it doesn’t: If the window still leaks air or is hard to latch, recheck the weatherstripping orientation and fit. If the seal is installed correctly, the window may also need hinge, operator, or alignment repair.
Match the profile, length, and window compatibility before ordering.
As an Amazon Associate I earn from qualifying purchases. Repair Riot may earn a commission at no extra cost to you.
Replace it if it is torn, flattened, brittle, loose, missing, or no longer sealing out drafts. It can also be the problem if the window suddenly feels harder to close because the old seal has shifted or bunched up.
Yes, if the rest of the weatherstripping is still in good shape and you can match the profile closely. If several sections are worn, replacing all of it at once usually gives a more even seal.
Bring a sample piece and compare the shape, width, and compression of the seal. A close profile match matters more than color. If the replacement is too thick or the wrong shape, the sash may not close correctly.
The sash may be out of alignment, the hinges or operator may be worn, or the frame may have gaps in another area. Recheck that the new seal is seated fully and not installed backward before looking for hardware or frame issues.
Only if the replacement style is made for adhesive installation. Some types press into a groove and should not need extra glue. Use the mounting method that matches the replacement style and the original setup.