
Tape measure
Use it for: To measure the old strip and cut the new piece to length.
Shop tape measuresTo replace sliding window weatherstripping, remove the sash if needed, pull out the worn strip, clean the channel, and install new weatherstripping that matches the old profile and length.
This repair helps when a sliding window feels drafty, rattles, or no longer seals tightly even after cleaning. The key is using the right style of weatherstripping and getting it seated fully without stretching it.
Before you start: Match the profile, length, and window compatibility before ordering.
Use it for: To measure the old strip and cut the new piece to length.
Shop tape measures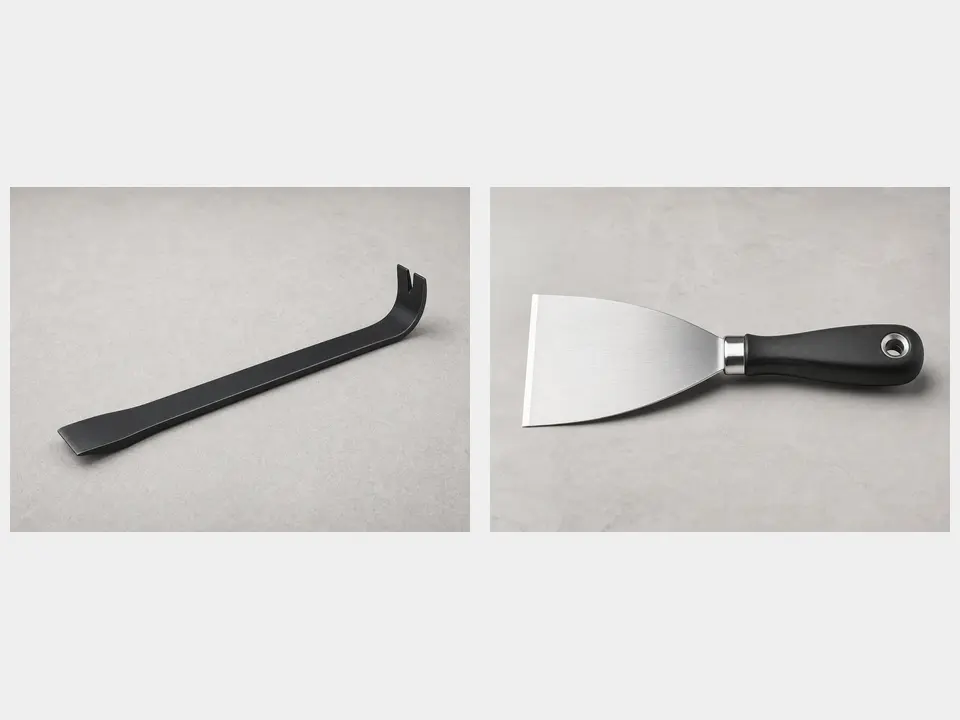
Use it for: To lift old weatherstripping without gouging the frame.
Shop putty knives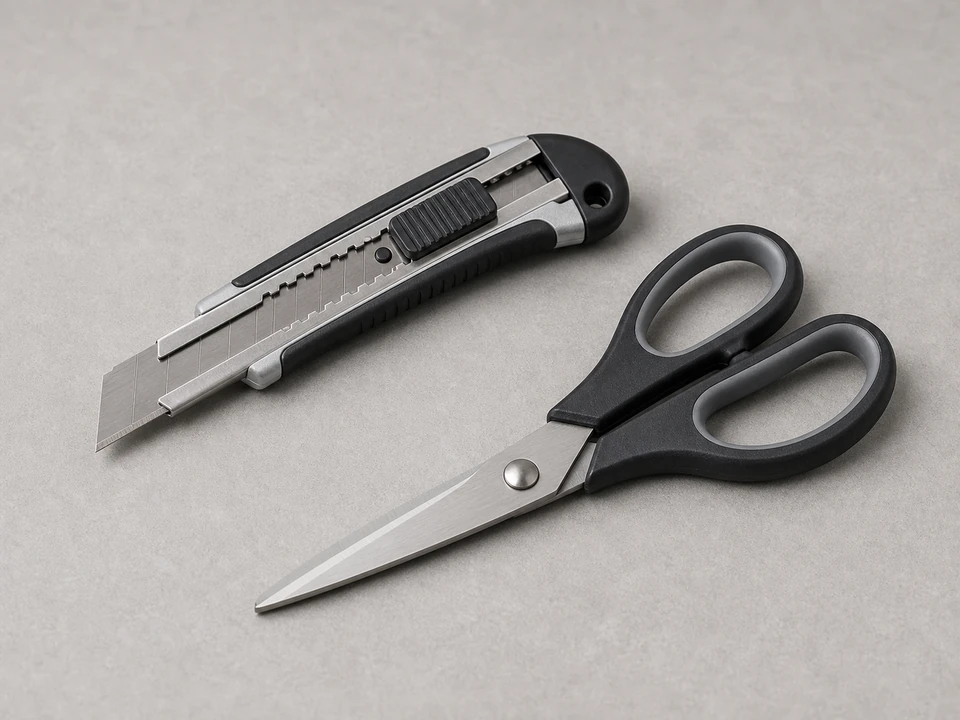
Use it for: To trim the new weatherstripping cleanly.
Shop utility knives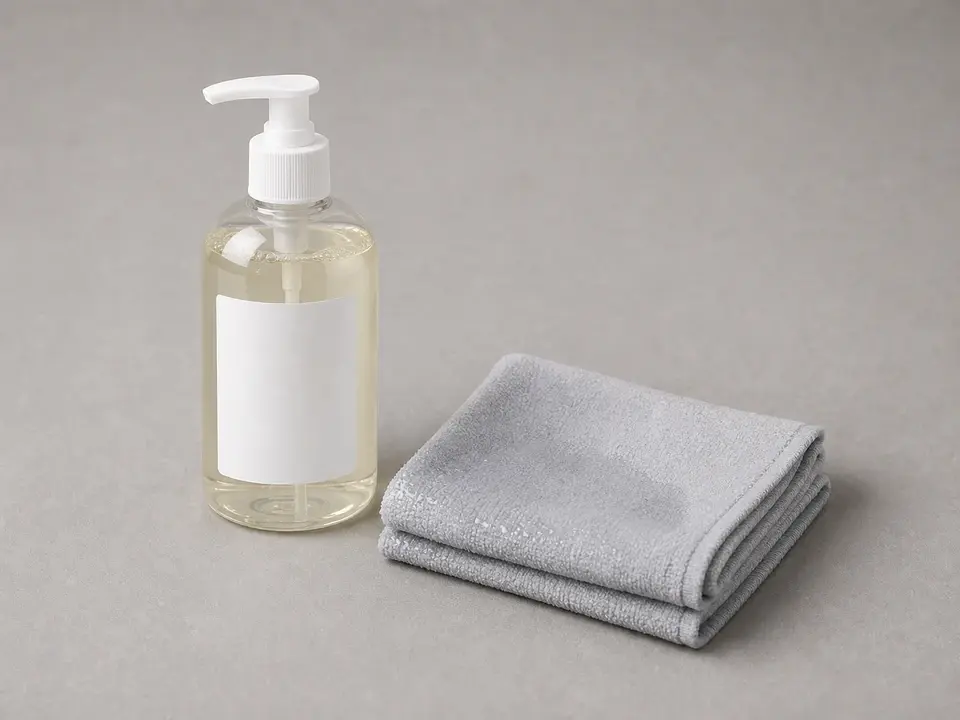
Use it for: To remove dirt and old adhesive residue from the channel.
Shop cleaning rags
Use it for: To grab stubborn pieces of old weatherstripping.
Shop needle-nose pliers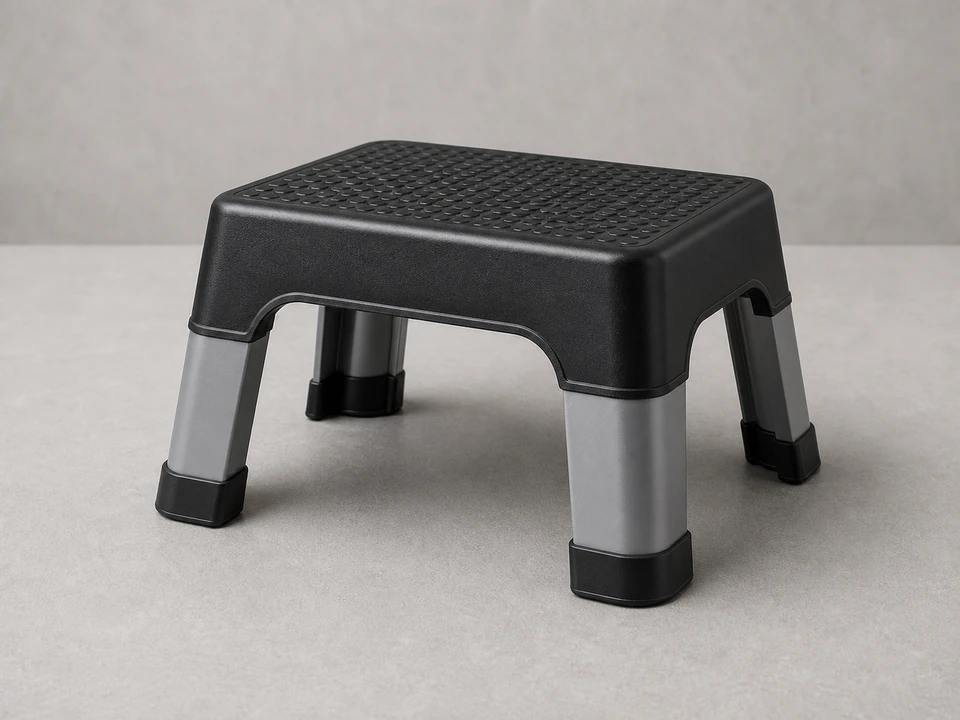
Use it for: To reach the top track safely on taller windows.
Shop step stoolsAs an Amazon Associate I earn from qualifying purchases. Repair Riot may earn a commission at no extra cost to you.
If it works: You found damaged or missing weatherstripping, or the window still leaks air after basic cleaning.
If it doesn’t: If the strip looks intact and the problem is mostly sticking or dragging, clean and inspect the track, rollers, and frame alignment before replacing weatherstripping.
If it works: You can clearly access the old weatherstripping and know its length and mounting style.
If it doesn’t: If the sash will not come out easily, do not force it. Work with the sash in place or look for removable stops or retainers you can safely reinstall later.
If it works: The old strip is fully removed and the mounting area is clean, smooth, and dry.
If it doesn’t: If residue keeps the surface uneven, keep cleaning until the new strip can sit flat from end to end.
If it works: The new weatherstripping matches the old style and fits the opening without twisting, stretching, or buckling.
If it doesn’t: If the new strip is too loose, too wide, or the contact surface is wrong, pause and get a closer profile match before installing it permanently.
If it works: The new strip is fully seated, stays in place, and the sash closes against it evenly.
If it doesn’t: If a section pops out or wrinkles, remove that section and reinstall it before using the window normally.
If it works: The window slides normally, closes fully, and seals better with less draft and movement.
If it doesn’t: If the window still leaks air or rattles, inspect for additional worn weatherstripping on another edge, frame misalignment, or a sash that is not closing squarely.
Match the profile, length, and window compatibility before ordering.
As an Amazon Associate I earn from qualifying purchases. Repair Riot may earn a commission at no extra cost to you.
Match the old piece by profile, width, thickness, and how it mounts. Bring a sample when possible, and compare whether it slides into a groove, presses into a slot, or sticks on with adhesive.
Yes, if the rest is still flexible and sealing well. But if the material is the same age all around the sash, replacing all worn sections at once usually gives a more even seal.
Weatherstripping can add slight resistance, but heavy dragging usually points to a dirty track, worn rollers, paint buildup, or sash alignment problems rather than the seal alone.
It should make even contact without bunching up or forcing the sash badly out of line. Too loose will leak air, and too tight can make the window hard to operate.
Sometimes as a temporary fix, but it often does not last or fit as well as the original style. A closer profile match usually seals better and interferes less with sliding.