
HVAC how-to

How to Replace a Condensate Drain Line

To replace a condensate drain line, turn the system off, remove the old line carefully, install a matching replacement with the same slope and connection style, then test that water drains freely without leaking.

A damaged, brittle, or badly clogged condensate drain line can let water leak around your HVAC equipment. This job is usually manageable for a homeowner if the line is easy to reach and the connections are straightforward. Stop and call a pro if the drain routing is hidden, glued into a larger assembly you cannot identify, or tied into a pump or safety switch setup you are not comfortable reconnecting.

Before you start: Match the size and connection style before ordering.

Prepared by: Repair Riot Last updated: 2026-06-05 How we build and check guides

Safety first

  • Turn the thermostat off before disconnecting the drain line, and shut off power to the indoor unit if you can safely do so.
  • Use caution around sheet metal edges and wet areas near electrical components.
  • Do not force brittle plastic fittings or the drain outlet on the equipment.
  • Stop if the drain line is tied into wiring, a condensate pump, or hidden plumbing you cannot identify clearly.

Tools you may need

Work gloves tool

Work gloves

Use it for: Protects your hands from sharp sheet metal edges, dirty water, and brittle plastic.

Shop work gloves

Bucket or shallow pan tool

Bucket or shallow pan

Use it for: Catches leftover condensate when you disconnect the old line.

Shop shallow drain pan
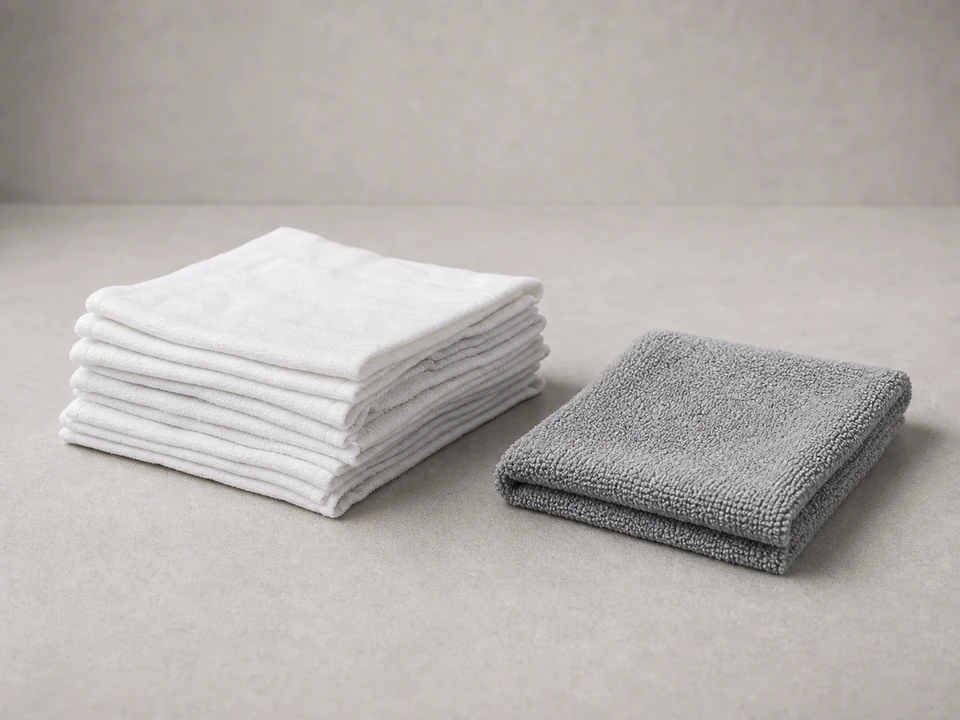
Towels or rags tool

Towels or rags

Use it for: Helps clean up water and wipe connection points dry before reassembly.

Shop cleaning rags

Tape measure tool

Tape measure

Use it for: Lets you match the replacement line length and diameter.

Shop tape measures
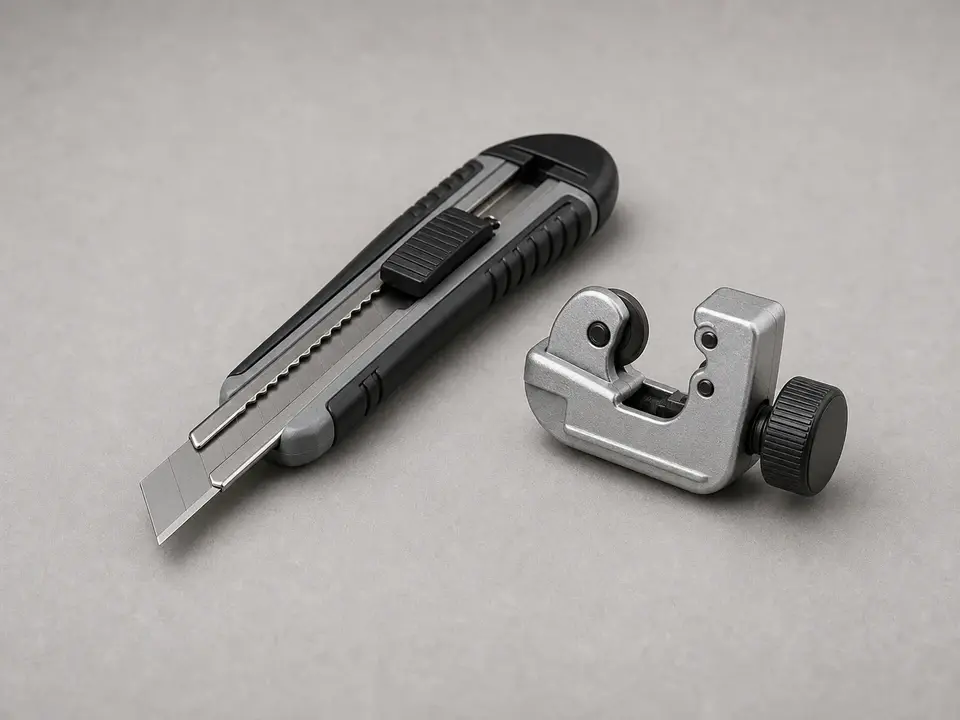
PVC cutter or utility knife tool

PVC cutter or utility knife

Use it for: Cuts replacement tubing or pipe cleanly to length.

Shop PVC cutters
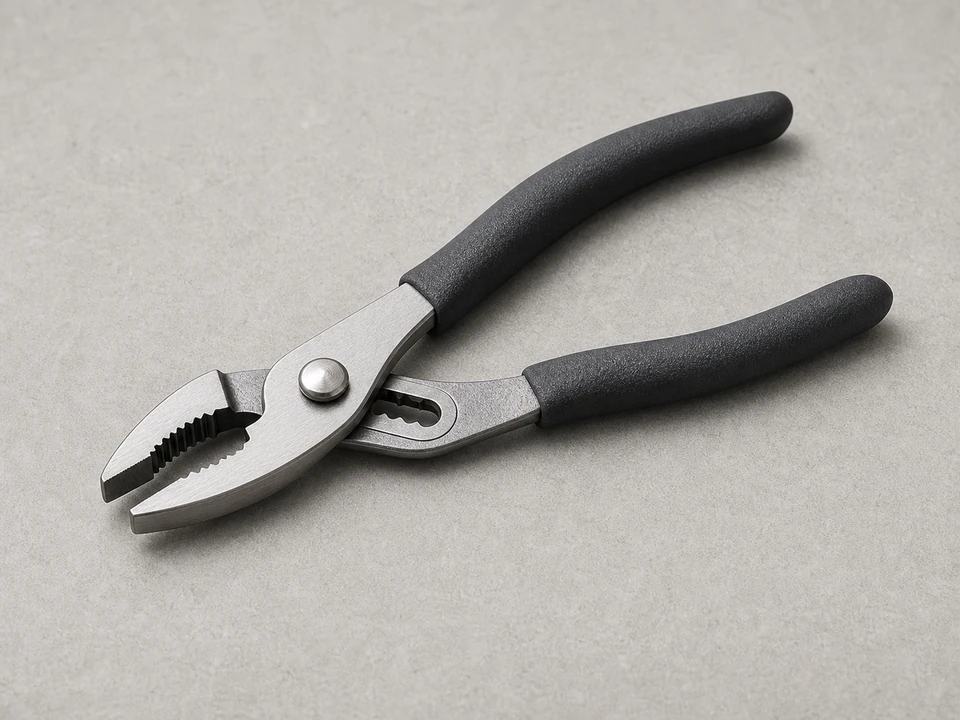
Slip-joint pliers tool

Slip joint pliers

Use it for: Helps loosen clamps or stubborn fittings without excessive force.

Shop slip-joint pliers

As an Amazon Associate I earn from qualifying purchases. Repair Riot may earn a commission at no extra cost to you.

Step-by-step fix

Step 1: Shut the system down and set up the area

  1. Turn the HVAC system off at the thermostat.
  2. If you can safely reach the service switch or breaker for the indoor unit, turn that off too.
  3. Place a bucket or shallow pan under the drain connection area.
  4. Lay down towels to catch any remaining water from the line.
  5. Take a quick photo of the current drain routing and how it connects before you remove anything.

If it works: The system is off, the area is protected, and you have a reference photo for reassembly.

If it doesn’t: If the unit is still running or you cannot safely access the drain area, stop and get help before continuing.

Stop if:
  • You see active electrical exposure near standing water.
  • The drain line disappears into a finished wall or ceiling and you cannot trace it.
  • You are not sure which line is the condensate drain line.

Step 2: Confirm the replacement line matches

  1. Measure the old drain line diameter and the approximate length you need to replace.
  2. Check whether the existing line uses flexible tubing, rigid pipe, or a mix of fittings.
  3. Compare the new condensate drain line to the old one so the size and connection style match.
  4. If you are reusing any fittings that are still in good shape, inspect them for cracks or heavy buildup.

If it works: You have a replacement line that matches the old line well enough to install without forcing connections.

If it doesn’t: If the new line is the wrong size or uses a different connection style, pause and get the correct part before removing more pieces.

Stop if:
  • The connection at the unit looks custom, glued, or damaged in a way you cannot duplicate safely.
  • The drain setup includes a condensate pump or safety switch wiring you are not prepared to reconnect.

Step 3: Remove the old condensate drain line

  1. Loosen clamps or disconnect fittings at the unit end first while holding the line over the bucket.
  2. Work along the line and disconnect supports or straps as needed.
  3. Pull the old line free gently to avoid cracking the drain port on the equipment.
  4. If the line is rigid and must be cut out, make a clean cut and leave enough straight section for reconnection if possible.
  5. Inspect the removed line for splits, heavy slime, or mineral buildup that may have caused the problem.

If it works: The old drain line is removed without damaging the drain outlet or nearby components.

If it doesn’t: If the line will not come free or the drain outlet starts flexing, stop before you break the connection on the unit.

Stop if:
  • The drain port on the equipment cracks or loosens.
  • You uncover hidden damage, corrosion, or signs of long-term water leakage inside the cabinet.
  • Removing the line requires opening sealed equipment sections you are not trained to service.

Step 4: Prepare and install the new line

  1. Cut the new condensate drain line to length if needed.
  2. Route it along the same general path as the old line, keeping a steady downward slope toward the drain point.
  3. Reconnect the line at the unit first, then secure the rest of the run with existing supports or straps.
  4. Make sure the line is not kinked, pinched, or sagging where water could collect.
  5. Keep the outlet end positioned so water can discharge freely into the intended drain location.

If it works: The new line is connected securely and routed with a clear downhill path for drainage.

If it doesn’t: If the line has to bend sharply, sits uphill, or feels loose at the connection, adjust it before testing.

Stop if:
  • You cannot create a continuous downward slope.
  • The connection leaks immediately during setup.
  • The line interferes with access panels, wiring, or moving parts.

Step 5: Test the drain line for flow and leaks

  1. Dry the connection points so new leaks are easy to spot.
  2. Restore power to the unit if you turned it off at the switch or breaker.
  3. Turn the thermostat back on and let the system run long enough to produce condensate, if conditions allow.
  4. Watch the drain connection, the full length of the line, and the outlet end for drips, backing up, or slow drainage.
  5. If your system has an accessible drain opening intended for maintenance, you can add a small amount of clean water there to confirm the line drains freely.

If it works: Water moves through the new line and exits where it should without leaking.

If it doesn’t: If water backs up, drips from a connection, or does not reach the outlet, shut the system back off and correct the routing or connection.

Stop if:
  • Water leaks into the equipment cabinet.
  • The drain pan fills instead of emptying.
  • Testing suggests a blockage farther downstream that you cannot access.

Step 6: Finish up and monitor the first few cycles

  1. Reinstall any covers or panels you removed.
  2. Remove the bucket and wet towels, then clean the area around the unit.
  3. Check again after the next cooling cycle for any slow leaks or drips.
  4. Keep the reference photo and measurements in case you need future maintenance or another replacement.

If it works: The system is back together, the area is dry, and the new drain line continues to drain properly.

If it doesn’t: If you notice delayed leaking or repeated backup after a cycle or two, turn the system off and inspect the slope, outlet, and downstream drain path again.

Stop if:
  • Leaks return after repeated adjustments.
  • You smell musty water from hidden areas.
  • The unit shuts itself off due to a drain-related safety device.

Replacement Parts

As an Amazon Associate I earn from qualifying purchases. Repair Riot may earn a commission at no extra cost to you.

Verify the repair

  • The new condensate drain line matches the old line size and connection style.
  • The line has a steady downward slope with no kinks, sags, or pinched spots.
  • Connections stay dry while the system runs and produces condensate.
  • Water exits at the intended drain point without backing up into the unit.
  • The area around the air handler or furnace remains dry after the next few cycles.

FAQ

Can I replace only part of the condensate drain line?

Yes, if the damaged section is accessible and you can make a secure connection to the remaining line. Replace the full run if the rest of the line is brittle, heavily clogged, or routed poorly.

What if the new line still does not drain well?

Check for an uphill section, a sag that traps water, or a blockage farther downstream. If the outlet path is hidden or tied into other drain components, it may be time for professional service.

Do I need the exact same material as the old line?

Not always, but the replacement should match the size and connection style and be suitable for condensate drainage. The safest approach is to match the original setup as closely as possible.

How do I know the line is the right size?

Measure the outside diameter of the old line or the fitting it connects to, and compare both ends before ordering. Do not force a line that feels loose or overly tight.

Should I clean the drain pan too while I am doing this?

Yes, if you can reach it safely. Wiping out slime or debris from the pan can help you confirm the new line is draining properly and reduce future clogs.