
Screwdriver set
Use it for: To remove the control panel, mounting screws, and any brackets holding the switch in place.
Shop screwdriver setsTo replace a cooktop surface element switch, first confirm the burner control is the problem, shut off power to the cooktop, remove the control knob and access panel, transfer the wires to the new switch one at a time, then reassemble and test the burner through a normal heat cycle.
A failed surface element switch can leave a burner stuck on, unable to heat, or heating at the wrong level. This repair is manageable for many homeowners, but it does involve live-circuit components, so the safe part is disconnecting power and keeping the wiring organized.
Before you start: Match the switch function, terminal layout, shaft style, and wiring compatibility to your cooktop before ordering.
Use it for: To remove the control panel, mounting screws, and any brackets holding the switch in place.
Shop screwdriver sets
Use it for: To pull wire terminals off the old switch without yanking on the wires.
Shop needle-nose pliers
Use it for: To photograph the wire layout before you move anything.
Shop small work cameras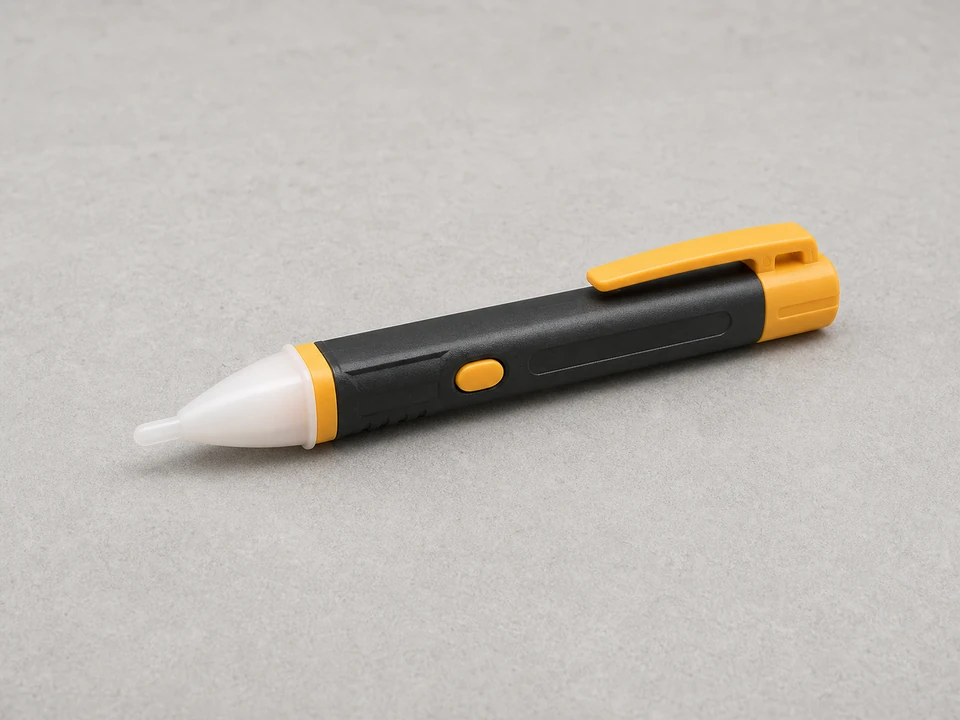
Use it for: To double-check that power is off before touching wiring.
Shop non-contact voltage testers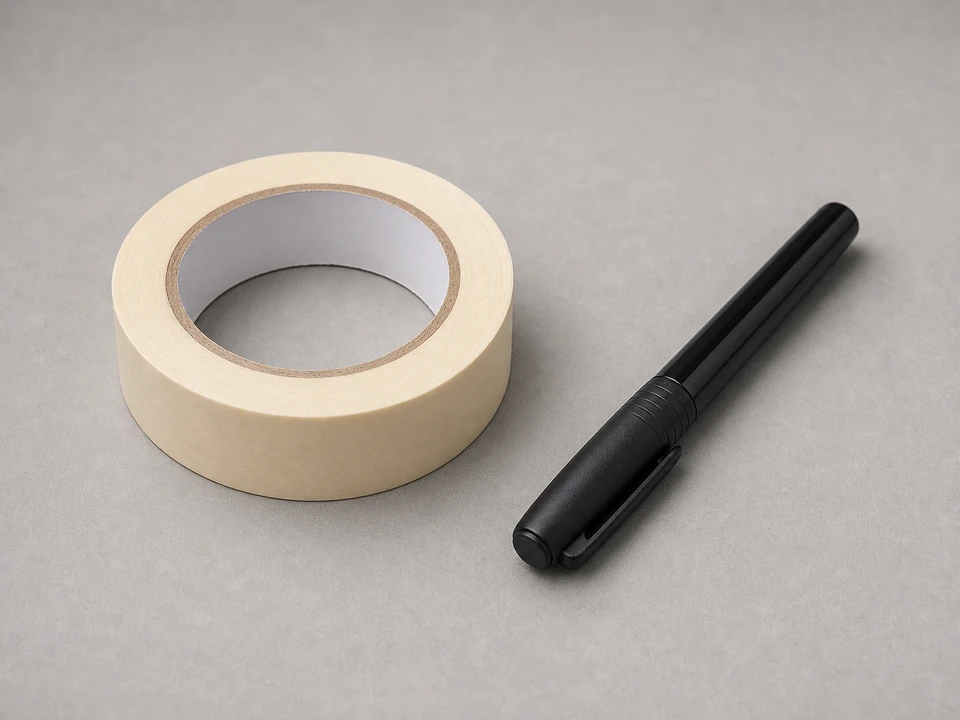
Use it for: To label wires if the terminals are crowded or hard to see.
Shop masking tape and markersAs an Amazon Associate I earn from qualifying purchases. Repair Riot may earn a commission at no extra cost to you.
If it works: You have a clear reason to replace the switch, and the problem is centered on one burner control.
If it doesn’t: If multiple burners act up, the cooktop has broader power issues, or the symptom follows the burner itself, pause and diagnose that first before replacing the switch.
If it works: The cooktop is safely de-energized and you can see the back of the old switch and its wiring.
If it doesn’t: If you cannot safely access the switch without lifting a glass top, removing the cooktop from the counter, or disconnecting hardwired connections you are not comfortable with, schedule service.
If it works: You have a reliable record of the wire layout and the old switch is ready to come out.
If it doesn’t: If the terminal markings are unreadable, use your photos and labels before moving further so the new switch goes back exactly the same way.
If it works: The new switch is installed with each wire on the correct terminal and the switch is firmly mounted.
If it doesn’t: If a wire will not stay on a terminal or the terminal fit is sloppy, correct that now before reassembly so the connection does not overheat later.
If it works: The cooktop is back together, powered up, and ready for a controlled test.
If it doesn’t: If the knob binds, sits crooked, or does not line up with the panel markings, remove it and check that the switch is mounted squarely.
If it works: The burner heats, adjusts, and shuts off normally, and the repair holds during actual use.
If it doesn’t: If the burner still stays on, will not heat correctly, or the indicator behavior is still wrong, recheck the wire placement and part fit. If those are correct, the problem may be elsewhere in the burner circuit.
Match the switch function, terminal layout, shaft style, and wiring compatibility to your cooktop before ordering.
As an Amazon Associate I earn from qualifying purchases. Repair Riot may earn a commission at no extra cost to you.
It controls power to one surface burner and changes how much heat that burner produces as you turn the knob.
A bad switch often makes one burner stay on, not turn on, or ignore the heat setting. If the burner itself is damaged or the receptacle is burnt, the problem may not be the switch.
Sometimes yes, sometimes no. Some cooktops give access through the control area, while others need to be lifted or partially removed to reach the back of the switch.
A photo is often enough, but labeling helps when several terminals are close together or your photo angle is not perfect. Using both is the safest approach.
Do not install it unless the function, terminal layout, shaft style, and wiring compatibility match your original switch. A close-looking part can still be the wrong one.