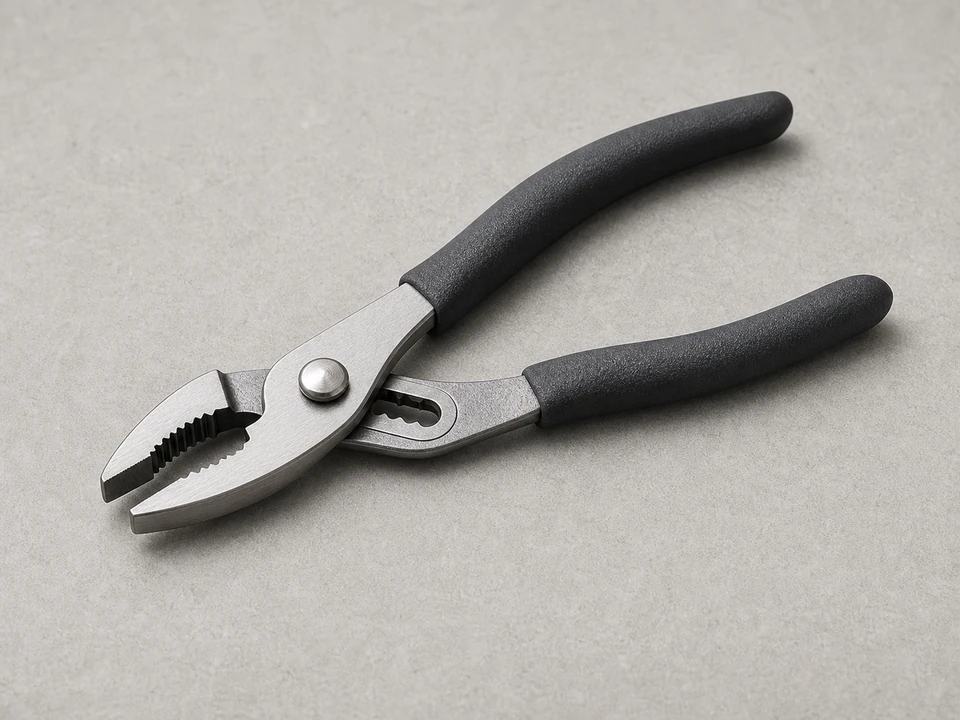
Slip joint pliers
Use it for: To loosen and tighten hose clamps and the mounting nut under the sink.
Shop slip-joint pliersTo replace a dishwasher air gap assembly, confirm the leak or damage is at the air gap, shut off power to the dishwasher, remove the old air gap from the sink or countertop, transfer the drain hoses to the new assembly, then test for leaks during a drain cycle.
A dishwasher air gap usually sits on the sink deck or countertop near the faucet. If it is cracked, loose, or leaking from the body instead of just spitting water because of a clog, replacement is usually straightforward. The main job is getting the hoses back onto the correct ports and making sure the new assembly is seated tightly without kinking the drain lines.
Before you start: Match the replacement part to your exact dishwasher before ordering.
Use it for: To loosen and tighten hose clamps and the mounting nut under the sink.
Shop slip-joint pliers
Use it for: To remove hose clamps if your air gap uses screw-style clamps.
Shop screwdriver set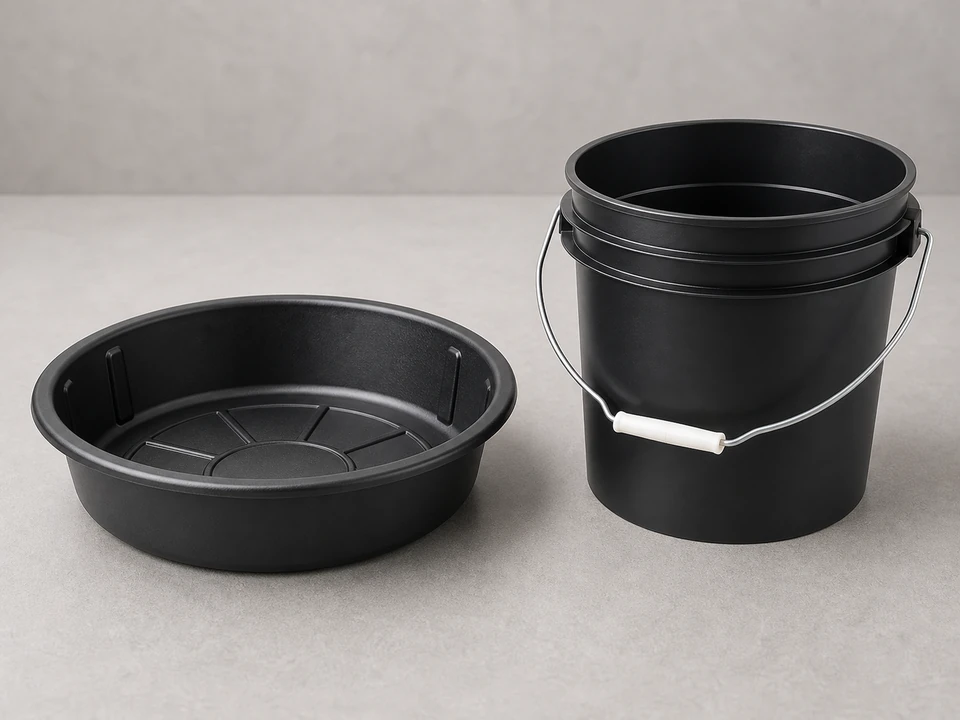
Use it for: To catch water left in the drain hoses when you disconnect them.
Get a small drain pan
Use it for: To protect the cabinet floor and wipe up spills under the sink.
Shop absorbent shop towels
Use it for: To see the air gap nut, hose routing, and clamp positions under the sink.
Get a work flashlightAs an Amazon Associate I earn from qualifying purchases. Repair Riot may earn a commission at no extra cost to you.
If it works: You have confirmed the air gap assembly is damaged, leaking at its body or seal, or too worn to reuse.
If it doesn’t: If the air gap is not damaged and the problem is only a blockage, clean the air gap and drain hose path first instead of replacing the assembly.
If it works: The dishwasher is safely off, the cabinet is protected, and you have a reference for hose placement.
If it doesn’t: If you cannot safely shut off power or access the air gap connections, pause and get help before continuing.
If it works: The old air gap assembly is out and the opening is clean and ready for the new part.
If it doesn’t: If a hose is stuck, rotate it gently with pliers and work it loose without crushing the hose. If the hose tears, replace that hose before reassembly.
If it works: The new air gap assembly is mounted straight, secure, and ready for the hoses.
If it doesn’t: If the body spins or sits crooked, loosen it, reseat the gasket, and tighten again until it sits flat.
If it works: Both hoses are secure, routed cleanly, and attached to the correct ports.
If it doesn’t: If you are unsure which hose goes where, use your photo and trace each hose by hand before testing. The dishwasher hose and the drain-to-disposal hose should not be swapped.
If it works: The dishwasher drains normally and the new air gap assembly stays dry at the top, base, and hose connections.
If it doesn’t: If water still comes out of the air gap opening, the drain path to the sink drain or disposal is likely restricted and needs to be cleared. If the leak is at a hose connection, reseat the hose and clamp and test again.
Match the replacement part to your exact dishwasher before ordering.
As an Amazon Associate I earn from qualifying purchases. Repair Riot may earn a commission at no extra cost to you.
It helps prevent dirty sink or drain water from flowing back into the dishwasher drain line. It creates a physical break in the drain path above the sink level.
Replace it if the body is cracked, the mounting area leaks, the ports are damaged, or the assembly will not seal securely anymore. If it is only clogged with debris, cleaning is usually enough.
That usually means the drain path after the air gap is restricted. The hose from the air gap to the sink drain or disposal may be clogged, kinked, or installed poorly.
Usually yes, if they are still flexible, the ends are not split, and they fit the new air gap ports securely. Replace any hose that is brittle, swollen, or damaged.
Usually no. Most air gap assemblies use their own gasket and mounting hardware. Follow the replacement part's included pieces and avoid adding sealant unless the part instructions specifically call for it.