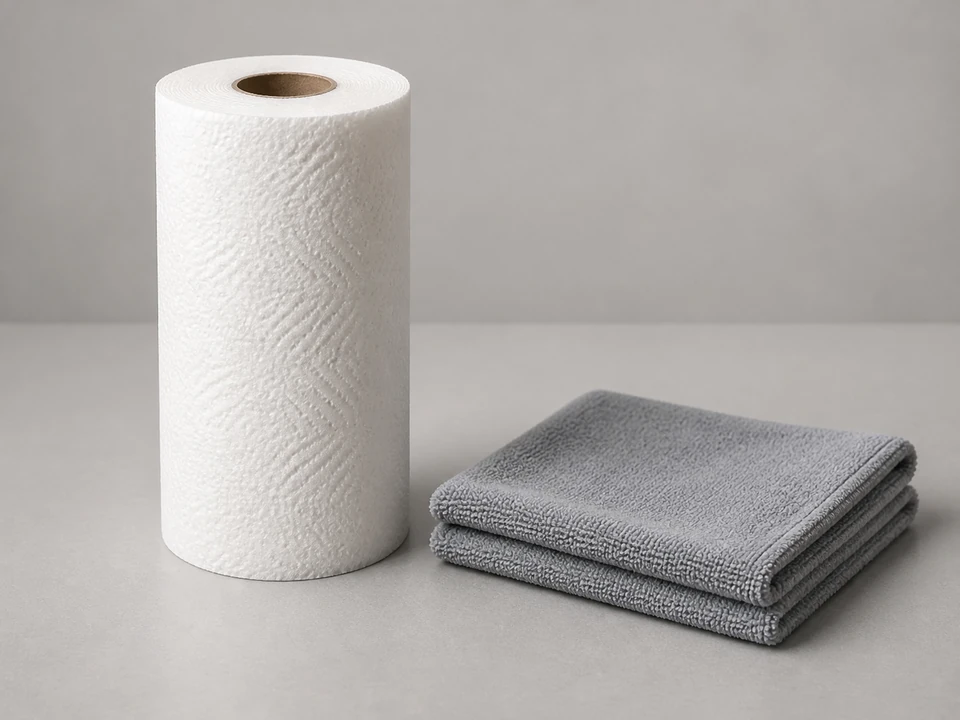
Soft cloth or paper towels
Use it for: To wipe away rinse aid and clean the cap seating area before installing the new part.
Shop cleaning clothsIf the rinse aid cap is cracked, missing, loose, or will not stay closed, replacing it is usually a quick repair. The new cap needs to match your dishwasher and seat fully so rinse aid stays inside the dispenser until the wash cycle uses it.
This is a good homeowner repair when the dispenser itself is still intact and only the cap is damaged or not sealing. Work with the dishwasher empty and the door open so you can see the dispenser clearly.
Before you start: Match the replacement part to your exact dishwasher before ordering.
Use it for: To wipe away rinse aid and clean the cap seating area before installing the new part.
Shop cleaning cloths
Use it for: To loosen sticky rinse aid residue around the dispenser opening and threads.
Shop small cleaning bowls
Use it for: To clean residue off the dispenser opening without damaging the finish.
Shop dish soap
Use it for: To inspect the dispenser opening, threads, and gasket area for cracks or leftover debris.
Shop flashlights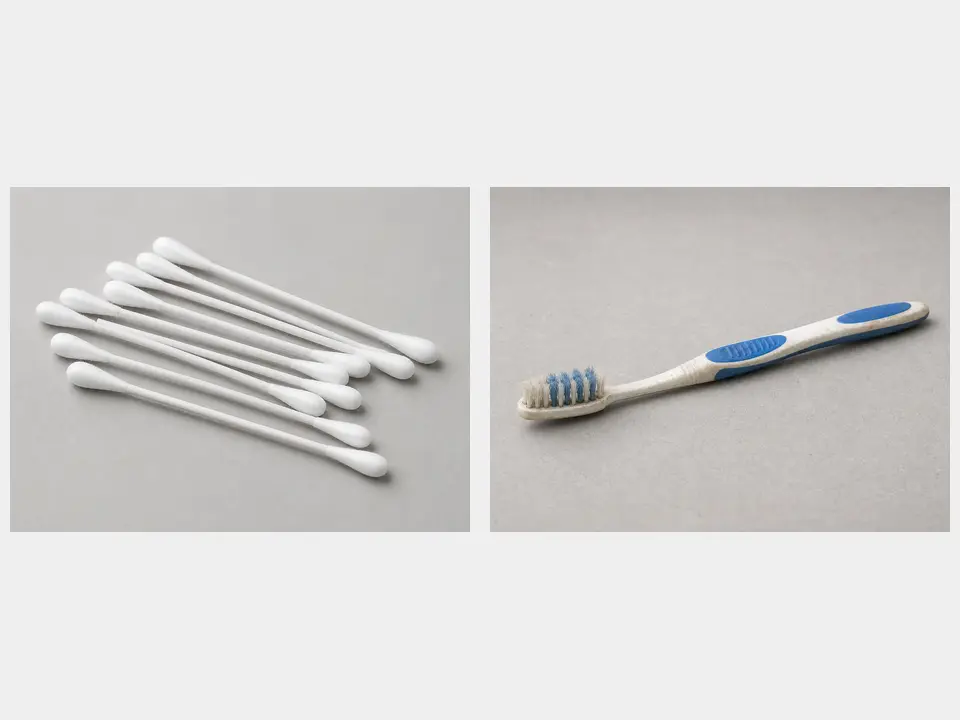
Use it for: To clean residue out of grooves and threads where the cap seals.
Shop cleaning swabs or brushesAs an Amazon Associate I earn from qualifying purchases. Repair Riot may earn a commission at no extra cost to you.
If it works: You have clear signs that the cap itself is damaged, missing, or no longer sealing properly.
If it doesn’t: If the cap looks fine but the dispenser body is cracked, the latch is broken, or rinse aid leaks from somewhere other than the cap, this is likely a dispenser assembly problem instead.
If it works: The old cap is off and the dispenser opening is accessible.
If it doesn’t: If the cap will not come off by hand, clean away more residue and try again gently. Do not force it hard enough to crack the dispenser neck.
If it works: The dispenser opening is clean, dry, and ready for the new cap.
If it doesn’t: If residue keeps returning or the sealing edge is rough, clean again until the cap seating area is fully clear.
If it works: The new cap fits flush, feels secure, and does not wobble or pop back up.
If it doesn’t: If the cap will not start cleanly or does not sit flat, remove it and recheck alignment and part fit before trying again.
If it works: The cap stays closed and the area around it remains dry.
If it doesn’t: If you see seepage, remove the cap, clean the seating area again, and reinstall it carefully. If it still leaks, the cap may be wrong or the dispenser opening may be damaged.
If it works: The cap stays secure through real use, no fresh leaks appear, and the dispenser remains sealed between cycles.
If it doesn’t: If the cap loosens, leaks, or drying problems continue, recheck part fit and inspect the dispenser assembly for hidden damage.
Match the replacement part to your exact dishwasher before ordering.
As an Amazon Associate I earn from qualifying purchases. Repair Riot may earn a commission at no extra cost to you.
It may still wash dishes, but rinse aid can leak or evaporate out of the dispenser and the dishwasher may not meter it correctly. Replacing the cap is the better fix.
If only the cap is cracked, missing, or will not stay closed, the cap is the likely repair. If the dispenser opening is cracked, the latch area is broken, or rinse aid leaks from the body of the dispenser, the full dispenser assembly is more likely the issue.
The most common reasons are the wrong replacement part, dried residue in the threads or grooves, or a damaged dispenser opening. Clean the area and compare the new cap closely to the old one.
Usually no special tools are needed. Most homeowners can do this with a cloth, warm water, and a flashlight for inspection.
It can. If rinse aid leaks out or the dispenser cannot stay sealed, the dishwasher may not release rinse aid properly during the cycle, which can leave more water on dishes at the end.