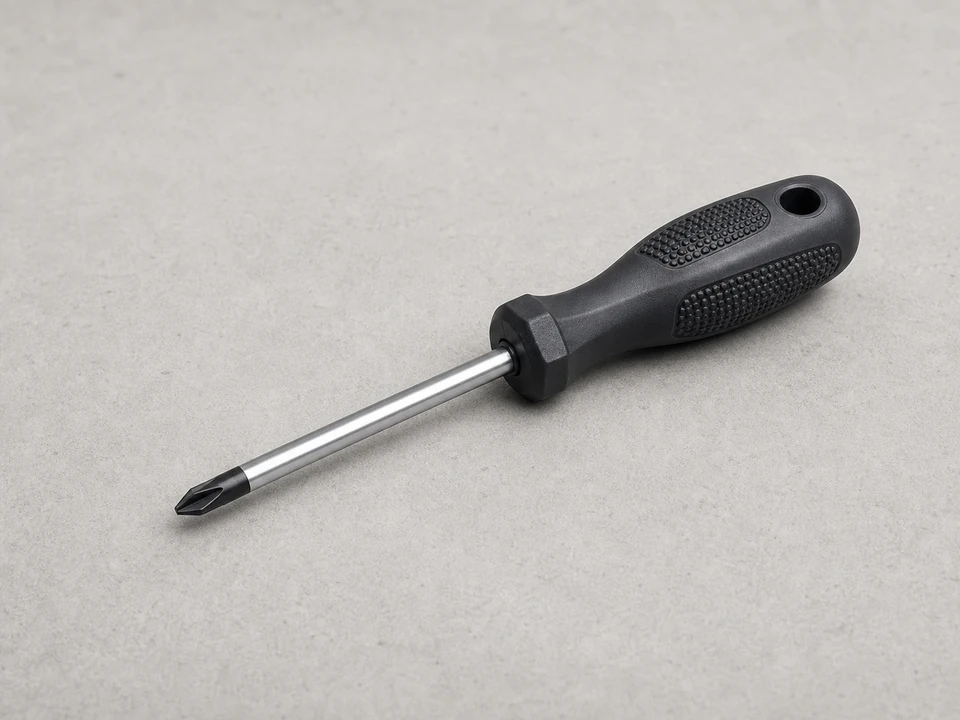
Phillips screwdriver
Use it for: Removes and installs most handleset screws.
Shop Phillips screwdriversKeep the door open, take a minute to find how the handleset is actually held together, and do not start prying at trim just because the hardware looks stuck. Some handlesets use visible inside screws. Others hide the screws behind a cover or a small release. If you are only reinstalling the same set after painting or a door repair, you often do not need to disturb every decorative piece. Remove only the parts that need to come off, keep the latch orientation straight, and test the lock before you shut the door.
This is not a hard repair, but it is the kind of job where patience saves the door. A good installer works in layers, not with a pry bar. Match the door thickness, bore holes, latch backset, and handing first. If the latch already works and you are only reinstalling loose hardware after painting or repair, leave the latch alone and keep the trim in place when you can.
Before you start: Before you order or remove anything, check the door thickness, bore holes, latch backset, and handing. If this is the same handleset going back on after painting or door repair, photograph both sides first so the screw pattern, spindle, latch, and trim go back the way they came off. Do not remove decorative trim just to make the job look more complete.
Use it for: Removes and installs most handleset screws.
Shop Phillips screwdrivers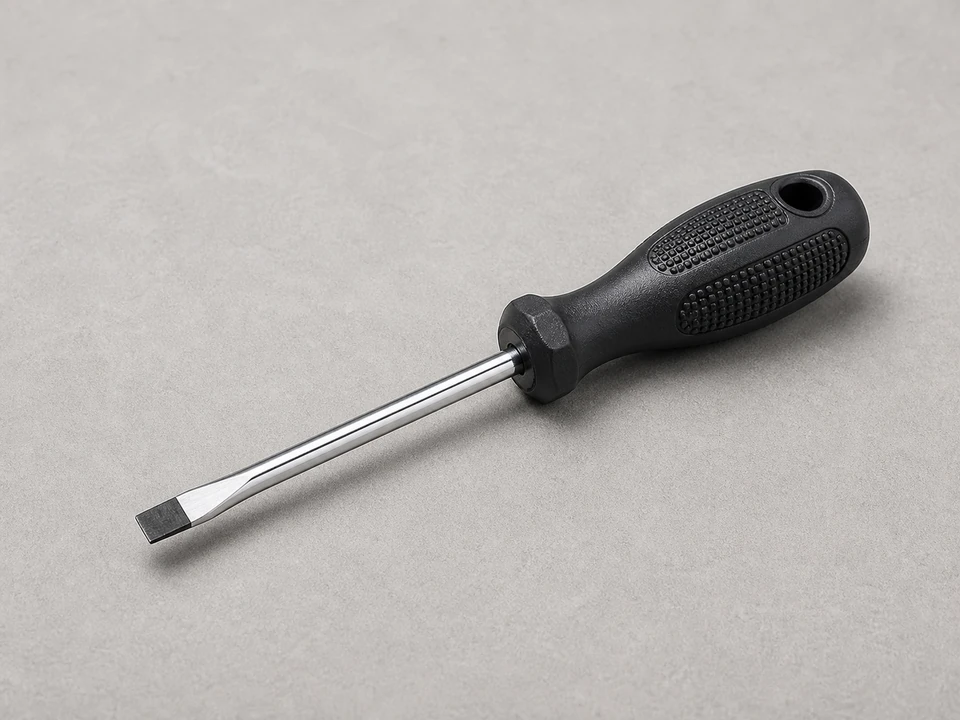
Use it for: Helps pry off trim covers and release some interior clips without damaging the door.
Shop flat screwdrivers
Use it for: Checks bore spacing, backset, and door thickness before installation.
Shop tape measures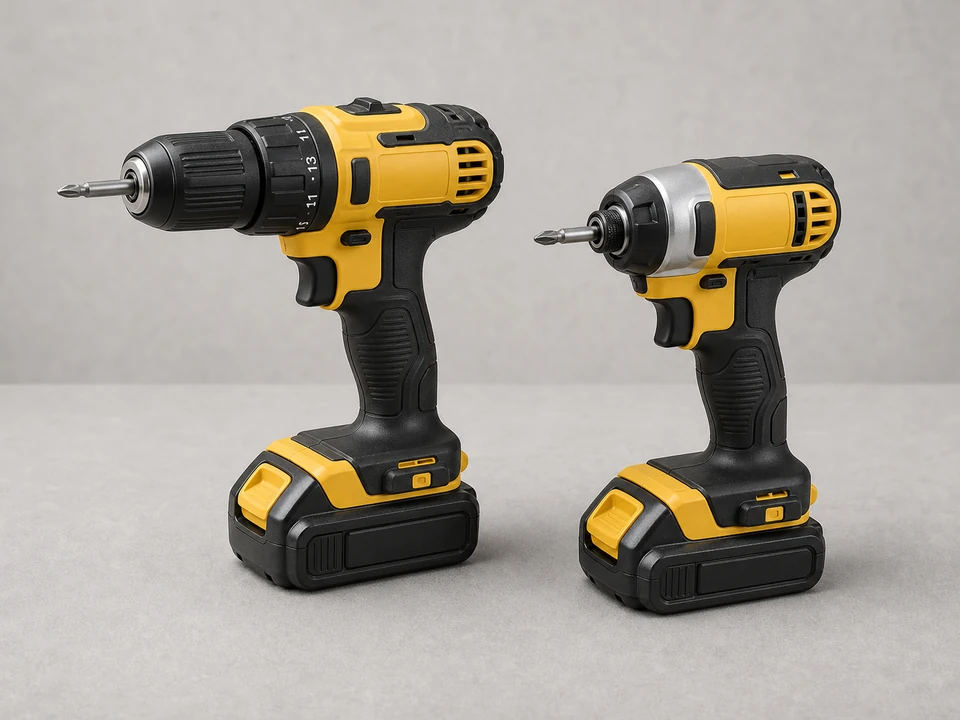
Use it for: Speeds up screw removal and installation if your hardware uses longer mounting screws.
Shop drill drivers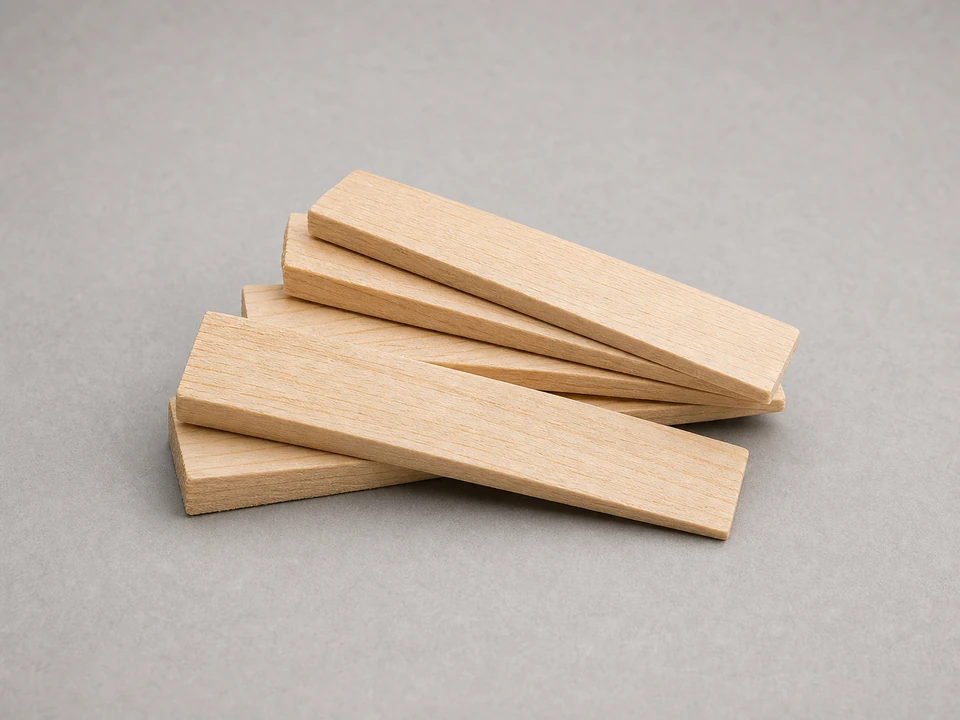
Use it for: Supports the door or helps hold hardware aligned while you start screws.
Shop wood shims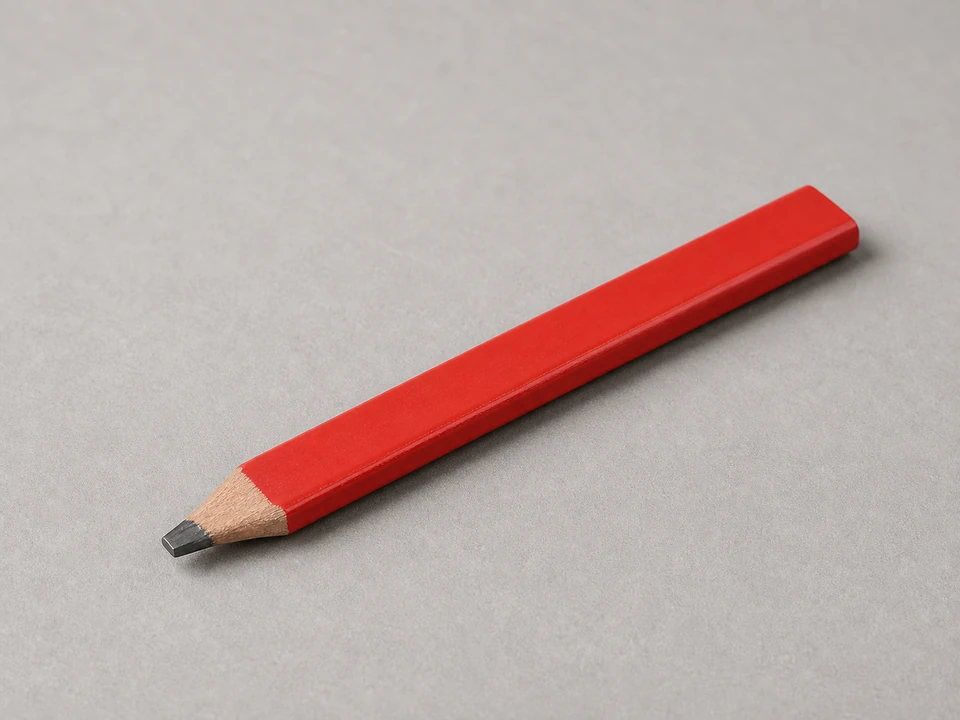
Use it for: Marks latch orientation or screw locations before you remove the old set.
Shop carpenter pencilsAs an Amazon Associate I earn from qualifying purchases. Repair Riot may earn a commission at no extra cost to you.
If it works: You know whether the hardware is actually bad, and the replacement appears to match the door.
If it doesn’t: If the latch works with the door open but misses the strike when closed, fix the strike or door alignment before replacing good hardware.
If it works: The needed parts are off the door, the finish is still clean, and the hardware is not mixed up.
If it doesn’t: If the trim will not move, stop and look again for a hidden screw or release. Trim that has to be forced is usually still fastened.
If it works: The parts line up with the existing door prep and can be installed without forcing them.
If it doesn’t: If the latch faceplate shape is slightly different, use only the parts supplied with the new handleset and make sure they sit flat before continuing.
If it works: The latch is secured and the exterior handle is seated flat and aligned.
If it doesn’t: If the exterior handle rocks or will not sit flat, remove it and check for a misaligned spindle, tailpiece, or latch orientation.
If it works: The handleset feels solid, the trim is flush to the door, and the moving parts operate smoothly.
If it doesn’t: If the handle feels stiff after tightening, back the screws off slightly and re-center the trim before retightening evenly.
If it works: The door closes, latches, and locks smoothly in normal use, and the new handleset stays secure.
If it doesn’t: If the handle works but the door does not latch cleanly, adjust the strike plate or check for door sag before blaming the new hardware.
Match the handle style, door thickness, bore spacing, latch backset, and handing before ordering.
As an Amazon Associate I earn from qualifying purchases. Repair Riot may earn a commission at no extra cost to you.
If the handle and latch work smoothly with the door open but not when the door is closed, the strike plate or door alignment may be the real issue. If the handle is loose, the latch sticks, the lock cylinder fails, or parts are broken, replacing the handleset is more likely the right fix.
Sometimes, yes. If you are reinstalling the same handleset or replacing only loose trim, leave a smooth-working latch alone. If you are installing a new handleset, use the latch supplied with that set unless the manufacturer says the old latch is compatible.
Check door thickness, latch backset, bore hole size and spacing, and whether the set is left-hand or right-hand if it is handed. Matching those basics helps the new hardware fit without extra drilling or patching.
The most common causes are unevenly tightened mounting screws, a misaligned spindle or tailpiece, or a latch installed in the wrong orientation. Loosen the trim slightly, re-center the parts, and tighten evenly.
Yes, if the new handleset matches the existing door prep and the holes are still solid. If the wood is stripped or damaged, the hardware may not tighten securely and the door may need repair before the new set will hold properly.
Yes, if the parts are still in good shape and you keep the original screw pattern, latch orientation, and trim order. Recheck the door thickness, backset, and handedness before putting it back together.