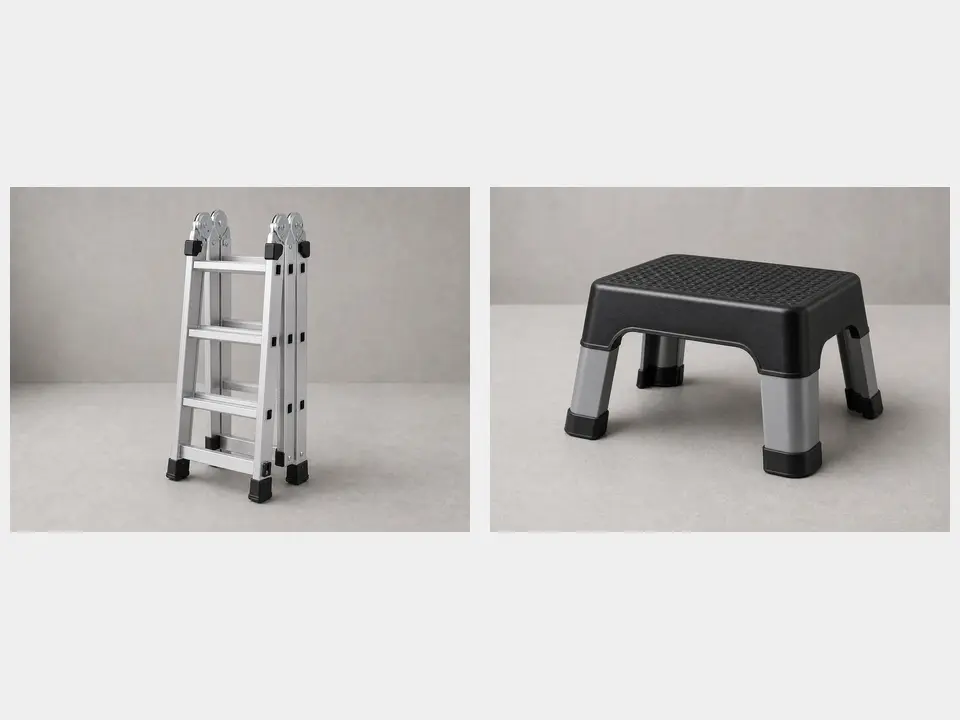
Extension ladder or step ladder
Use it for: To safely reach the elbow if it is above ground level.
Shop laddersTo replace a downspout elbow, remove the screws or rivets holding the damaged elbow, pull it free, match the new elbow’s size and direction, fasten it in place, and test water flow for leaks or misalignment.
A bent, crushed, split, or loose downspout elbow can send water toward the foundation instead of away from the house. This is usually a straightforward replacement if the surrounding downspout is still in good shape. Work from a stable ladder if needed, and stop if the downspout is badly rusted, pulling away from the wall, or hard to reach safely.
Before you start: Match the replacement part to your exact downspouts extension before ordering.
Use it for: To safely reach the elbow if it is above ground level.
Shop ladders
Use it for: To protect your hands from sharp sheet metal edges.
Shop work gloves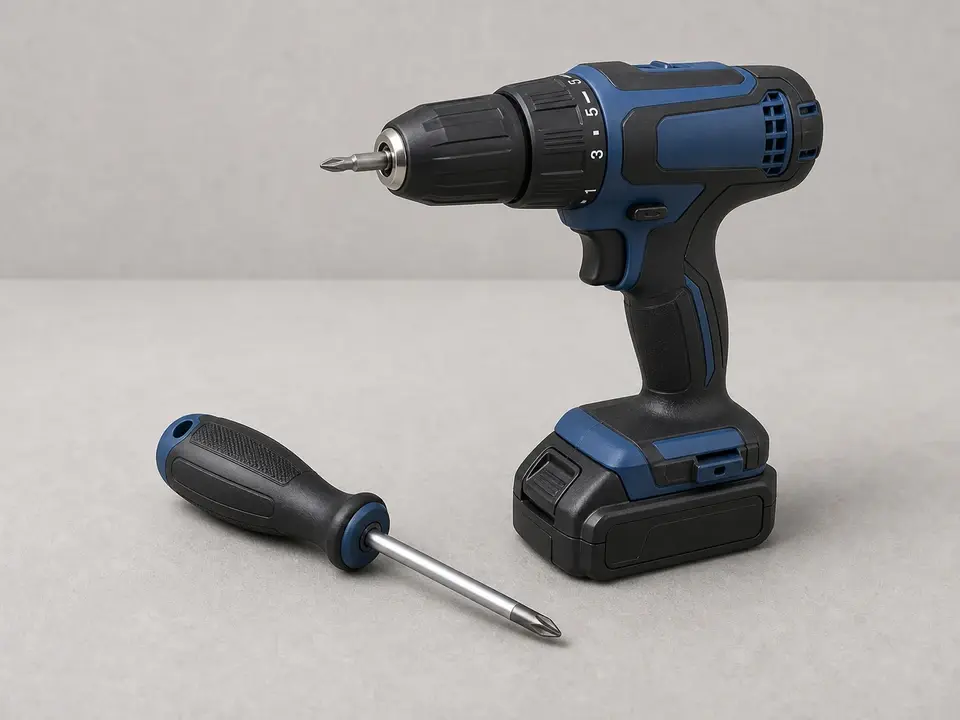
Use it for: To remove and install sheet metal screws.
Shop drills and drivers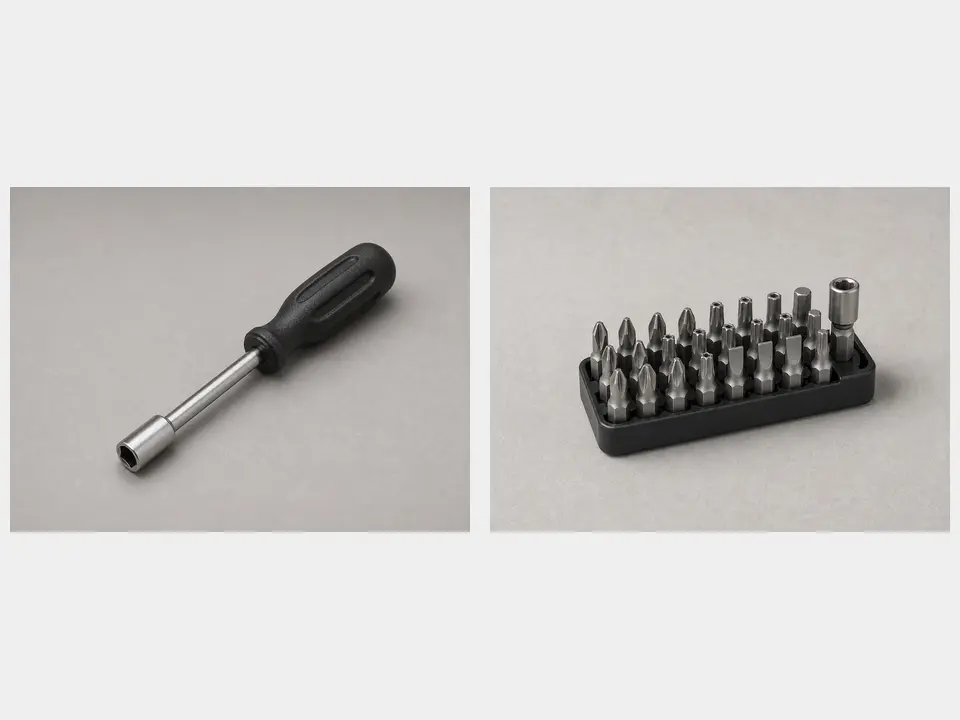
Use it for: To fit the existing fasteners on the elbow and downspout.
Shop nut driver sets
Use it for: To check the downspout size and compare the old elbow to the new one.
Shop tape measures
Use it for: To secure the new elbow if the old screws are stripped, rusted, or missing.
Shop sheet metal screwsAs an Amazon Associate I earn from qualifying purchases. Repair Riot may earn a commission at no extra cost to you.
If it works: You can reach the elbow safely and you know the surrounding downspout is stable enough for a simple replacement.
If it doesn’t: If the area is wet, unstable, or the downspout is loose from the wall, wait and correct that issue first or call a pro.
If it works: The new elbow matches the old one closely enough to install without forcing the connection.
If it doesn’t: If the size, bend direction, or end style does not match, pause and get the correct replacement part.
If it works: The old elbow comes off without damaging the adjoining downspout sections.
If it doesn’t: If the elbow will not release, check again for hidden fasteners or light corrosion locking the joint together.
If it works: The new elbow fits the existing downspout neatly and lines up with the next section.
If it doesn’t: If the fit is loose or misaligned, recheck the elbow size and orientation before fastening it.
If it works: The elbow is secure, aligned, and firmly connected to the downspout.
If it doesn’t: If the joint still shifts, add a properly placed screw or reposition the elbow and tighten again.
If it works: Water flows through the new elbow cleanly and exits where it should without leaking or spilling at the joint.
If it doesn’t: If water still leaks or backs up, inspect for a clog farther down the downspout or a poor fit at the new elbow.
Match the replacement part to your exact downspouts extension before ordering.
As an Amazon Associate I earn from qualifying purchases. Repair Riot may earn a commission at no extra cost to you.
Match the new elbow to the old one by size, bend direction, and how the ends connect. A direct side-by-side comparison is the easiest way to avoid ordering the wrong part.
Yes, if they are not rusted, stripped, or bent. If they no longer hold tightly, replace them with new sheet metal screws sized for thin metal connections.
First check that the elbow is fully seated and aligned. If it still leaks, the adjoining downspout section may be bent, split, or clogged farther down the line.
Many elbow replacements are secured mechanically with screws and do not need sealant for a basic repair. If joints are damaged or irregular, address the fit problem first rather than relying on sealant alone.
If the nearby downspout is rusted through, crushed, or pulling away from the wall, replacing only the elbow may not last. In that case, plan on repairing the damaged section too or have a pro assess it.