
Bucket or shallow pan
Use it for: Catches the water and debris that spill out when the old trap comes off.
Shop drain catch panTo replace a drain / sewer p-trap, first confirm the trap itself is leaking, cracked, badly corroded, or staying clogged at the bend. Then remove the old trap, clean the connection points, install the new trap in the same orientation, tighten the joints evenly, and test with a full flow of water.
This is usually a manageable homeowner repair when the trap is exposed and the connections are accessible. The goal is a trap that lines up cleanly, seals without strain, and drains without dripping or holding water in the wrong place.
Before you start: Match the pipe diameter, inlet and outlet layout, and trap style before ordering.
Use it for: Catches the water and debris that spill out when the old trap comes off.
Shop drain catch pan
Use it for: Helps loosen and snug slip nuts or stubborn threaded fittings without a lot of force.
Shop channel lock pliers
Use it for: Useful if the trap has metal nuts or threaded adapters that need a second tool to hold them.
Shop adjustable wrench
Use it for: Wipes out the pipe ends and helps you spot fresh drips during testing.
Shop shop towels
Use it for: Checks pipe diameter and helps compare the old trap layout to the replacement.
Shop tape measure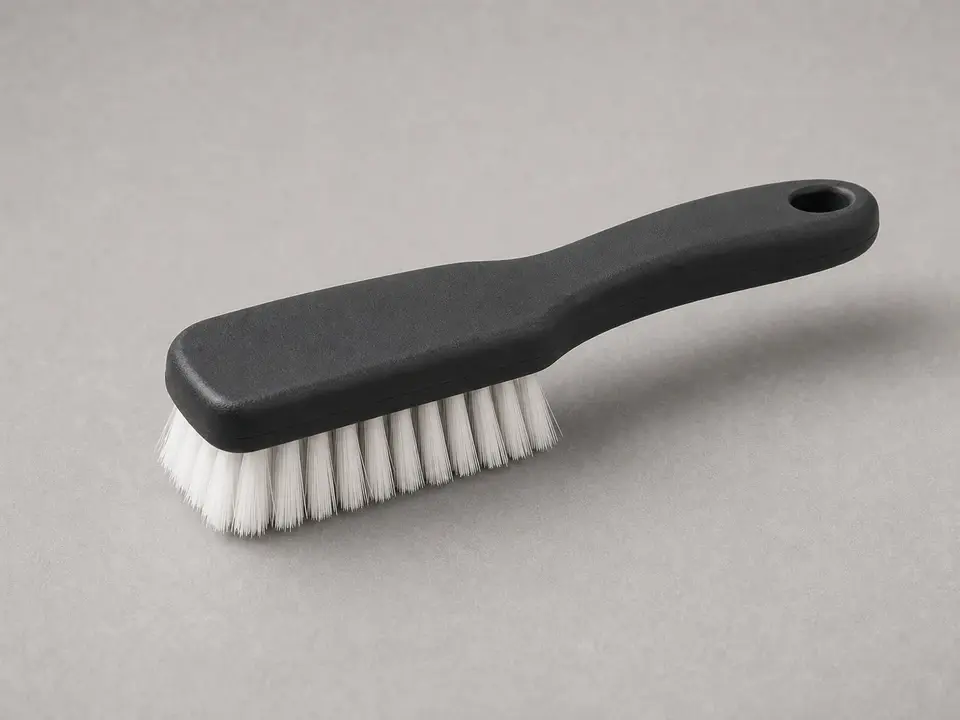
Use it for: Cleans old residue and buildup off the sealing surfaces before the new trap goes on.
Shop cleaning brushAs an Amazon Associate I earn from qualifying purchases. Repair Riot may earn a commission at no extra cost to you.
If it works: You have confirmed the trap is damaged, leaking, badly corroded, or clogged at the bend, and replacement is a reasonable next step.
If it doesn’t: If water is coming from the sink basket, wall pipe, or a higher fitting, fix that source first instead of replacing the trap.
If it works: The old trap is out and the surrounding pipes are exposed for cleaning and fitting.
If it doesn’t: If a nut will not move, apply steady pressure and reposition your pliers for a better grip rather than crushing the fitting.
If it works: The connection points are clean and in good enough shape for the new trap to seal.
If it doesn’t: If the new trap does not match the old layout closely enough, pause and get the correct trap style or matching extension pieces before installing.
If it works: The new trap is sitting in the right position and all joints start by hand without cross-threading or strain.
If it doesn’t: If the trap only fits when forced, recheck the pipe size, trap style, and alignment before tightening.
If it works: The trap is installed, aligned, and dry on the outside before testing.
If it doesn’t: If a nut feels crooked or binds early, back it off and start the threads again by hand.
If it works: The trap stays dry during and after use, the drain flows normally, and there is no sewer smell.
If it doesn’t: If a joint seeps, snug that connection slightly, dry it again, and retest. If it still leaks, disassemble that joint and check the washer position and fit.
Match the pipe diameter, inlet and outlet layout, and trap style before ordering.
As an Amazon Associate I earn from qualifying purchases. Repair Riot may earn a commission at no extra cost to you.
Replace it if the trap is cracked, leaking at the body, badly corroded, or damaged enough that tightening will not hold. If the trap is simply clogged but otherwise sound, cleaning may be enough.
Many exposed trap connections seal with the correct nuts and washers, not with thread tape. The important part is using the right trap style, correct washer placement, and even tightening.
A leak usually means the joint is misaligned, cross-threaded, dirty, missing a washer, or using the wrong size part. Overtightening can also deform the connection and make the leak worse.
It is better to use the new hardware that matches the replacement trap when possible. Old washers can be hardened, misshapen, or the wrong fit for the new parts.
That usually means the restriction is farther down the drain line, not in the trap itself. At that point, the next step is clearing the branch drain or having the line inspected.