
Bucket or shallow pan
Use it for: Catches the water that spills when you open the trap.
Shop drain catch panIf your sink trap is dripping at a slip-joint connection, replacing the drain trap slip joint washers usually fixes it. The job is mostly loosening the nut, swapping the washer, and tightening the joint evenly without overdoing it.
This repair is a good fit when the leak is coming from the trap nuts or nearby slip-joint connections under a sink. Start by confirming the drip is at the joint itself, not from a cracked pipe, loose basket strainer, or supply line above.
Before you start: Match the pipe diameter, inlet and outlet layout, and trap style before ordering.
Use it for: Catches the water that spills when you open the trap.
Shop drain catch pan
Use it for: Helps loosen or snug plastic or metal slip-joint nuts if hand pressure is not enough.
Shop channel-lock pliers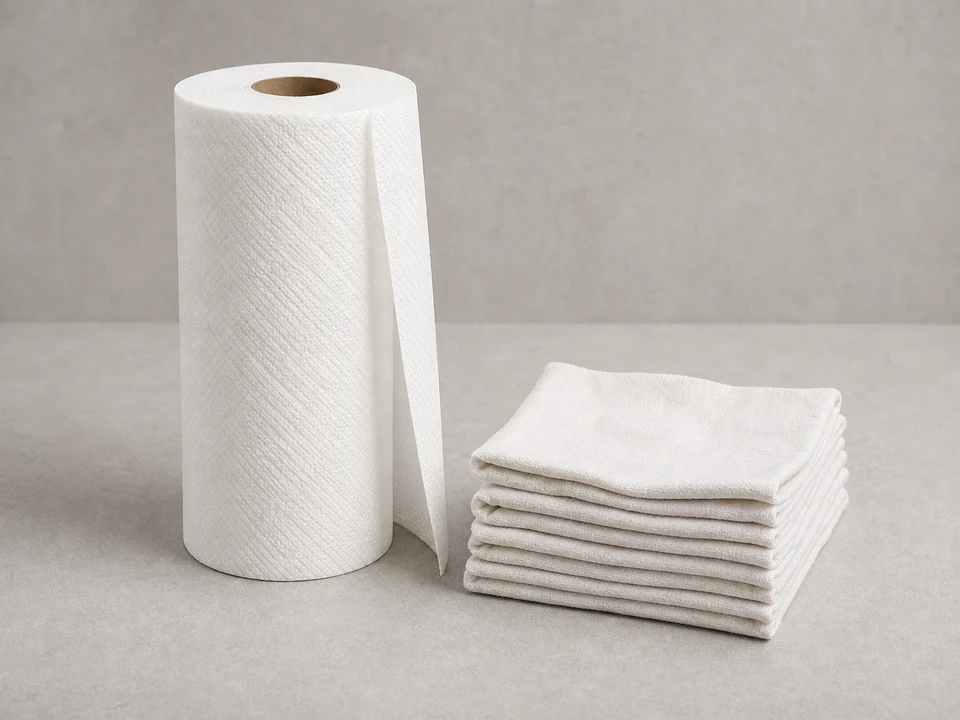
Use it for: Lets you dry the trap and confirm exactly where fresh water appears.
Shop shop towels
Use it for: Makes it easier to inspect the back side of the trap and each joint.
Shop flashlight
Use it for: Provides the new washers, and a full kit helps if the old nuts or trap pieces are worn too.
Shop trap washersAs an Amazon Associate I earn from qualifying purchases. Repair Riot may earn a commission at no extra cost to you.
If it works: You have traced the leak to a slip-joint connection on the trap or adjacent drain joint.
If it doesn’t: If the water starts above the trap, fix that leak first. If the trap body or nut is cracked, replace the damaged trap parts instead of only changing washers.
If it works: The leaking joint is apart and the old washer is accessible.
If it doesn’t: If the nut will not move, apply steady pressure and support the trap with your other hand. A full trap kit may be easier if the old parts are seized or brittle.
If it works: The joint is clean and ready for a new washer.
If it doesn’t: If the pipe end is rough or misshapen, replacing the affected trap section will usually seal better than forcing in a new washer.
If it works: The new washer is seated and the nut is snug with the trap still aligned.
If it doesn’t: If the nut feels crooked or binds early, back it off and start the threads again by hand. If the pipes do not line up naturally, loosen nearby slip-joints, align the trap, and retighten evenly.
If it works: The trap stays dry during both a light flow and a fuller drain test.
If it doesn’t: If the same joint still drips, reopen it and check washer size, orientation, and pipe alignment. If a different joint starts leaking, its washer may also be worn and ready for replacement.
If it works: The trap remains dry in real use, and the washer replacement solved the leak.
If it doesn’t: If moisture returns, inspect for a second leaking joint, a loose sink drain connection above, or a damaged trap section that needs replacement.
Match the pipe diameter, inlet and outlet layout, and trap style before ordering.
As an Amazon Associate I earn from qualifying purchases. Repair Riot may earn a commission at no extra cost to you.
Usually no. Slip-joint washers seal by compression, not by thread sealant. The key is the right washer size, correct orientation, clean surfaces, and even tightening.
The most common reasons are the wrong washer size, the washer facing the wrong way, a crooked pipe, a cracked nut, or a damaged pipe end that cannot compress the washer evenly.
If one trap washer is leaking, the others may be close behind. Replacing all accessible trap washers at the same time is often worth it if the trap is already apart.
Start hand-tight. Then add only a small extra turn if needed to stop a drip. Overtightening can distort the washer or crack a plastic nut.
It is better not to. Once compressed, old washers often do not reseal well after being disturbed.