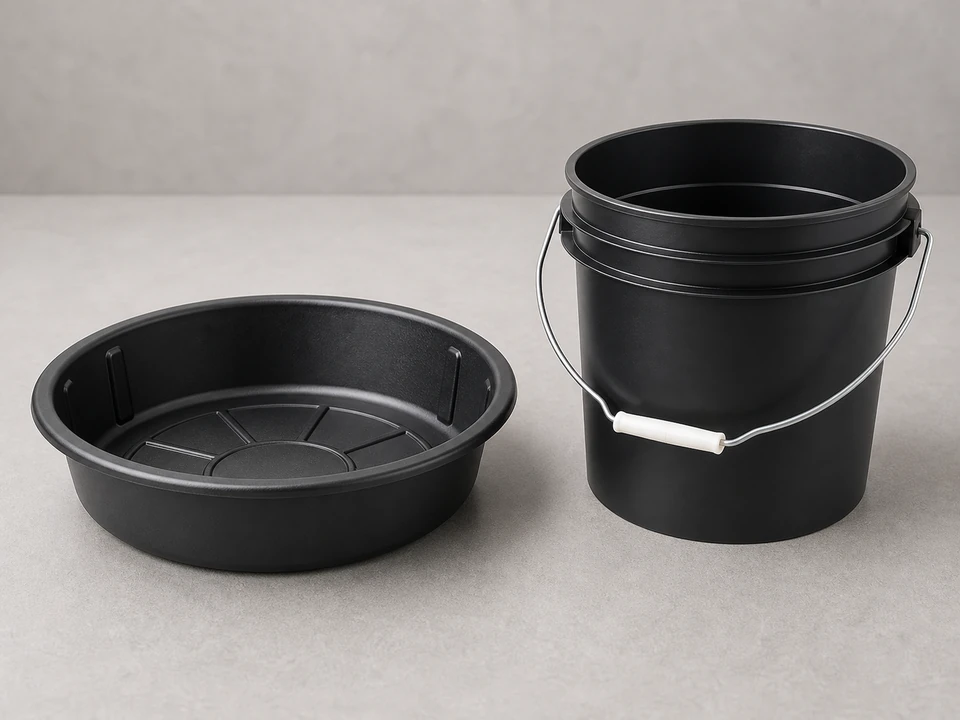
Small bucket or shallow pan
Use it for: Catches the water left in the trap and drain pieces when you open the joint.
Shop small drain panTo replace drain slip joint washers, put a container under the drain, loosen the leaking slip-joint nut, remove the old washer, clean the joint, install the new washer in the same orientation, then tighten and test with running water.
This is a good DIY repair when a sink drain leaks at a hand-tightened or lightly wrench-tightened slip-joint connection. Most leaks happen because the washer is cracked, flattened, missing, or installed backward.
Before you start: Match the replacement part to your exact drain sewer before ordering.
Use it for: Catches the water left in the trap and drain pieces when you open the joint.
Shop small drain pan
Use it for: Helps loosen or snug a stuck slip-joint nut without crushing it.
Shop channel-lock pliers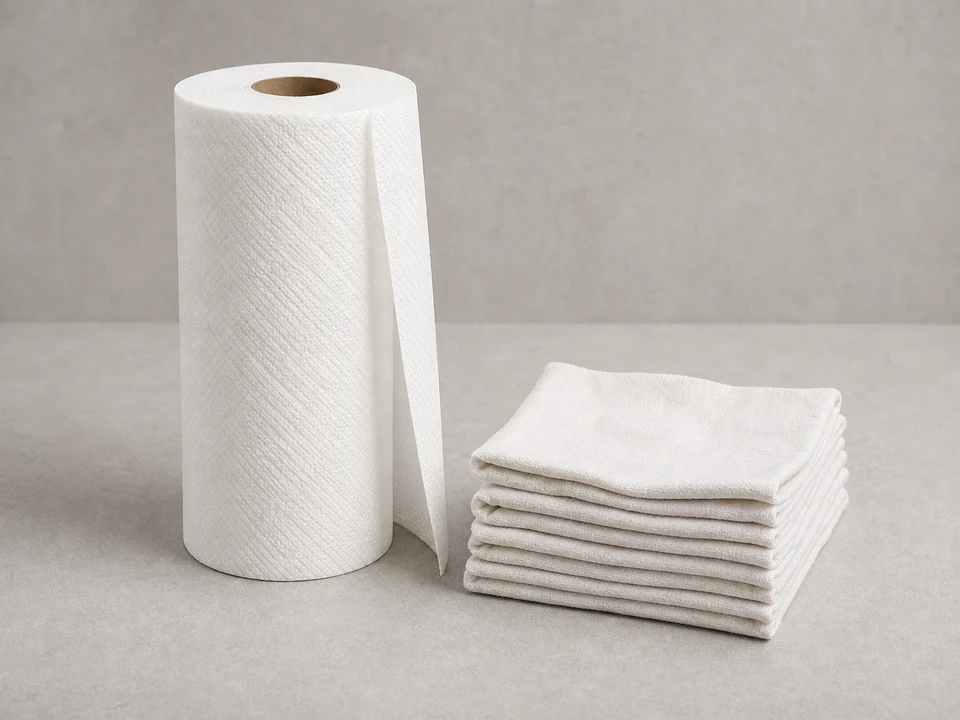
Use it for: Wipes the pipe, nut, and washer seat clean so the new washer can seal.
Shop shop towels
Use it for: Lets you see the back side of the drain and confirm exactly where the leak starts.
Shop flashlightAs an Amazon Associate I earn from qualifying purchases. Repair Riot may earn a commission at no extra cost to you.
If it works: You have confirmed the leak starts at a slip-joint connection where washers seal the joint.
If it doesn’t: If the leak starts above the nut, at a cracked pipe, or around the sink drain body, this washer replacement is probably not the right repair.
If it works: The leaking joint is apart and the old washer is removed.
If it doesn’t: If the nut will not loosen, try supporting the pipe with one hand while turning the nut gently with pliers to avoid twisting the whole assembly.
If it works: The joint surfaces are clean and the replacement washer matches the old one closely enough to fit the connection.
If it doesn’t: If the new washer is obviously too loose, too tight, or shaped differently from the old one, get the correct size before reassembling.
If it works: The new washer is seated properly and the joint is reassembled without forcing the threads.
If it doesn’t: If the nut will not thread smoothly by hand, back it off and realign the pipe and washer before trying again.
If it works: The drain assembly is aligned, dry, and ready for a leak test.
If it doesn’t: If the trap looks twisted or pulled sideways, loosen the affected nuts, realign the pieces, and retighten them evenly.
If it works: The joint stays dry during running water and a normal drain-down test, so the repair held.
If it doesn’t: If it still drips, slightly snug the nut and test again. If the leak continues, reopen the joint and check for a backward washer, wrong size washer, misalignment, or a cracked pipe or nut.
Match the replacement part to your exact drain sewer before ordering.
As an Amazon Associate I earn from qualifying purchases. Repair Riot may earn a commission at no extra cost to you.
Usually no. A slip-joint connection seals at the washer, not the threads. The threads mainly pull the joint together.
Start hand-tight, then add only a small extra snug if needed. Overtightening can distort the washer or crack a plastic nut.
The most common causes are the wrong washer size, backward washer orientation, a crooked pipe, a cracked nut, or a damaged pipe end that the washer cannot seal against.
It is better to replace it. Old washers often flatten or harden enough that they will leak again once disturbed.
If the drain is already apart and the other washers are old, replacing the rest at the same time can save you from another leak soon after.