
Utility knife
Use it for: To cut away loose tape and score paint along the seam without tearing more drywall paper.
Shop utility knivesTo replace drywall paper tape, remove any loose or bubbled tape, clean the joint, bed new paper tape in fresh joint compound, then add thin finish coats and sand the area smooth after it dries.
This repair works when the tape has lifted, bubbled, cracked through the seam, or let go from the wall. The goal is to remove failed tape and rebuild the joint so it stays flat instead of reopening under paint.
Before you start: Match the replacement part to your exact walls drywall before ordering.
Use it for: To cut away loose tape and score paint along the seam without tearing more drywall paper.
Shop utility knives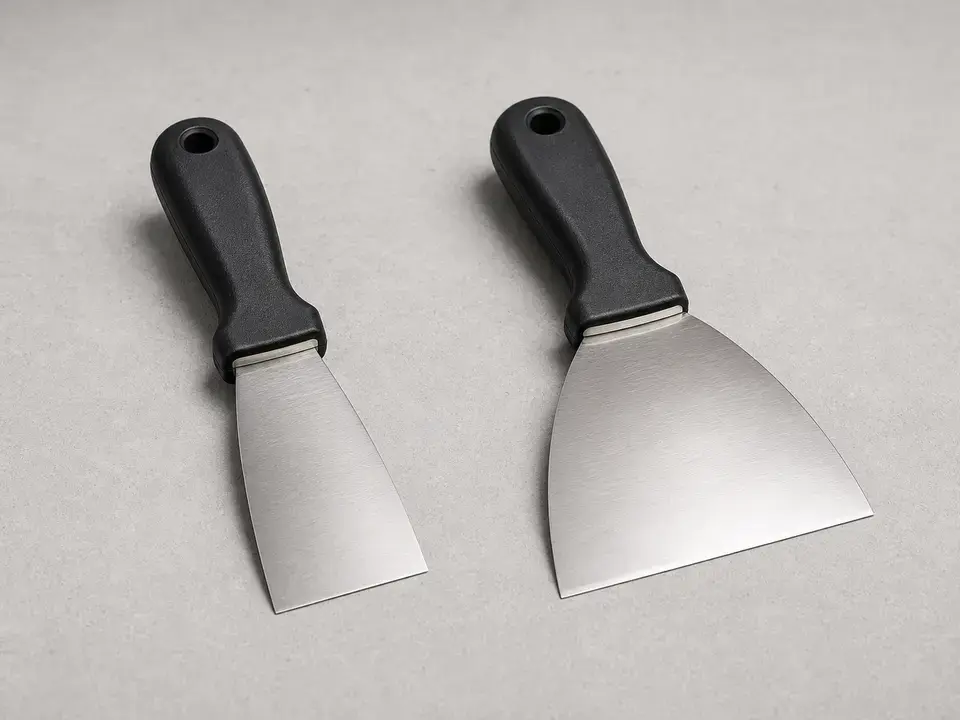
Use it for: To spread joint compound, press in the new tape, and scrape off excess mud.
Shop 6 inch taping knives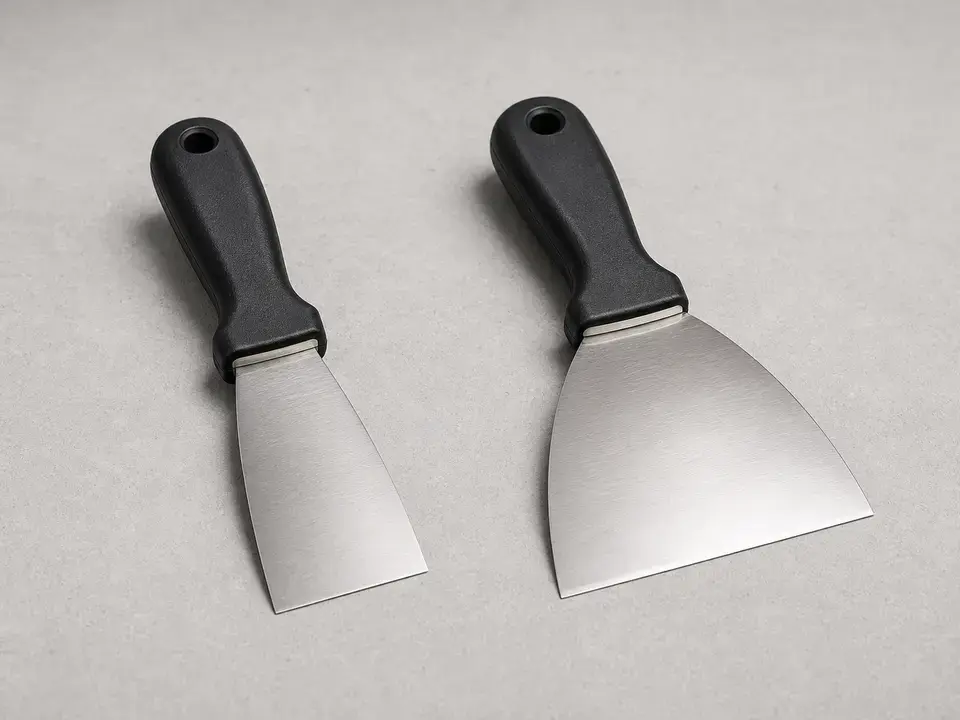
Use it for: To feather the finish coats wider so the patch blends into the wall.
Shop 10 inch drywall knives
Use it for: To bed the new tape and build the finish coats over the seam.
Shop joint compound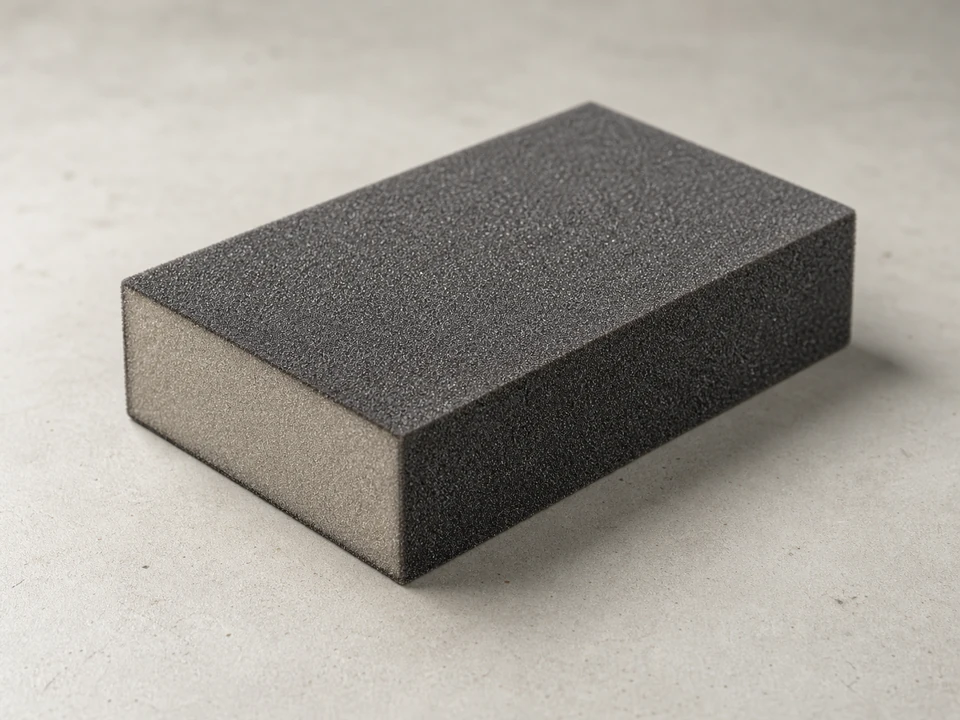
Use it for: To smooth dried compound without gouging the patch.
Shop sanding sponges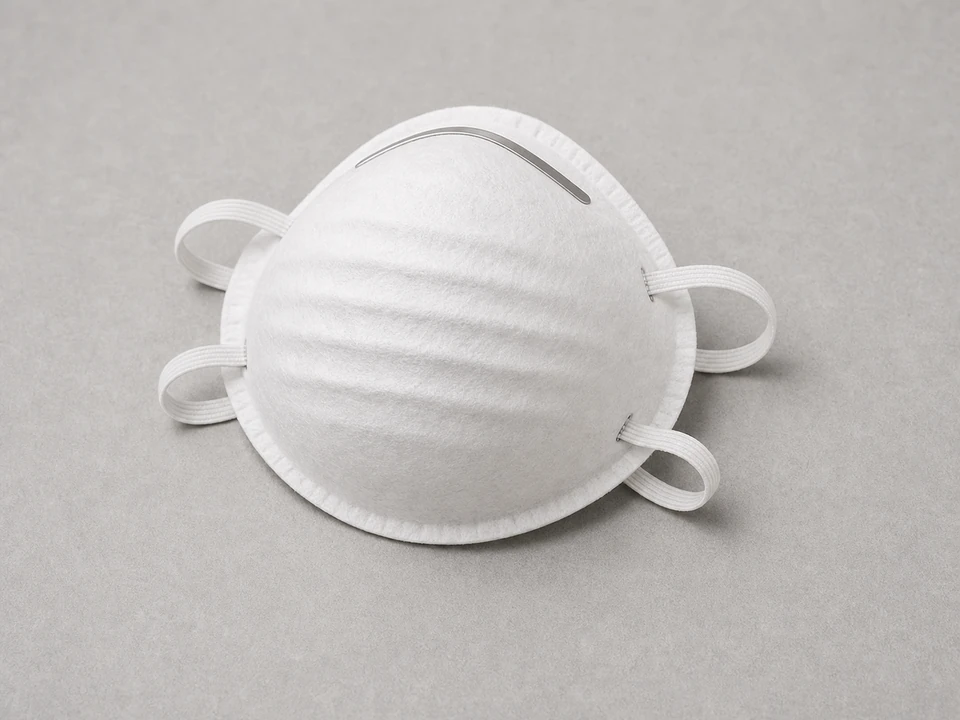
Use it for: To reduce breathing drywall dust while sanding.
Shop dust masksAs an Amazon Associate I earn from qualifying purchases. Repair Riot may earn a commission at no extra cost to you.
If it works: You have a failed taped joint, not just a paint crack or surface scuff.
If it doesn’t: If the crack is only in paint and the tape is still tight and flat, a lighter patch may be enough instead of replacing the tape.
If it works: All loose tape and weak material are gone, and the remaining seam edges are solid.
If it doesn’t: If the old tape keeps peeling farther than expected, keep cutting back until you reach firmly attached tape and sound drywall paper.
If it works: The new tape lies flat, centered on the seam, with no bubbles, wrinkles, or dry spots underneath.
If it doesn’t: If you trap a bubble, lift that section right away, add a little more compound, and press it back down before the mud starts to dry.
If it works: The repaired seam looks flat and gradually feathered into the wall with no obvious ridge.
If it doesn’t: If you still see a low spot or tape edge after drying, add one more thin coat instead of trying to bury it with a thick pass.
If it works: The wall feels smooth by hand and the patch blends into the surrounding surface without sharp edges.
If it doesn’t: If the tape starts showing through while sanding, stop and add a thin finish coat rather than sanding deeper.
If it works: The seam stays flat, the crack does not return, and the patch disappears into normal wall use.
If it doesn’t: If the seam reopens, bubbles again, or keeps telegraphing movement, the root cause is likely loose drywall, framing movement, or moisture that needs a larger repair.
Match the replacement part to your exact walls drywall before ordering.
As an Amazon Associate I earn from qualifying purchases. Repair Riot may earn a commission at no extra cost to you.
No. Remove only the loose, bubbled, cracked, or poorly bonded section. Stop when you reach tape that is still firmly attached and the wall underneath is sound.
Usually no. New tape needs a solid base. If the old tape is already letting go, covering it will not fix the bond underneath.
Common causes are poor bonding during the original taping, too little compound under the tape, moisture exposure, or movement in the drywall seam.
If you are replacing drywall paper tape on a standard seam, paper tape is the closest match and works well when it is properly bedded in joint compound.
Wait until each coat is fully dry. Dry time depends on thickness, room temperature, and humidity, so go by the surface condition instead of the clock alone.