
Tape measure
Use it for: To confirm plank length, width, and thickness before buying replacements.
Shop tape measuresTo replace engineered wood floor replacement planks, first make sure the damage is limited to a few boards and not a larger moisture or subfloor problem. Then match the new planks carefully, remove the damaged boards without hurting the surrounding floor, install the replacements, and verify the repaired area stays flat under normal foot traffic.
This repair works best when only a small section is swollen, chipped, cracked, or stained beyond cleaning. The key is getting a close match and removing the bad planks cleanly so the surrounding floor stays intact.
Before you start: Match the replacement part to your exact floor before ordering.
Use it for: To confirm plank length, width, and thickness before buying replacements.
Shop tape measures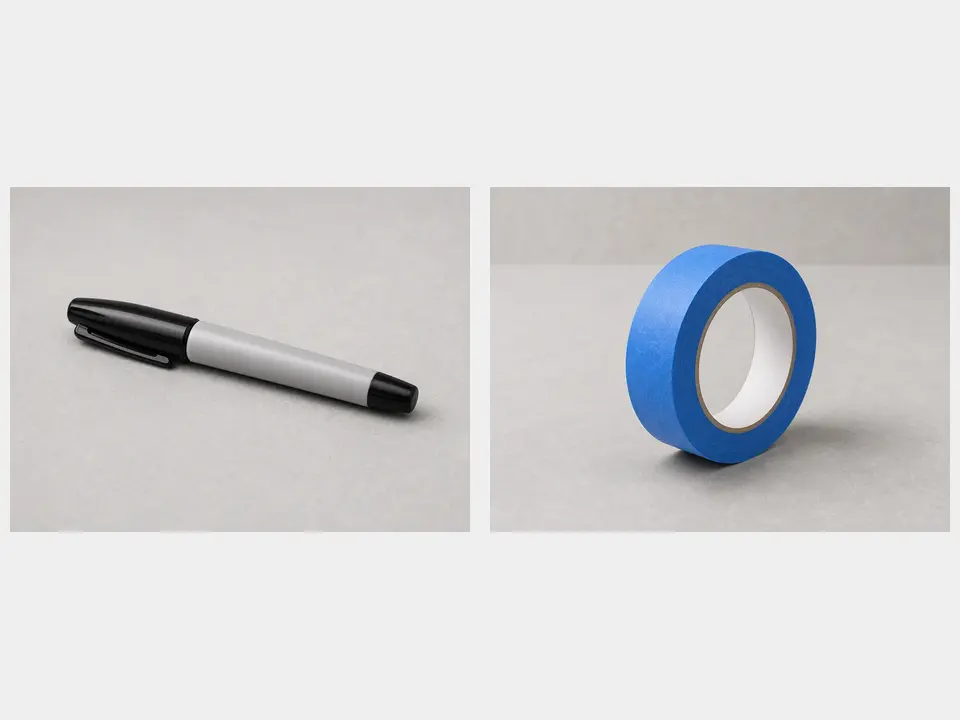
Use it for: To mark cut lines on the damaged planks before removal.
Shop carpenter pencils and straightedges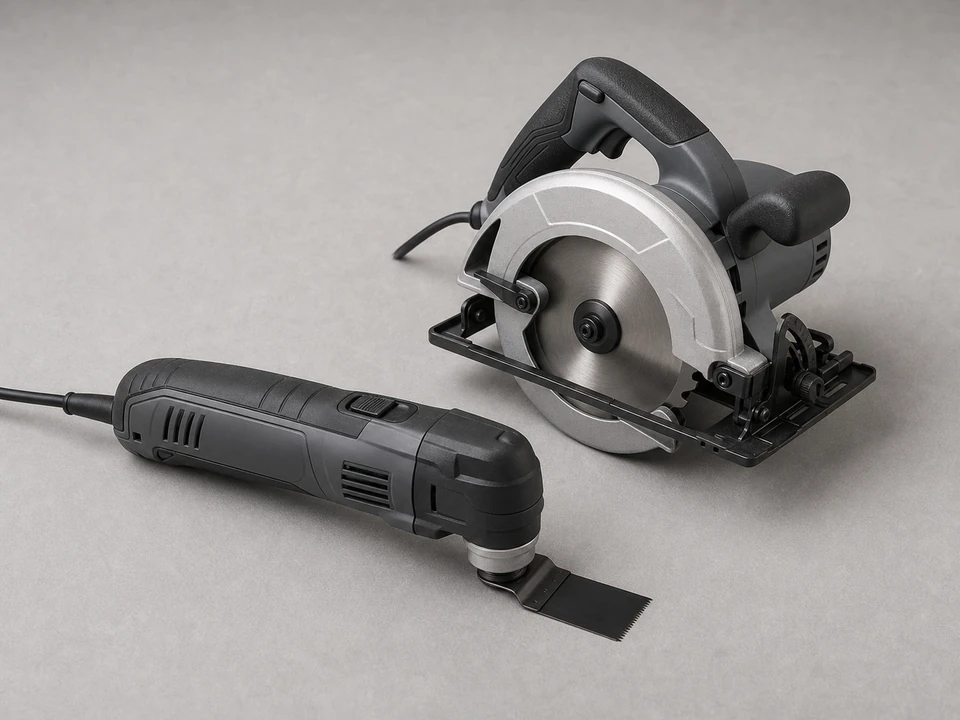
Use it for: To cut into the damaged planks so they can be removed in pieces.
Shop flooring cutout tools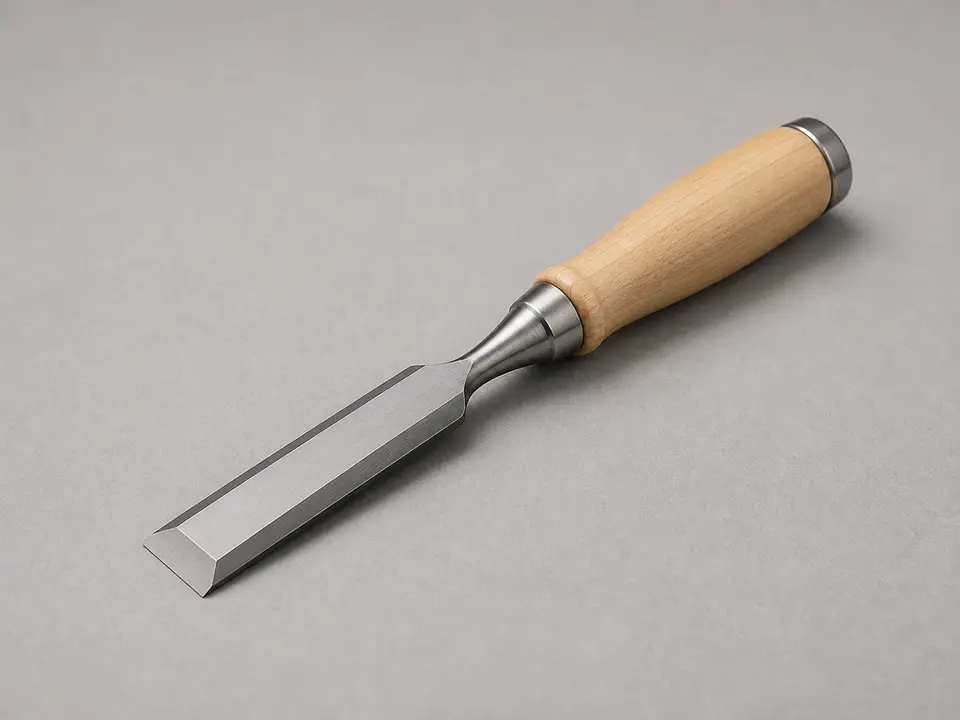
Use it for: To lift out cut pieces and clean the edges without tearing nearby boards.
Shop wood chisels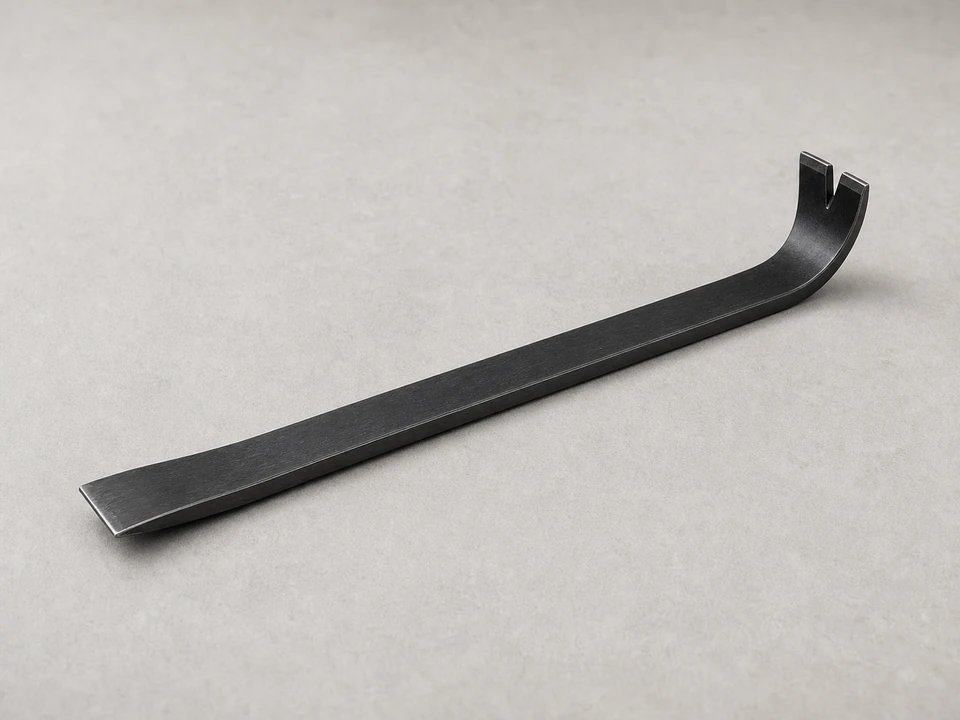
Use it for: To help lift damaged plank sections carefully.
Shop small pry bars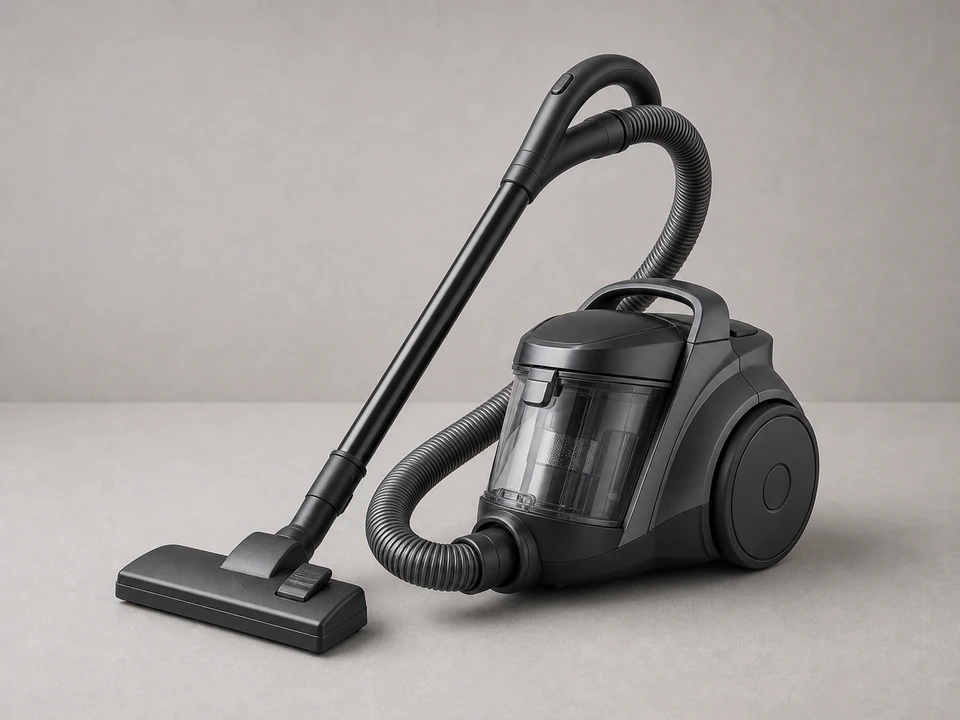
Use it for: To clear out dust and debris so the new planks sit flat.
Shop shop vacs
Use it for: To secure replacement planks when the repair area is cut into an existing floor.
Shop flooring adhesiveAs an Amazon Associate I earn from qualifying purchases. Repair Riot may earn a commission at no extra cost to you.
If it works: You have matching replacement planks and the damage appears limited to a small repair area.
If it doesn’t: If you cannot match the plank size or profile closely, pause and source the correct replacement before removing the damaged boards.
If it works: The repair area is clean, open, and clearly marked.
If it doesn’t: If the room is tight, remove a little more furniture so you can cut and lift the planks without bumping nearby boards or walls.
If it works: The damaged planks are out and the surrounding floor is still intact.
If it doesn’t: If a small edge breaks on a neighboring board, clean it up carefully so the replacement can still sit flat and tight.
If it works: The new planks fit the opening, sit level, and align with the surrounding floor.
If it doesn’t: If the plank rocks or sits proud, keep cleaning or trimming until it drops in flat before you glue anything.
If it works: The replacement planks are seated tightly, level with the surrounding floor, and held in place while curing.
If it doesn’t: If a seam opens or a plank sits high, lift and reset it before the adhesive fully cures.
If it works: The repaired section stays flat, secure, and stable during normal use.
If it doesn’t: If the new planks loosen, rise, or start swelling again, investigate moisture or subfloor issues before replacing more boards.
Match the replacement part to your exact floor before ordering.
As an Amazon Associate I earn from qualifying purchases. Repair Riot may earn a commission at no extra cost to you.
Yes, if the damage is isolated and you can get a close match in size, thickness, and edge profile. Small isolated repairs are common when the rest of the floor is still stable.
They help a lot, but they are not required. If you do not have extras, match the width, thickness, surface finish, and joint shape as closely as possible before starting.
Swelling usually points to moisture, not just wear. Spills left too long, pet accidents, leaks, wet mopping, or moisture coming from below can all damage individual planks.
For a cut-in repair in the middle of an existing floor, adhesive is commonly used to secure the replacement after the damaged plank is removed. The opening needs to be clean, dry, and flat for that repair to hold.
A slight color difference is common, especially on older floors that have faded with age. Matching the size and profile matters first, and the color often blends better after some time in the room.