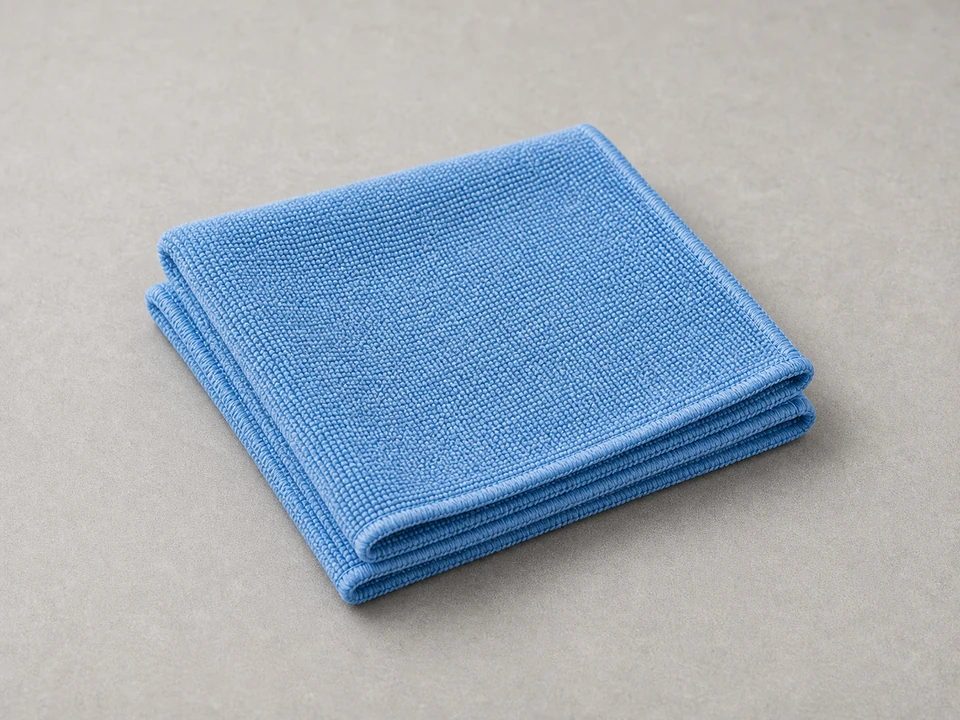
Microfiber cloth
Use it for: Cleans dust and residue so the repair material can bond and blend better.
Shop microfiber clothsReplace the engineered wood floor touch up marker or wax kit when the old kit is dried out, the color no longer matches, or you need to fill and hide small chips, scratches, or worn edges in the finish layer.
This is a small cosmetic repair, but the result depends on using the right color and keeping the damaged spot clean and dry. Work slowly, test the color first, and stop if the floor damage goes deeper than a surface touch-up can hide.
Before you start: Match the replacement part to your exact floor before ordering.
Use it for: Cleans dust and residue so the repair material can bond and blend better.
Shop microfiber cloths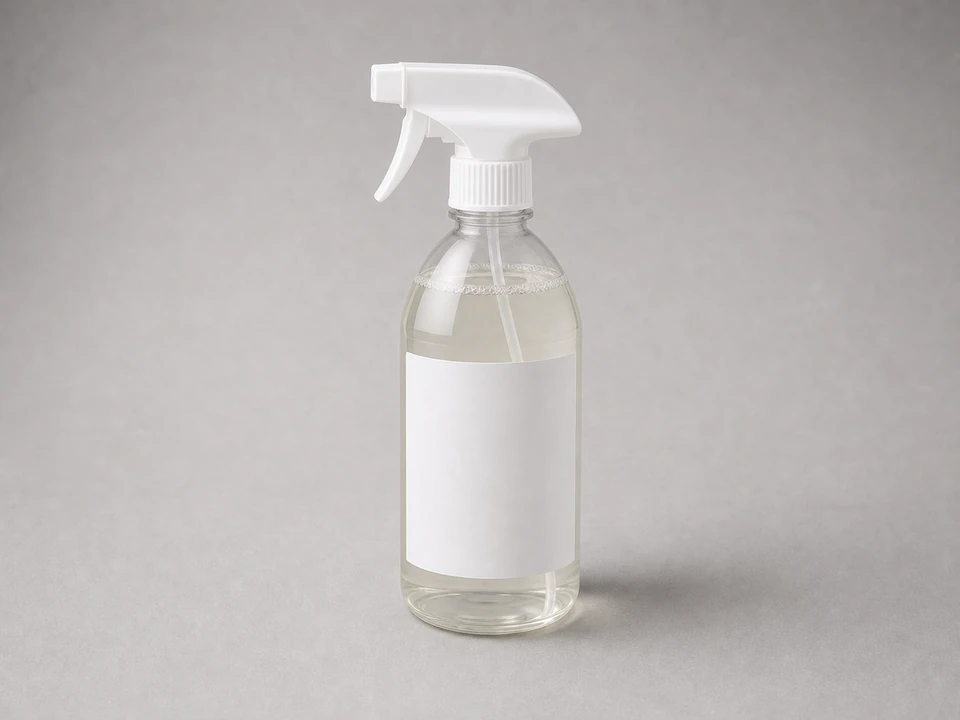
Use it for: Removes dirt, oils, and old residue before you apply marker or wax.
Shop wood floor cleaner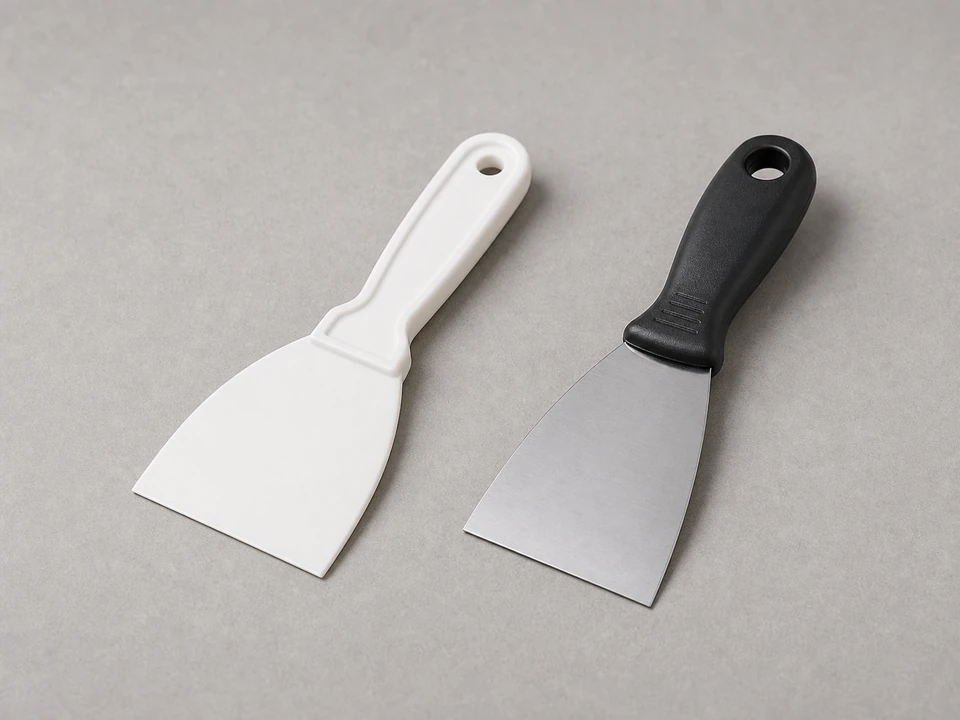
Use it for: Presses wax into small chips without scratching the floor further.
Shop plastic putty knives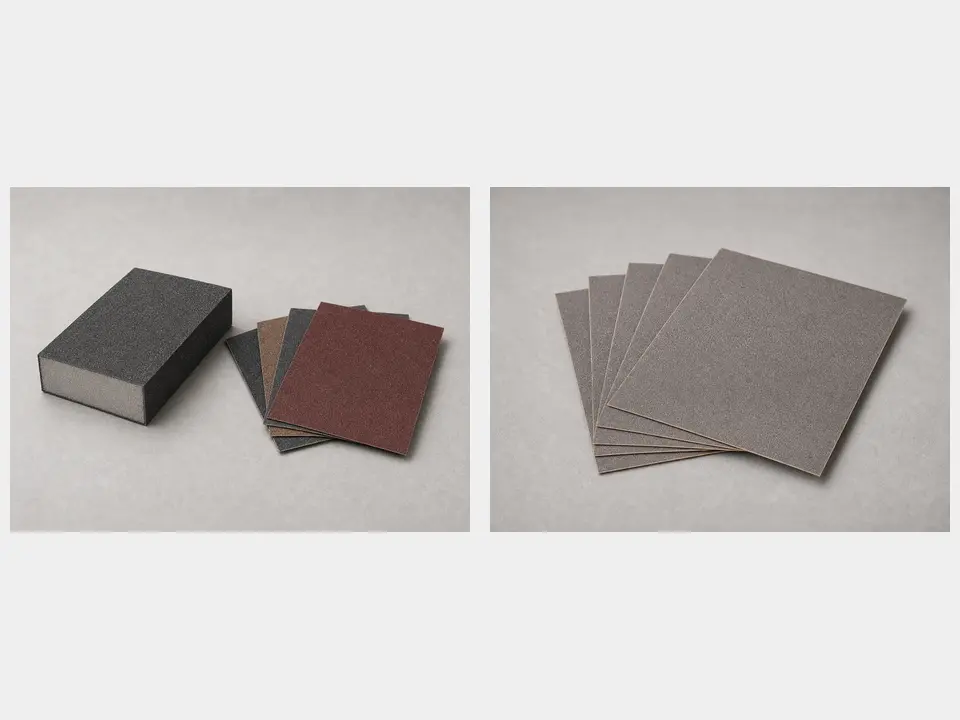
Use it for: Lightly smooths a rough edge around the damaged spot if needed.
Shop fine abrasive pads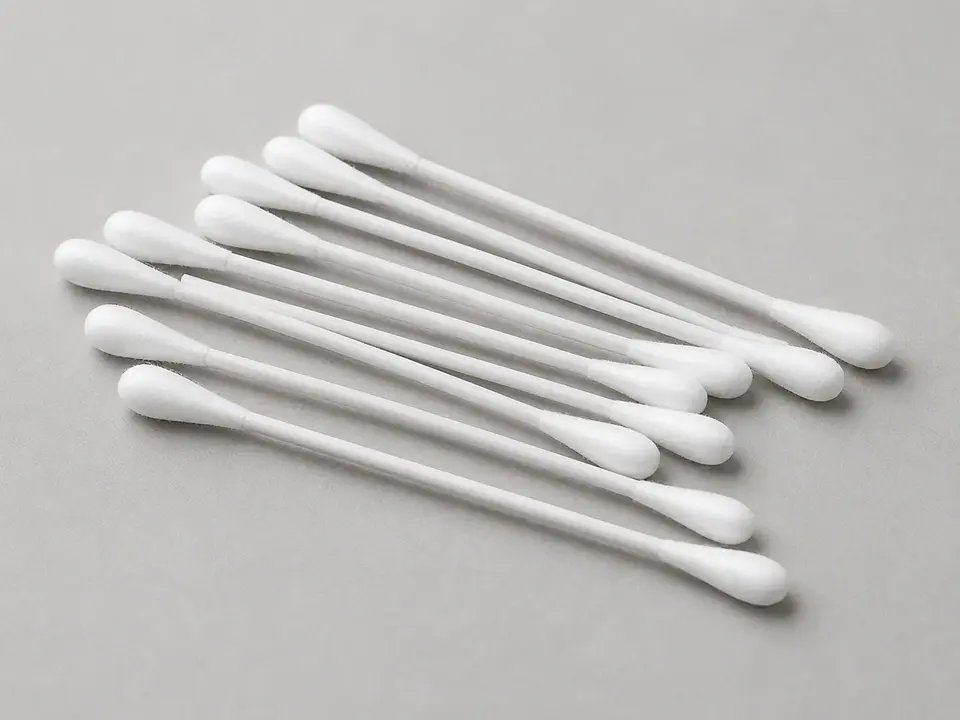
Use it for: Helps control color in small scratches and wipe away excess neatly.
Shop lint-free applicators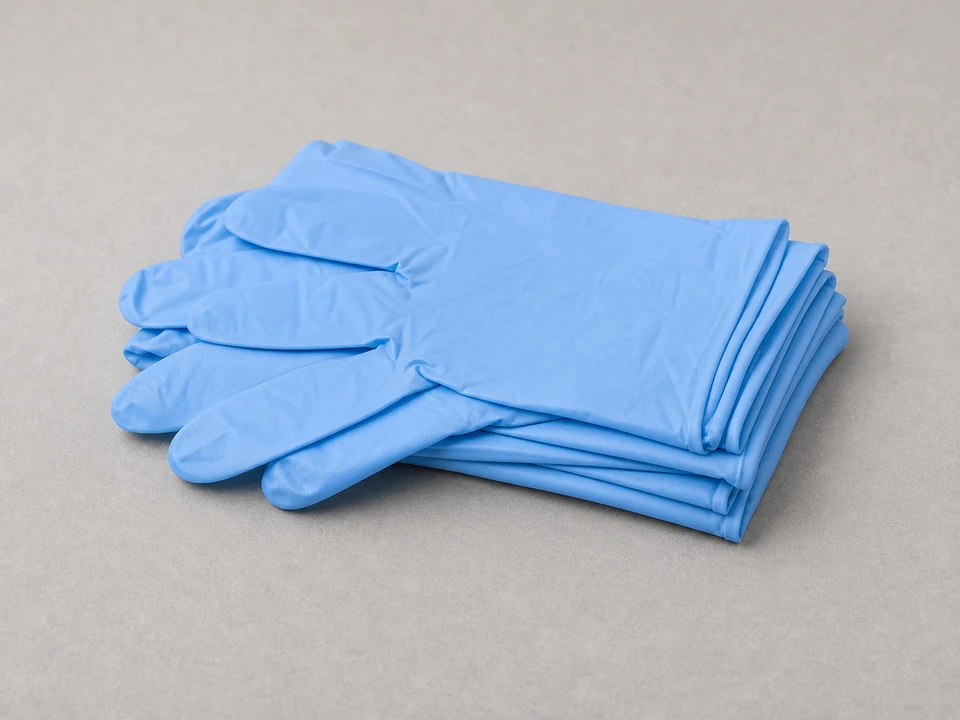
Use it for: Keeps stain and wax off your hands while you blend the repair.
Shop disposable glovesAs an Amazon Associate I earn from qualifying purchases. Repair Riot may earn a commission at no extra cost to you.
If it works: You know the damage is cosmetic and a fresh touch-up marker or wax kit is the right repair.
If it doesn’t: If the board is loose, cupped, swollen, peeling badly, or damaged through the wear layer, plan for a board repair or replacement instead of a touch-up.
If it works: You have a replacement engineered wood floor touch up marker or wax kit that is a close match for the floor.
If it doesn’t: If you cannot get a close match, choose a lighter shade and build color slowly rather than starting too dark.
If it works: The damaged area is clean, dry, and ready to accept the repair material.
If it doesn’t: If cleaner residue or dust keeps showing up on the cloth, clean again and let the area dry longer before moving on.
If it works: The scratch or chip is filled or colored, and the repair sits close to flush without a heavy dark patch around it.
If it doesn’t: If the repair looks too dark, wipe or lift off as much as you can right away and restart with a lighter hand.
If it works: The repaired spot blends with the surrounding floor and does not draw your eye from normal standing distance.
If it doesn’t: If the repair still stands out, adjust with a small amount of lighter or darker color rather than covering a larger area.
If it works: The repair holds under normal use, stays flush, and remains hard to notice in everyday lighting.
If it doesn’t: If the color shifts, the wax pulls out, or the damage reappears quickly, replace the touch-up material with a better-matched kit or move to a board-level repair.
Match the replacement part to your exact floor before ordering.
As an Amazon Associate I earn from qualifying purchases. Repair Riot may earn a commission at no extra cost to you.
Replace it when the marker is dried out, the wax has hardened or crumbled, the color no longer matches your floor, or the old product leaves streaks instead of controlled coverage.
It can hide small chips and shallow surface damage, but it will not truly repair deep gouges, loose boards, swelling, or damage that goes through the veneer layer.
Use a marker for narrow scratches and worn color. Use wax for small chips, dents, or missing material where you need to fill the surface before blending the color.
Start with the lightest workable shade, apply in thin passes, and wipe excess right away. It is much easier to darken a repair slowly than to remove a heavy dark application.
Usually the goal is to make the damage much less noticeable, not perfectly invisible. A close color match, clean prep, and light application make the biggest difference.