Outdoor drainage repair

How to Replace an Exterior Drain Catch Basin Grate

To replace an exterior drain catch basin grate, confirm the grate is the failed part, remove the old cover, clear the basin rim and opening, install a matching replacement, and test it with water to make sure it sits securely and drains normally.

A cracked, loose, or missing grate can let debris into the basin and create a trip hazard. This is usually a straightforward repair if the basin body is still solid and the new grate matches the opening and mounting style.

Before you start: Match the replacement part to your exact exterior drainage before ordering.

Prepared by: Repair Riot Last updated: 2026-06-05 How we build and check guides

Safety first

  • Wear gloves when handling broken grates and debris inside the basin.
  • Keep children and pets away from an open catch basin during the repair.
  • Use care with pry tools so you do not slip and damage the basin edge or injure your hand.
  • Do not leave the drain uncovered if you need to stop and get the correct replacement.

Tools you may need

Work gloves tool

Work gloves

Use it for: Protects your hands from sharp plastic, metal edges, and debris inside the basin.

Shop work gloves
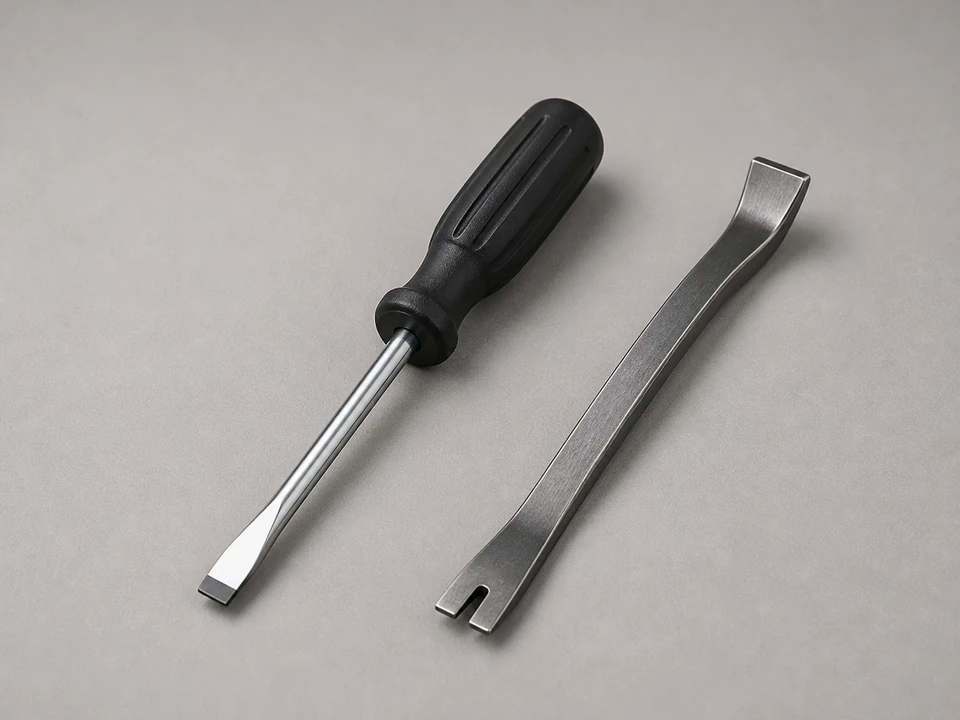
Flat screwdriver or small pry bar tool

Flathead screwdriver or small pry bar

Use it for: Helps lift a stuck grate and scrape debris from the rim.

Shop flathead screwdrivers

Tape measure tool

Tape measure

Use it for: Lets you measure the basin opening so the replacement grate fits correctly.

Shop tape measures
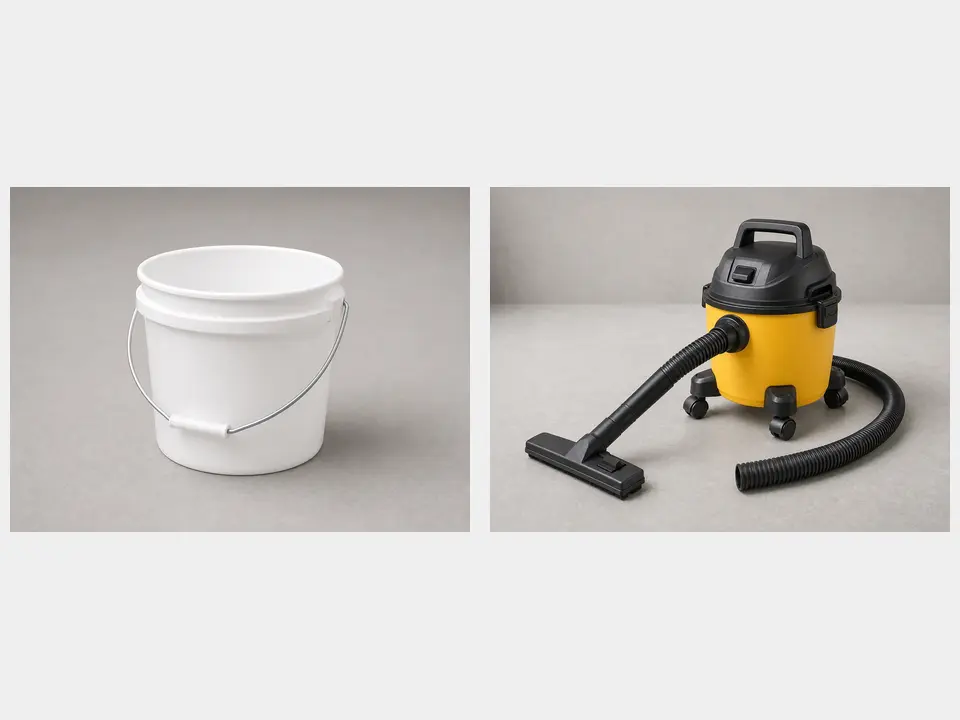
Bucket or shop vacuum tool

Bucket or shop vacuum

Use it for: Removes leaves, silt, and loose debris from the basin opening.

Shop wet dry vacs

As an Amazon Associate I earn from qualifying purchases. Repair Riot may earn a commission at no extra cost to you.

Step-by-step fix

Step 1: Confirm the grate is the part that needs replacement

  1. Look at the drain opening and check whether the grate is cracked, warped, rusted through, missing, or no longer sits securely in place.
  2. Press lightly on the grate edges. If it rocks, drops into the opening, or has broken mounting points, replacement is usually the right fix.
  3. Check the basin frame or top edge too. The new grate will only work if the surrounding opening is still intact enough to support it.
  4. Measure the opening length and width, and note whether the grate drops in, snaps in, or uses screws.

If it works: You know the grate is the failed part and you have the basic size and mounting style for the replacement.

If it doesn’t: If the grate looks fine but water backs up, clean the basin and outlet first because the problem may be a clog instead of the grate.

Stop if:
  • The basin rim is cracked, broken away, or badly distorted.
  • The surrounding concrete, pavers, or soil has shifted enough that the basin opening is no longer stable.
  • The drain area has become a serious trip hazard that needs to be blocked off until repaired.

Step 2: Set up the area and remove the old grate

  1. Put on gloves and clear away leaves, mulch, and loose dirt around the drain so you can see the full opening.
  2. If the grate is screwed down, remove the fasteners and set them aside only if they are still usable and match the new grate.
  3. If the grate is stuck, use a flathead screwdriver or small pry bar carefully at the edge to lift it without damaging the basin lip.
  4. Lift the old grate straight up and out. Remove any broken pieces left in the opening.

If it works: The old grate is out and the basin opening is fully exposed.

If it doesn’t: If the grate will not come free because mud or rust has locked it in place, clean around the edges and try lifting from more than one side.

Stop if:
  • The basin lip starts cracking or breaking while you pry.
  • You uncover major damage below the grate, such as a collapsed basin wall or separated drain connection.

Step 3: Clean the basin rim and opening

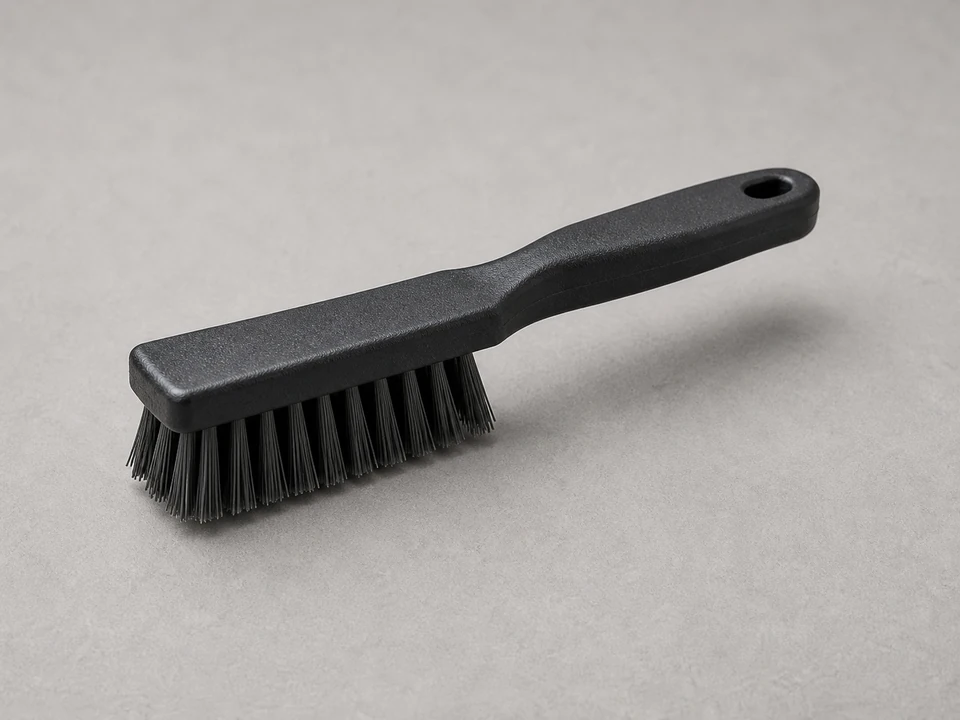
  1. Brush and scoop debris off the top rim where the new grate will sit.
  2. Remove leaves, silt, and trash from the upper part of the basin so they do not hold the new grate up.
  3. Wipe or brush the seating surface until it is reasonably clean and level.
  4. If the old grate used screws, clear the screw holes so the new fasteners can seat properly.

If it works: The grate seat is clean enough for the replacement to sit flat and secure.

If it doesn’t: If the rim is still uneven because of packed mud or small debris, keep cleaning until the grate can rest directly on the basin edge.

Stop if:
  • The seating surface is broken away so badly that the grate has nothing solid to rest on.

Step 4: Test-fit and install the new grate

  1. Set the new exterior drain catch basin grate over the opening without forcing it.
  2. Check that the edges line up evenly and the grate sits flat on all sides.
  3. If the grate is a drop-in style, press it fully into place so it cannot shift easily under normal foot traffic.
  4. If the grate uses screws or clips, install them snugly without overtightening and cracking the grate or stripping the mounting points.

If it works: The new grate fits the opening correctly and feels stable when pressed by hand.

If it doesn’t: If the grate is too loose, too tight, or the mounting points do not line up, recheck your measurements and replace it with the correct size or style.

Stop if:
  • You have to force the grate to fit.
  • The replacement leaves large gaps that could catch a shoe, let debris through, or allow the grate to drop into the basin.

Step 5: Check the area around the drain

  1. Make sure the grate is level with the surrounding surface as closely as the basin design allows.
  2. Clear away any leftover dirt or tools so runoff can reach the drain normally.
  3. Look for low spots, loose pavers, or eroded soil around the basin that could keep pushing debris into the grate.
  4. If needed, tidy the surface around the drain so water can flow toward the opening instead of around it.

If it works: The drain area is clean, the grate is supported, and the surrounding surface will not interfere with drainage.

If it doesn’t: If the grate sits noticeably proud or low because the basin itself has shifted, the basin or surrounding surface may need repair before the grate will perform well.

Stop if:
  • The surrounding surface has settled enough to create a larger drainage or trip-safety problem.

Step 6: Test the repair with real water flow

  1. Pour a bucket of water toward the drain or wait for a normal watering cycle or rain event if that is practical.
  2. Watch to make sure water flows through the grate openings and into the basin without the grate shifting.
  3. Step around the grate lightly to confirm it stays seated and does not rock under normal use.
  4. Check again after the test for debris catching, movement, or gaps around the edges.

If it works: Water drains through normally and the new grate stays secure during real use.

If it doesn’t: If water still ponds or drains slowly, clean the basin and downstream drain line because the grate replacement solved the cover issue but not a clog farther in the system.

Stop if:
  • The grate pops loose during the test.
  • Water backs up immediately because the basin or drain line appears blocked or damaged below the grate.

Replacement Parts

As an Amazon Associate I earn from qualifying purchases. Repair Riot may earn a commission at no extra cost to you.

Verify the repair

  • The new grate matches the opening and sits flat without forcing it.
  • The grate does not rock, drop, or shift when pressed or stepped on lightly.
  • Water passes through the grate and into the basin during a test.
  • There are no large gaps, exposed sharp edges, or loose fasteners around the drain.

FAQ

How do I know if I need a new grate or just a cleaning?

Replace the grate if it is cracked, missing, badly rusted, warped, or no longer stays in place. If the grate is intact but water drains slowly, the bigger issue is usually debris in the basin or a clog in the drain line.

Can I use any grate that is close in size?

No. The replacement needs to match the opening size and the way the original grate sits or fastens to the basin. A close fit that is not exact can rock, fall in, or leave unsafe gaps.

What if the new grate does not sit flat?

First clean the basin rim again and make sure no debris is trapped underneath. If it still will not sit flat, the grate may be the wrong style or the basin rim may be damaged or out of shape.

Should I replace the screws too?

If the old screws are rusted, stripped, or do not fit the new grate properly, replace them with matching fasteners that fit the grate and basin mounting points. Do not force oversized screws into the basin.

Why does the drain still back up after I replaced the grate?

A new grate only fixes the cover. If water still ponds, the basin sump or drain line likely has silt, leaves, or another blockage that needs to be cleaned out.