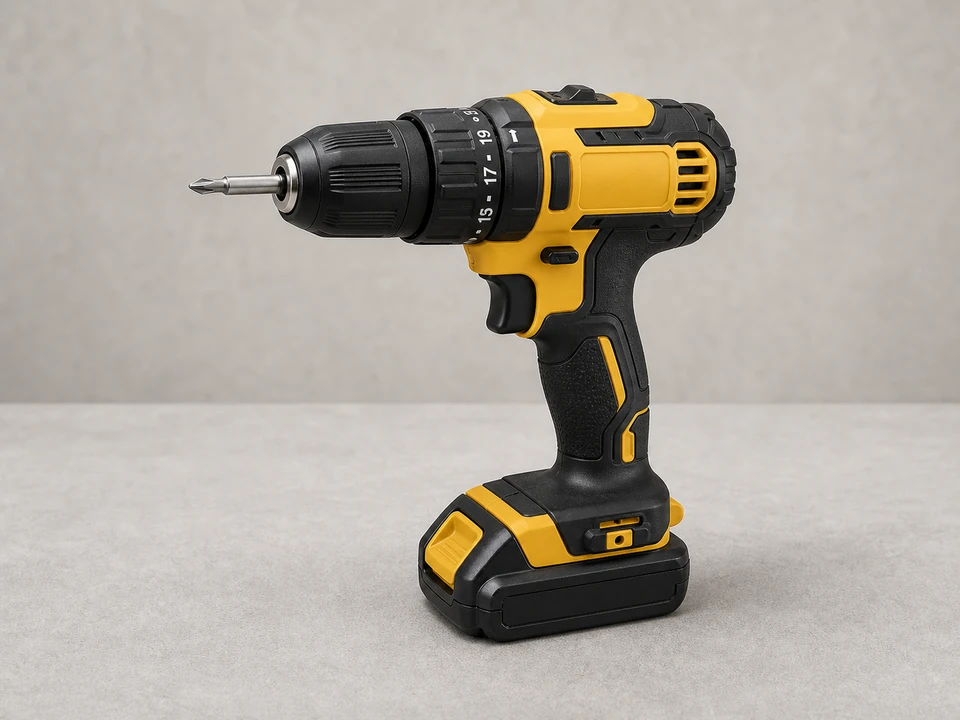
Drill/driver
Use it for: To remove old screws and fasten the new brackets or anchors.
Shop drill/driversTo replace a fence gate anti sag kit, support the gate, remove the old cable or brace hardware, install the new kit in the same general layout, tighten it until the latch side lifts back into line, and then test the gate through several open-and-close cycles.
This repair is usually worth doing when the gate frame is still solid but the latch side has dropped, the old anti-sag cable is loose or rusted, or the turnbuckle and corner brackets have failed. If the wood is badly split or the gate posts are leaning, the kit alone will not hold for long.
Before you start: Match the replacement part to your exact fence before ordering.
Use it for: To remove old screws and fasten the new brackets or anchors.
Shop drill/drivers
Use it for: To predrill pilot holes and avoid splitting the gate frame.
Shop drill bit sets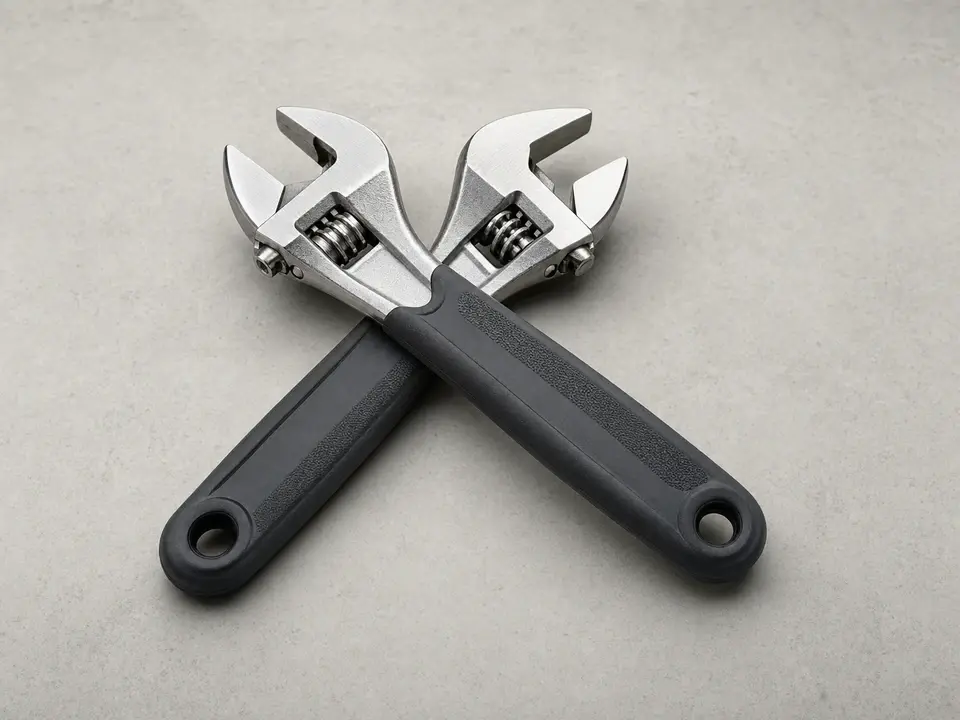
Use it for: To tighten nuts, cable hardware, or a turnbuckle on the new kit.
Shop adjustable wrenches
Use it for: To place the new hardware squarely and compare corner-to-corner alignment.
Shop tape measures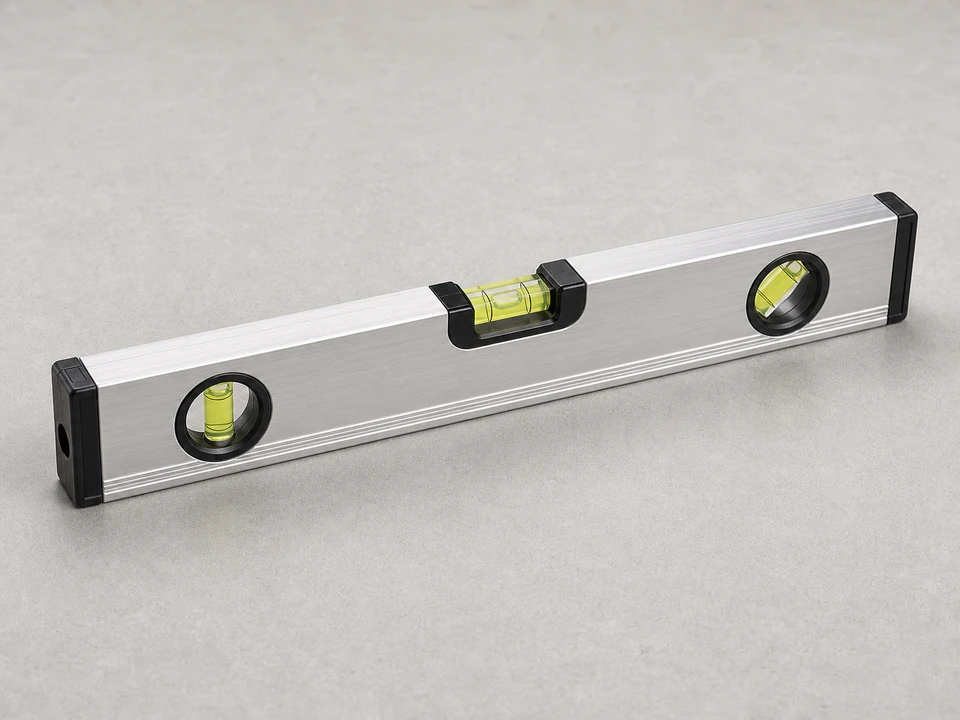
Use it for: To check whether the gate is sitting plumb and lifted back into position.
Shop levels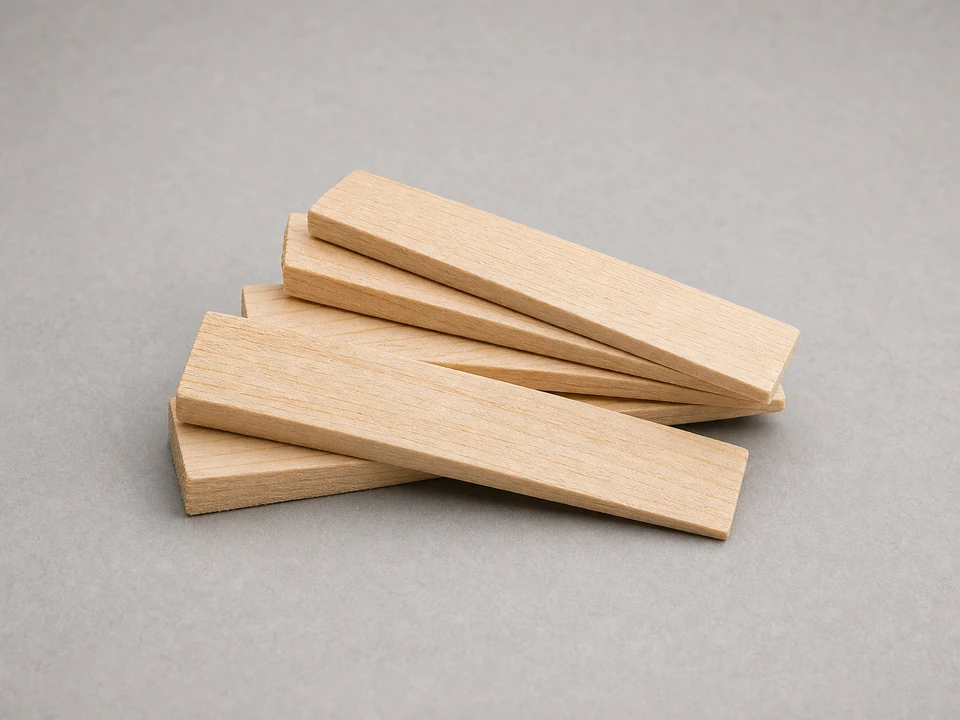
Use it for: To support the gate at the right height while you remove and install the kit.
Shop wood shimsAs an Amazon Associate I earn from qualifying purchases. Repair Riot may earn a commission at no extra cost to you.
If it works: You have confirmed the gate is sagging because the brace hardware failed or no longer holds tension, and the gate frame is still worth repairing.
If it doesn’t: If the hinges are loose, the post is leaning, or the wood frame is badly damaged, fix those issues first or the new kit will not solve the sag for long.
If it works: The old anti-sag hardware is off, and the gate is still safely supported in its corrected position.
If it doesn’t: If a fastener spins in damaged wood, move the new hardware to sound wood nearby and predrill fresh pilot holes.
If it works: The new kit is oriented correctly and all mounting points are marked on solid wood.
If it doesn’t: If the kit hardware conflicts with existing latch or hinge parts, shift it slightly while keeping the same lower-hinge-to-upper-latch bracing direction.
If it works: The new anti-sag kit is mounted securely and ready for final adjustment.
If it doesn’t: If a screw will not tighten in sound wood, move up to a fresh pilot hole location in the same corner area and refasten the bracket.
If it works: The gate now hangs higher on the latch side, clears the ground, and lines up better with the latch.
If it doesn’t: If the gate still sags after the kit is fully tensioned, recheck hinge screws, post movement, and frame damage because the root problem is likely elsewhere.
If it works: The gate swings freely, latches normally, and the new anti-sag kit holds the alignment during repeated use.
If it doesn’t: If the gate drops again quickly, the post, hinges, or gate frame likely need repair beyond the anti-sag kit replacement.
Match the replacement part to your exact fence before ordering.
As an Amazon Associate I earn from qualifying purchases. Repair Riot may earn a commission at no extra cost to you.
No. It helps when the gate frame is still solid and the sag comes from lost bracing. If the post is leaning, the hinges are loose, or the wood frame is failing, those problems need repair too.
For a typical sagging gate, the brace or cable should pull from the lower hinge side toward the upper latch side. That direction helps lift the dropped latch corner.
Only if the wood is still solid and the screws tighten firmly. If the holes are stripped or the wood is split, move the hardware slightly and drill fresh pilot holes in sound wood.
Tight enough to bring the gate back into alignment and keep it there during normal use. Stop if the frame starts bowing, twisting, or cracking, because that means you are overloading the gate.
A small follow-up adjustment is normal as the wood settles. If it drops a lot again, check for loose hinges, a moving post, or frame damage that the anti-sag kit cannot overcome.