
Tape measure
Use it for: To confirm the panel opening and compare it to the replacement before installation.
Shop tape measuresTo replace a fence panel, remove the damaged panel without loosening the posts, confirm the opening size, set the new panel in place, and fasten it securely with outdoor-rated hardware.
This job is usually manageable for a homeowner if the posts are still solid and the replacement panel matches the fence style and opening. Work slowly, support the panel as you remove and install it, and stop if the posts or rails are rotted, split, or unstable.
Before you start: Match the replacement part to your exact fence before ordering.
Use it for: To confirm the panel opening and compare it to the replacement before installation.
Shop tape measures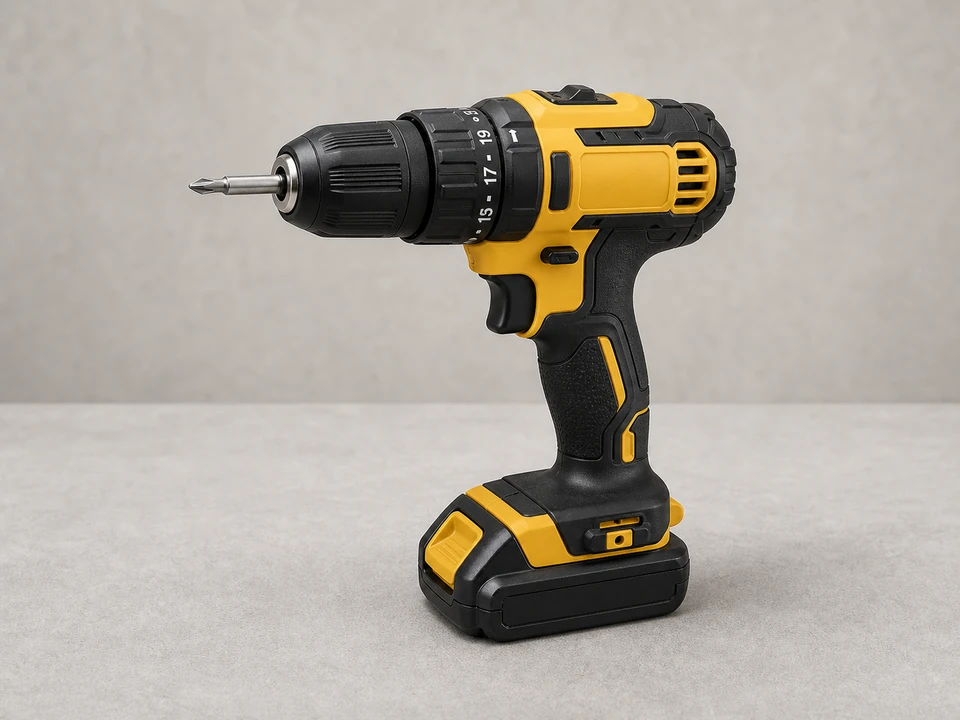
Use it for: To remove screws and drive new fasteners into rails or brackets.
Shop drill drivers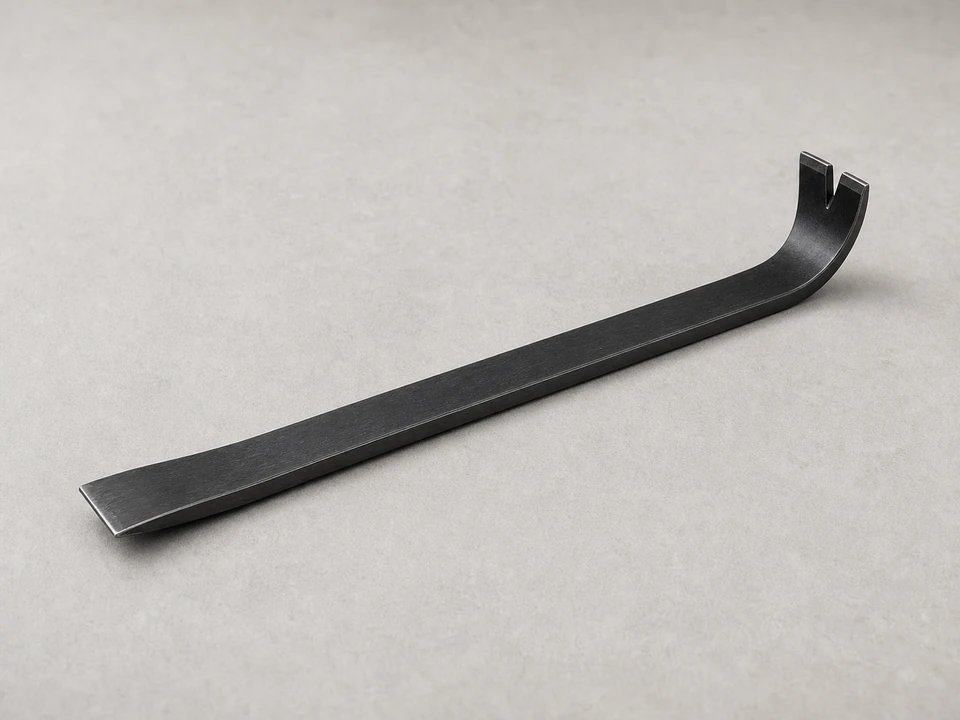
Use it for: To loosen nailed panels or trim carefully without damaging nearby sections.
Shop pry bars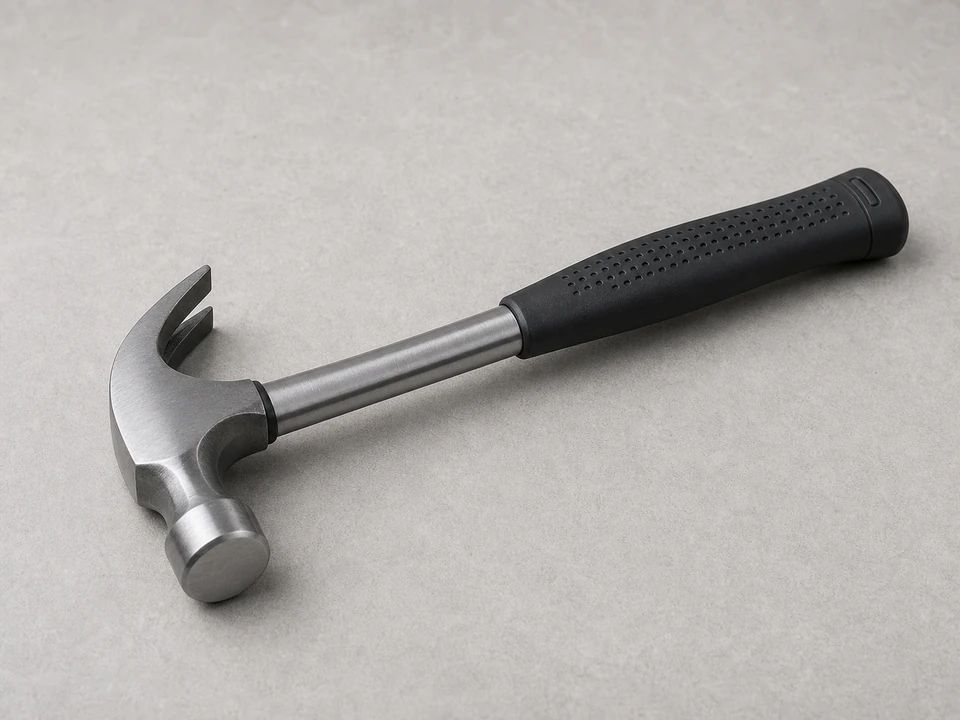
Use it for: To pull or tap out nails and help free stubborn fasteners.
Shop hammers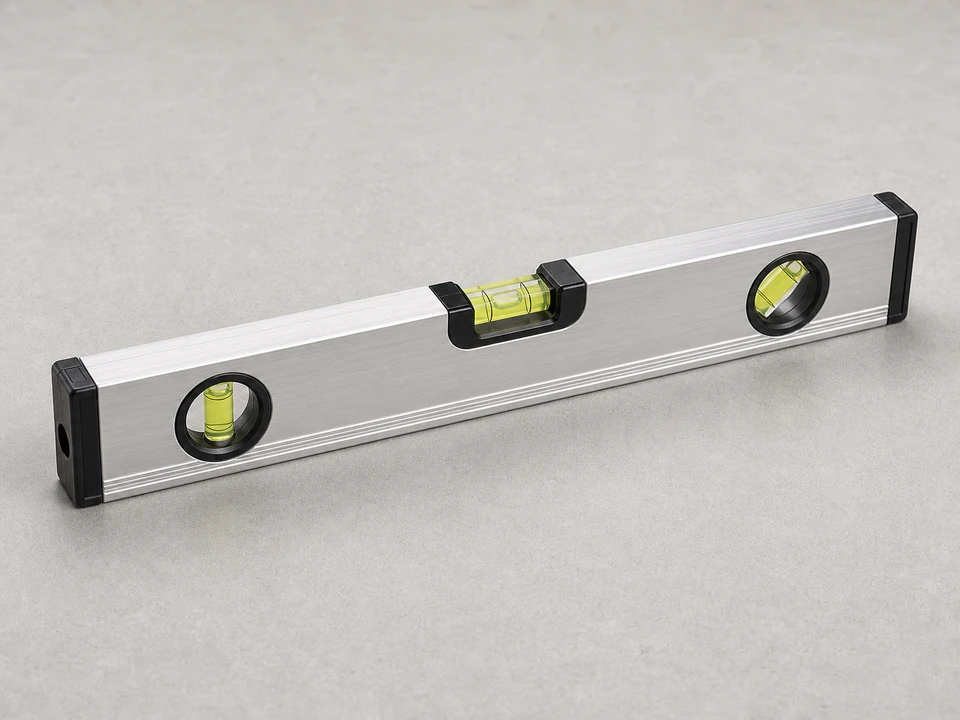
Use it for: To check that the new panel sits straight before final fastening.
Shop levels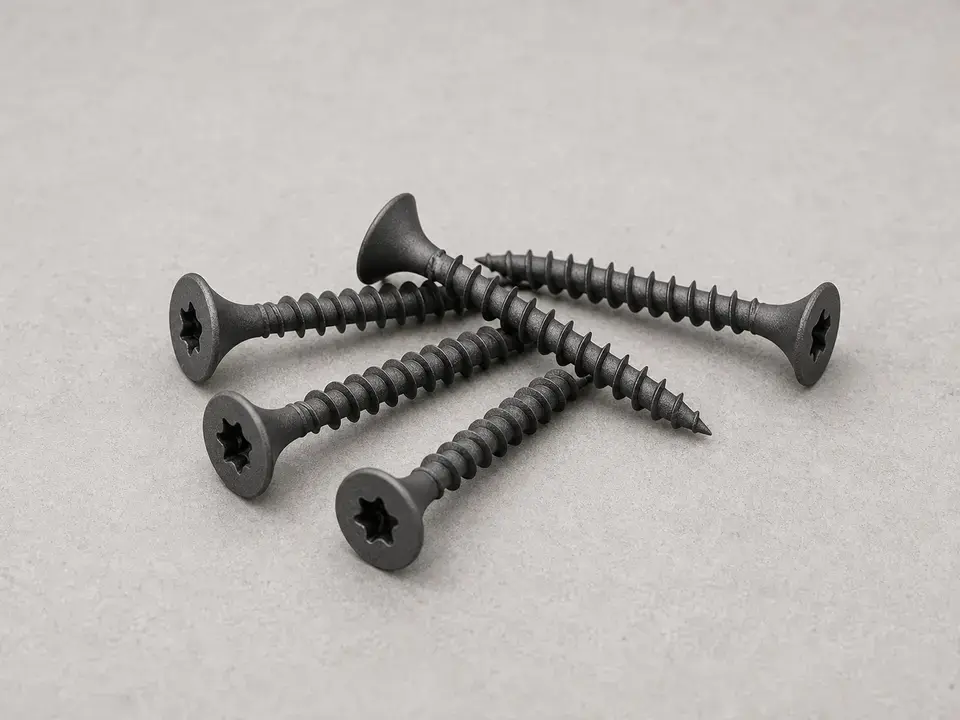
Use it for: To secure the replacement panel with weather-resistant hardware.
Shop exterior fence screwsAs an Amazon Associate I earn from qualifying purchases. Repair Riot may earn a commission at no extra cost to you.
If it works: You have a clear work area, know how the panel is attached, and have confirmed the replacement is the right size and style.
If it doesn’t: If the opening does not match, pause and get the correct panel or confirm whether trimming or added support is needed.
If it works: The panel is loose and supported, with fasteners removed in a controlled way.
If it doesn’t: If fasteners are rusted or stuck, apply steady pressure and pry gradually to avoid splitting nearby rails or posts.
If it works: The old panel is out and the opening is clean, solid, and ready for the replacement.
If it doesn’t: If the opening is damaged, repair or reinforce the mounting points before installing the new panel.
If it works: The new panel fits the opening properly and lines up with the rest of the fence.
If it doesn’t: If the fit is tight or uneven, remove the panel and confirm measurements, hardware placement, and whether the opening itself is square.
If it works: The panel is firmly attached and does not wobble when pushed lightly.
If it doesn’t: If the panel shifts while fastening, loosen the hardware slightly, realign it, and tighten again.
If it works: The new panel is secure, aligned, and the area is cleaned up.
If it doesn’t: If the panel still feels loose, inspect the mounting points again and add proper support or replace damaged hardware as needed.
Match the replacement part to your exact fence before ordering.
As an Amazon Associate I earn from qualifying purchases. Repair Riot may earn a commission at no extra cost to you.
Yes, if the posts and supporting rails around that section are still solid. If the posts are loose or rotted, fix those first or the new panel may not stay secure.
Measure the opening and compare the height, width, thickness, and attachment style to the old section. The replacement should match the fence layout without needing to be forced into place.
Use the fastening method that fits the fence design, but outdoor-rated screws are often easier to control and remove later. The key is using weather-resistant hardware that holds firmly in solid material.
You can usually reuse brackets if they are straight and not badly rusted. Replace damaged brackets so the new panel has full support.
Call a pro if the posts lean, the rails are broken, the fence line is out of alignment, or the panel is part of a larger structural problem. Those issues usually need more than a simple panel swap.