Fence repair

How to Replace Fence Post Repair Fasteners

If the post repair hardware is loose, rusted, stripped, or missing, you can usually replace the fence post repair fasteners with matching exterior-rated fasteners and retighten the repair.

This job is straightforward if the post, bracket, and surrounding wood are still sound. The goal is to replace failed fasteners, pull the repair tight again, and make sure the post stays stable when the fence is pushed in normal use.

Before you start: Match the screw type, length, head style, and exterior rating to your fence material and framing before ordering.

Prepared by: Repair Riot Last updated: 2026-06-05 How we build and check guides

Safety first

  • Wear gloves when handling rusted hardware and sharp metal brackets.
  • Use eye protection when removing old fasteners or driving new ones overhead or at awkward angles.
  • Keep fingers clear of brackets and joints while a helper pushes the post into position.
  • Do not rely on replacement fasteners alone if the post is unstable at the ground or close to collapse.

Tools you may need

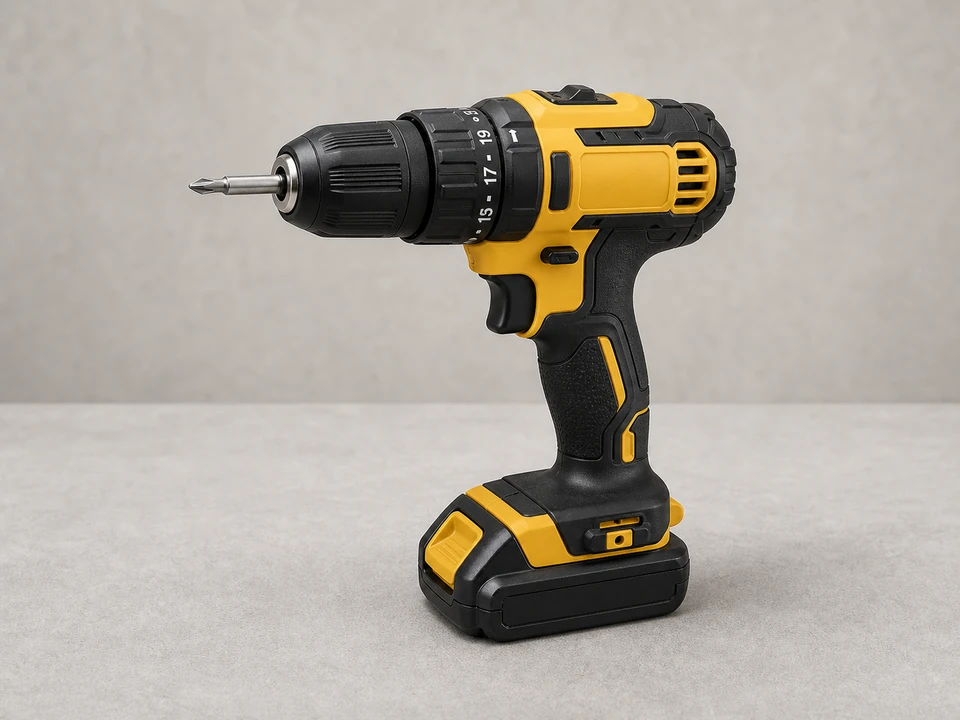
Drill driver tool

Drill/driver

Use it for: To remove old screws and drive the new fasteners cleanly.

Shop drill/drivers
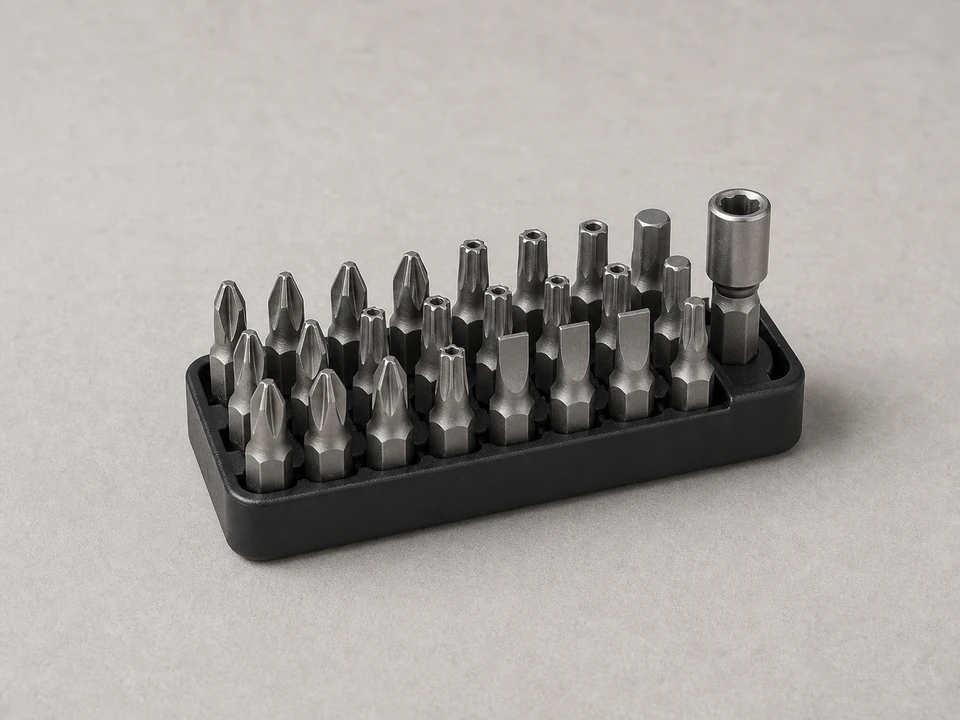
Driver bit set tool

Driver bit set

Use it for: To match the screw head and avoid stripping it during removal or installation.

Find driver bit sets
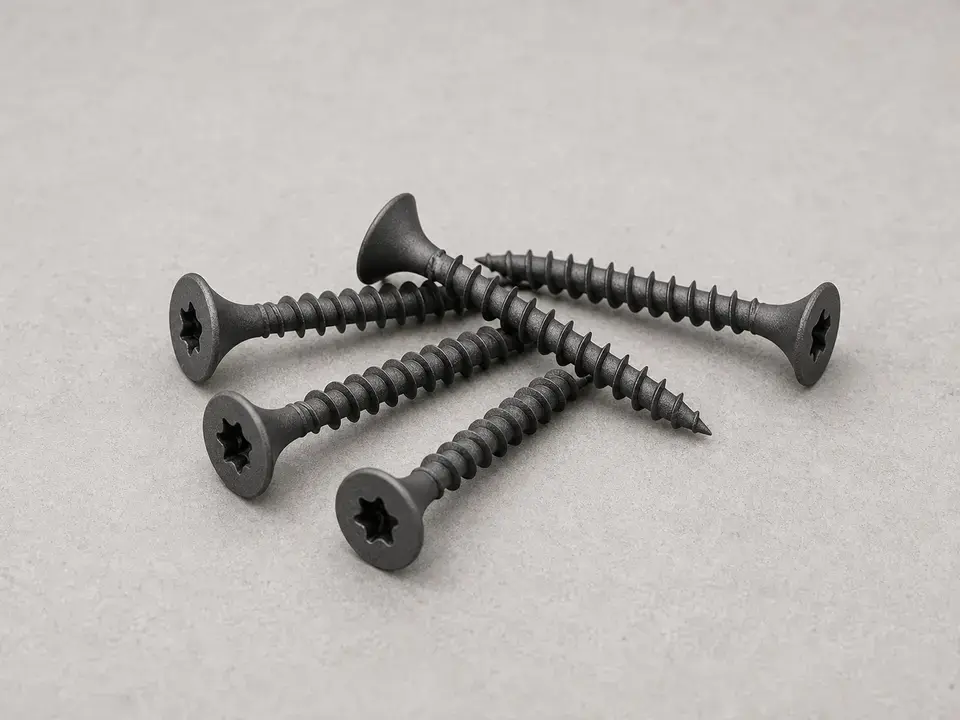
Exterior wood screws or repair fasteners tool

Exterior wood screws or repair fasteners

Use it for: These are the replacement fasteners that hold the post repair bracket or brace in place.

Find exterior fence fasteners
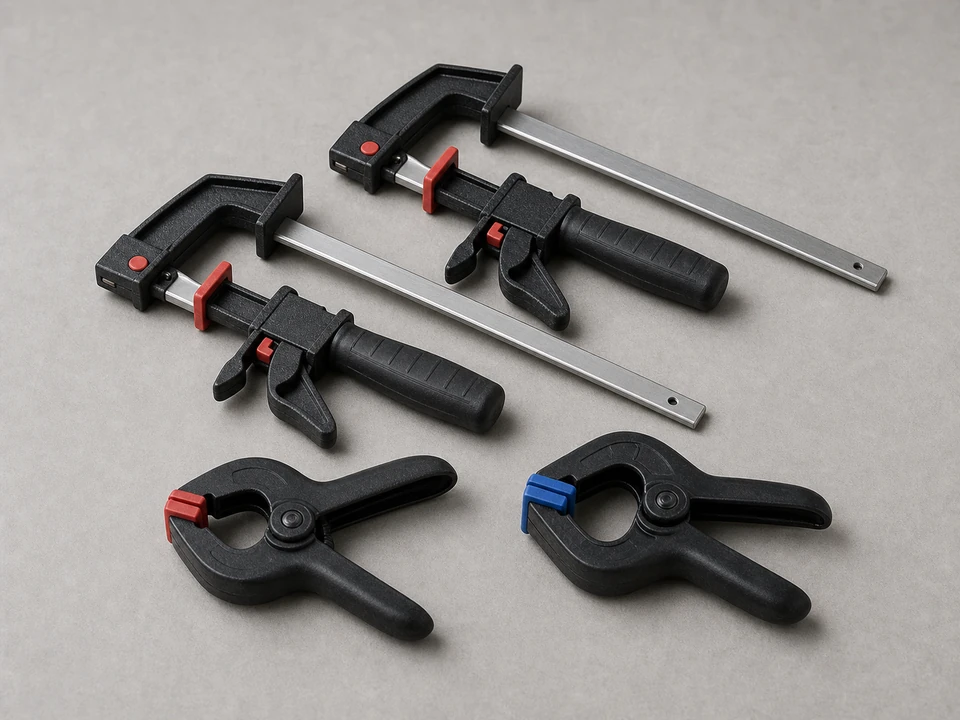
Clamps tool

Clamps

Use it for: To hold the bracket or post repair snug while you start the new fasteners.

Shop clamps

Tape measure tool

Tape measure

Use it for: To confirm the old fastener length and diameter before buying replacements.

Find tape measures

As an Amazon Associate I earn from qualifying purchases. Repair Riot may earn a commission at no extra cost to you.

Step-by-step fix

Step 1: Confirm the fasteners are the real problem

  1. Push the fence near the repaired post and watch where movement happens.
  2. Look for missing screws, rusted heads, stripped fasteners, or hardware that spins without tightening.
  3. Check that the repair bracket, mending plate, or brace is still intact and not bent open.
  4. Probe the wood around the fasteners with a screwdriver. Surface weathering is fine, but soft or crumbling wood means the fasteners may not be the main issue.

If it works: You found failed or loose fasteners, and the bracket and surrounding wood still look solid enough for replacement.

If it doesn’t: If the post is rotted, the bracket is torn or badly bent, or the post is leaning because the footing failed, fix that larger problem before replacing fasteners.

Stop if:
  • The post can move freely at ground level or feels close to falling over.
  • The wood around the repair is soft enough that new fasteners will not hold.
  • A metal repair bracket is cracked, split, or pulling through the post.

Step 2: Match the replacement fasteners before removing everything

  1. Remove one existing fastener from a stable part of the repair and use it as your sample.
  2. Match the replacement by type, diameter, length, head style, and exterior corrosion resistance.
  3. Choose fasteners long enough to bite into solid material without poking through where they could snag someone.
  4. If the old fasteners were obviously undersized or badly rusted, step up to a proper exterior-rated replacement that still fits the bracket holes.

If it works: You have replacement fasteners that fit the repair hardware and are suitable for outdoor use.

If it doesn’t: If you cannot match the size, take the sample fastener and a photo of the repair bracket with you when shopping.

Stop if:
  • The bracket holes are wallowed out so badly that standard replacement fasteners will not center or clamp the repair tightly.

Step 3: Support the repair and remove the failed fasteners

  1. Hold the post or repaired section in position by hand, with a clamp, or with a helper so the hardware does not shift when fasteners come out.
  2. Back out the loose, rusted, or stripped fasteners one at a time.
  3. If a screw head is damaged, press the bit firmly and run the drill slowly to avoid making it worse.
  4. Clear dirt, rust flakes, and wood fibers from the bracket and the fastener holes so the new hardware can seat flat.

If it works: The failed fasteners are out, and the repair hardware is clean and ready for reattachment.

If it doesn’t: If one stubborn fastener will not come out, remove the others first and then work on the stuck one with better bit pressure or hand tools.

Stop if:
  • Removing the fasteners causes the bracket or post to spring apart in a way you cannot safely control.
  • The wood splits open or chunks break away as the old fasteners come out.

Step 4: Pull the bracket tight and install the new fasteners

  1. Reposition the bracket or brace so it sits flat against the post and rail or reinforcing member.
  2. Clamp the pieces together if needed so the holes stay aligned.
  3. Drive the new fasteners in snugly, starting with the most important anchor points that pull the repair tight.
  4. Alternate from one side to the other if there are several fasteners so the bracket seats evenly.
  5. Tighten until the hardware is firm and flush, but do not overdrive and crush the wood or strip the hole.

If it works: The repair hardware is tight, seated flat, and no longer shifting against the post.

If it doesn’t: If a fastener spins without tightening, move to fresh solid material if the bracket allows, or address the damaged wood before continuing.

Stop if:
  • The wood keeps stripping out and will not hold even one properly sized replacement fastener.
  • The bracket cannot be pulled flat because the post or fence framing is warped, split, or out of position.

Step 5: Replace any remaining weak fasteners and check alignment

  1. Swap out the rest of the questionable fasteners so the repair is not relying on a mix of strong and failing hardware.
  2. Sight down the fence line and make sure the repaired post still sits in a reasonable position relative to the adjacent section.
  3. Retighten each fastener by hand feel so they are uniformly snug.
  4. Wipe away metal shavings or debris that could hold moisture against the hardware.

If it works: All key fasteners are replaced, and the repair looks even and secure.

If it doesn’t: If the post still sits noticeably out of line after the hardware is tight, the lean may be coming from the post, footing, or fence section rather than the fasteners alone.

Stop if:
  • Tightening the remaining fasteners causes new cracks in the post or rail.
  • The repaired section pulls other fence parts out of place as you align it.

Step 6: Test the repair under normal use

  1. Push the fence near the repaired post with steady hand pressure from both directions.
  2. Open and close any nearby gate carefully if that post supports gate loads.
  3. Watch for bracket movement, fastener heads lifting, or fresh gaps opening around the repair.
  4. Check the repair again after a day or two, especially after wind or regular use.

If it works: The post repair stays tight, the fence feels more stable, and the new fasteners hold without loosening.

If it doesn’t: If movement comes back quickly, the root problem is likely damaged wood, a failed bracket, or a loose post in the ground rather than just bad fasteners.

Stop if:
  • The post still leans significantly or rocks at the base after the fasteners are replaced.
  • The new fasteners loosen immediately or pull out during a normal push test.

Replacement Parts

As an Amazon Associate I earn from qualifying purchases. Repair Riot may earn a commission at no extra cost to you.

Verify the repair

  • The bracket or repair plate sits flat with no visible gap opening under pressure.
  • New fasteners are snug, not spinning, and not backing out after a push test.
  • The fence section at the repaired post feels noticeably steadier in normal use.
  • There is no fresh splitting, crumbling wood, or bracket distortion after tightening.

FAQ

Can I replace just one loose fastener?

You can if the rest are solid and corrosion-free, but if several are rusted or loose, replacing the whole set at that repair usually gives a longer-lasting result.

What kind of fasteners should I use on a fence repair?

Use exterior-rated fasteners that match the bracket holes and the wood thickness. The main thing is correct size, proper fit, and corrosion resistance for outdoor exposure.

Why do the new fasteners keep spinning?

That usually means the wood around the hole is stripped, split, or rotted. New fasteners will not hold well until you move into sound material or repair the damaged wood.

Do I need to replace the bracket too?

Only if it is bent, cracked, badly rusted, or the holes are enlarged enough that the new fasteners cannot clamp it tightly.

Will new fasteners fix a leaning fence post by themselves?

Only if the lean was caused by loose or failed repair hardware. If the post is rotted or loose in the ground, replacing fasteners will not solve the root problem.