Fence repair

How to Replace Fence Rail Fasteners

If a fence rail is loose because the screws or other fasteners are rusted, stripped, or missing, you can usually fix it by removing the failed fasteners, pulling the rail back into position, and installing new exterior-rated fasteners that fit the rail and post correctly.

This is a good DIY repair when the rail itself is still solid and the post is not rotted or badly loose. The goal is to restore a tight connection so the rail does not shift under normal use or wind.

Before you start: Match the screw type, length, head style, and exterior rating to your fence material and framing before ordering.

Prepared by: Repair Riot Last updated: 2026-06-05 How we build and check guides

Safety first

  • Wear safety glasses when removing rusted or broken fasteners.
  • Support the rail before removing old hardware so it does not drop or twist unexpectedly.
  • Use exterior-rated replacement fasteners so the repair does not fail early from corrosion.
  • Keep hands clear of the driver bit path and the back side of the rail when driving screws.

Tools you may need

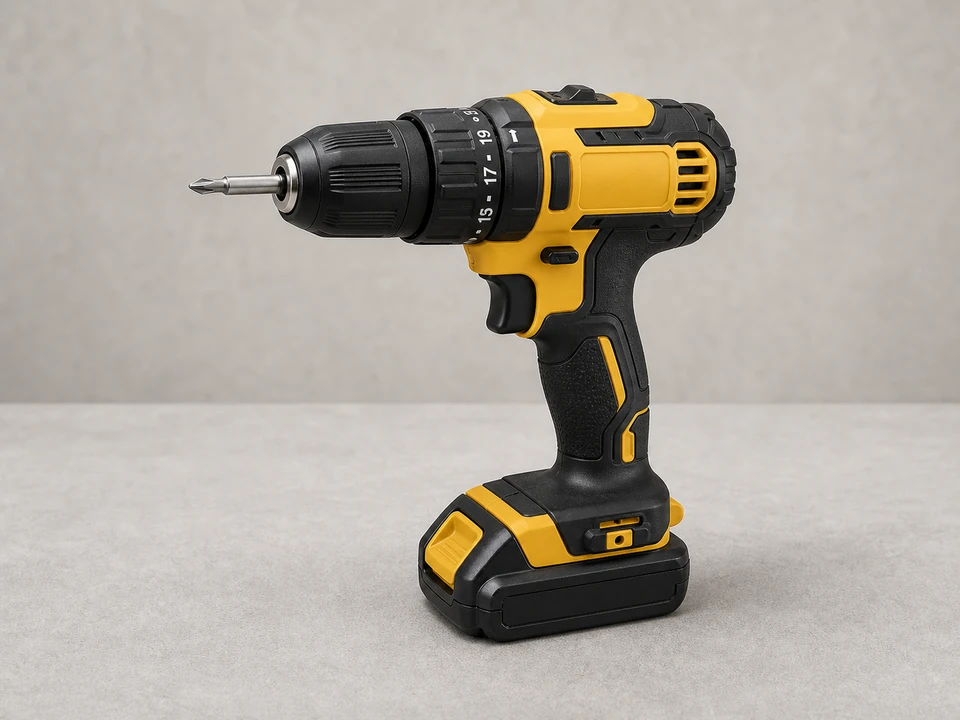
Drill driver tool

Drill/driver

Use it for: To remove old screws and drive the new fasteners cleanly.

Shop drill/drivers
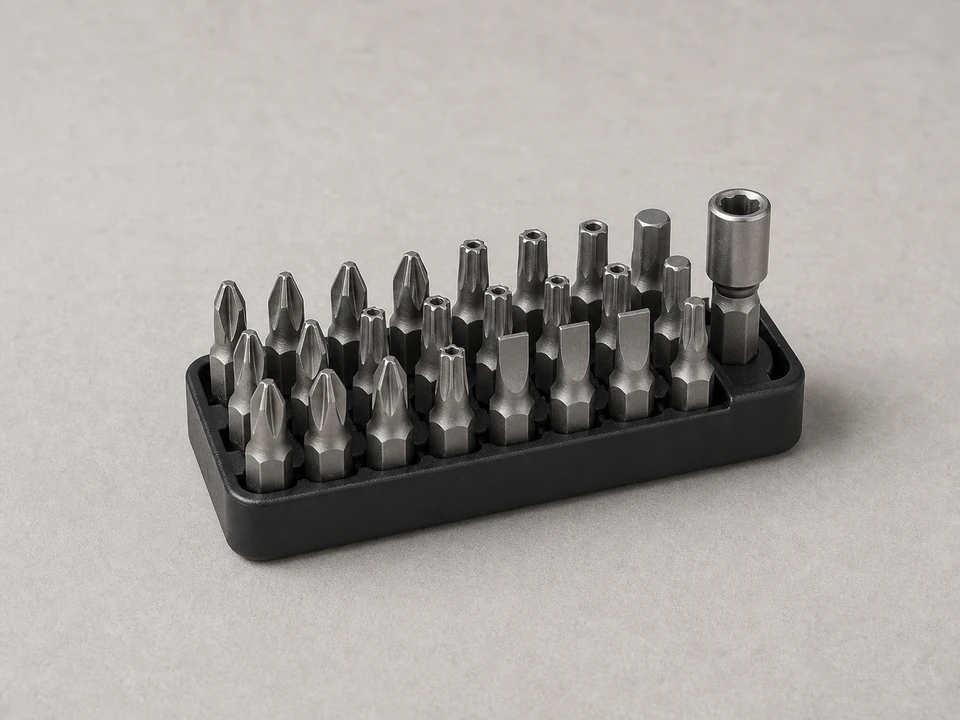
Driver bit set tool

Driver bit set

Use it for: To match the old and new screw heads without stripping them.

Find driver bit sets
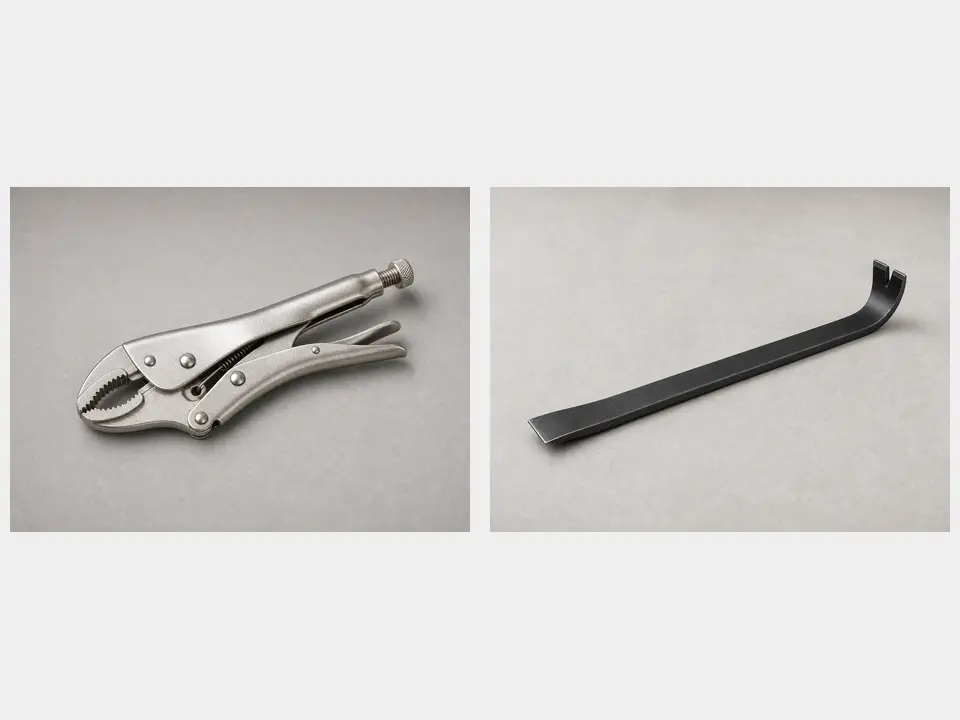
Pry bar or locking pliers tool

Pry bar or locking pliers

Use it for: To pull stubborn fasteners or hardware pieces that will not back out normally.

Shop pry bars and pliers
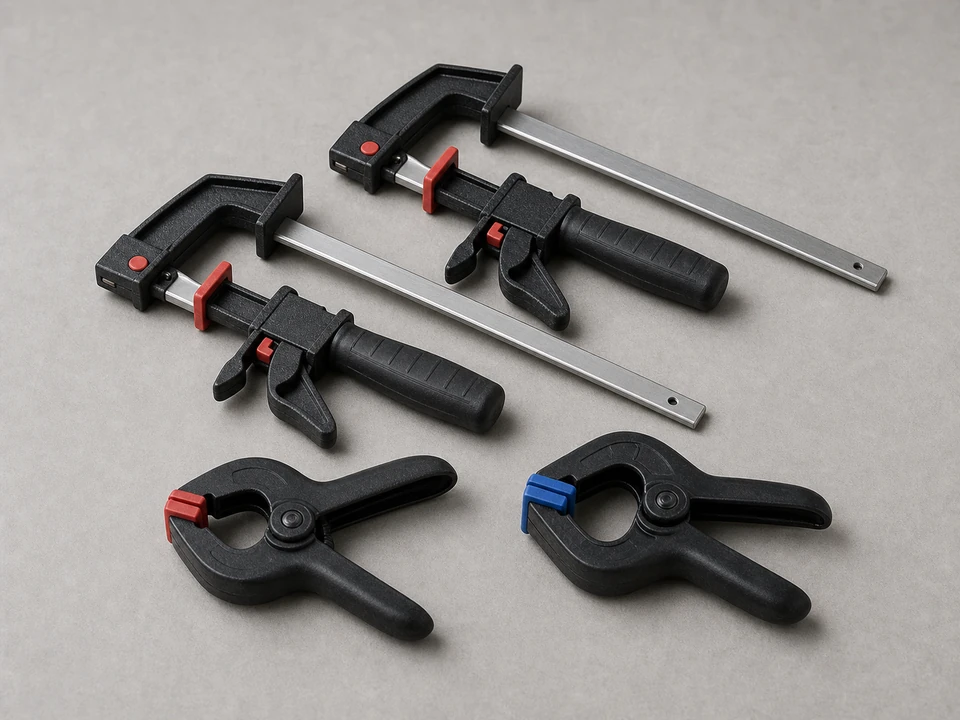
Clamps tool

Clamp

Use it for: To hold the rail tight to the post while you start the new fasteners.

Find clamps

Tape measure tool

Tape measure

Use it for: To check rail position and choose the right fastener length.

Shop tape measures
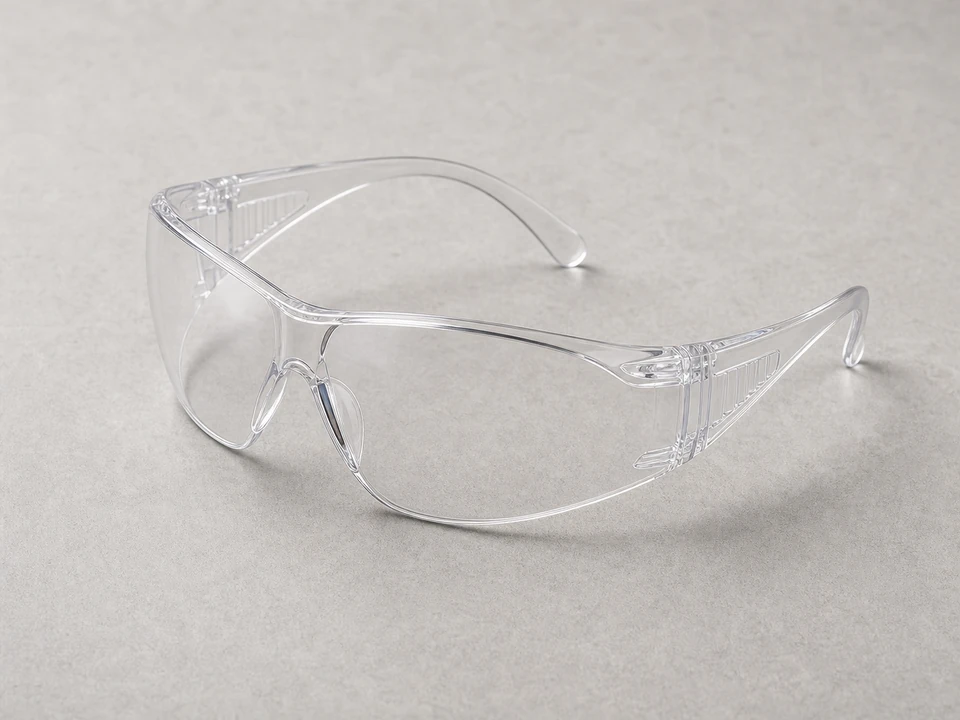
Safety glasses tool

Safety glasses

Use it for: To protect your eyes from rust, wood chips, and broken fastener pieces.

Get safety glasses

As an Amazon Associate I earn from qualifying purchases. Repair Riot may earn a commission at no extra cost to you.

Step-by-step fix

Step 1: Confirm the fasteners are the real problem

  1. Push and pull on the loose rail where it meets the post or bracket.
  2. Look for missing screws, rusted fastener heads, stripped screws that spin, or nails backing out.
  3. Check the wood around the connection for soft spots, splitting, or enlarged holes.
  4. Compare this joint to a solid section of fence so you can see how tight the rail should sit.

If it works: You found that the rail is sound enough to reuse and the connection is failing mainly because the fasteners are loose, damaged, or missing.

If it doesn’t: If the rail is cracked, the post is moving in the ground, or the wood is too rotted to hold new fasteners, repair that larger problem first.

Stop if:
  • The post is leaning badly or feels unstable at the ground.
  • The rail or post is rotted enough that a new screw will not hold.
  • A metal bracket or connector is bent through or torn and needs replacement too.

Step 2: Gather matching replacement fasteners and prep the joint

  1. Choose exterior-rated fasteners that match the fence material and are long enough to bite solidly into the framing without punching through the face.
  2. Put on safety glasses.
  3. Support the loose rail with one hand, a clamp, or a temporary block so it does not drop while you remove the old hardware.
  4. Brush away dirt, flaking rust, and loose wood fibers around the connection so you can see the holes clearly.

If it works: You have the right replacement fasteners ready and the rail is supported in a safe working position.

If it doesn’t: If you are unsure on size, remove one intact fastener from a nearby matching joint and use it as your guide.

Stop if:
  • The rail is under tension and wants to spring out of place in a way you cannot control safely.

Step 3: Remove the failed fasteners

  1. Back out any screws that still have enough head left for a driver bit.
  2. Use locking pliers or a pry bar to pull nails or broken fastener pieces that are sticking out.
  3. If one screw spins without coming out, pull the rail slightly away from the post while backing it out to help the threads release.
  4. Clear out loose rust and wood crumbs from the old holes after the hardware is removed.

If it works: The old fasteners are out and the rail can be repositioned flat against the post or bracket.

If it doesn’t: If a broken piece is buried and cannot be removed cleanly, shift the new fastener location slightly into solid wood rather than forcing the same damaged hole.

Stop if:
  • Removing the fasteners exposes hidden rot, a split post, or a rail end that is crumbling apart.

Step 4: Pull the rail back into position

  1. Press or clamp the rail so it sits where it originally belonged against the post or bracket.
  2. Check that the rail lines up with the neighboring fence section and is not twisted.
  3. If the old hole is wallowed out, move the new fastener slightly above, below, or beside it into sound material.
  4. Measure edge distance by eye and avoid driving too close to the end of the rail where the wood could split.

If it works: The rail is aligned and held tightly in place, with solid spots chosen for the new fasteners.

If it doesn’t: If the rail will not sit back in place, look for a warped rail, bent bracket, or shifted post that needs correction before fastening.

Stop if:
  • The rail cannot be aligned without forcing the fence out of shape.
  • The only available fastening area is split or too weak to hold.

Step 5: Install the new fence rail fasteners

  1. Drive the first fastener snugly, not so hard that it crushes the wood fibers or strips out the hole.
  2. Install the remaining fasteners in the same connection, keeping the rail tight to the post or bracket as you go.
  3. If the wood is dry or prone to splitting, drive slowly and keep the fasteners straight.
  4. Stop when the fastener heads are seated firmly and the joint is tight with no visible gap.

If it works: The rail is firmly attached and the connection feels tight by hand.

If it doesn’t: If a fastener strips before tightening, remove it and move to a fresh spot in solid wood with a new fastener of the correct type and length.

Stop if:
  • The new fasteners will not tighten because the wood no longer has enough strength to hold them.

Step 6: Test the repair in real use

  1. Push and pull on the repaired rail with steady hand pressure similar to normal fence use.
  2. Walk the fence line and compare the repaired section to the neighboring sections for movement and alignment.
  3. Check again after a day or two, especially after wind or gate use nearby, to make sure the joint stays tight.
  4. Retighten only if a fastener backed off slightly during settling; do not keep driving if the wood starts to strip.

If it works: The rail stays tight, the joint does not shift, and the repair holds under normal use.

If it doesn’t: If the rail loosens again quickly, the root problem is usually weak wood, a moving post, or the wrong fastener type rather than simple fastener replacement.

Stop if:
  • The repaired section keeps moving because the post or rail is structurally damaged.
  • The fence is unstable enough that more sections may fail if you keep using it as-is.

Replacement Parts

As an Amazon Associate I earn from qualifying purchases. Repair Riot may earn a commission at no extra cost to you.

Verify the repair

  • The rail sits flush to the post or bracket with no obvious gap.
  • New fasteners are snug and not spinning in place.
  • The repaired rail does not wobble when pushed by hand.
  • The fence line still looks straight and the rail matches the height and angle of adjacent sections.

FAQ

Should I use screws or nails for fence rail repairs?

Screws are usually the better choice for a repair because they pull the joint tight and are less likely to back out over time. Use exterior-rated fasteners sized for your fence materials.

Can I reuse the old holes?

Only if the wood is still solid and the new fastener tightens properly. If the old hole is enlarged or crumbly, move slightly to fresh wood.

What if the screw keeps spinning and will not tighten?

That usually means the wood fibers are stripped or rotted. Remove the screw and fasten into a nearby solid spot, or repair the damaged wood if there is no sound material left.

Do I need to replace all the fasteners on that rail?

Not always, but if the visible fasteners are rusted or several are loose, replacing the full set at that connection is usually the more durable fix.

Why did the rail fasteners fail in the first place?

Common causes are corrosion, repeated fence movement from wind or gate use, undersized fasteners, or wood that has dried, split, or started to rot around the joint.