
Adjustable wrench
Use it for: To loosen and tighten the supply line nuts at the shutoff valve and fixture.
Shop adjustable wrenchesTo replace a fixture supply line at the shutoff valve, first confirm the leak or damage is coming from the line or its connection, shut off the valve, remove the old line, install a matching replacement, and test carefully for drips while the fixture is running.
This is a straightforward repair when the shutoff valve still works and the line is the real problem. The key is using the correct length and connection type, then tightening just enough to seal without damaging the fittings.
Before you start: Match the line length, end sizes, and connection type before ordering.
Use it for: To loosen and tighten the supply line nuts at the shutoff valve and fixture.
Shop adjustable wrenches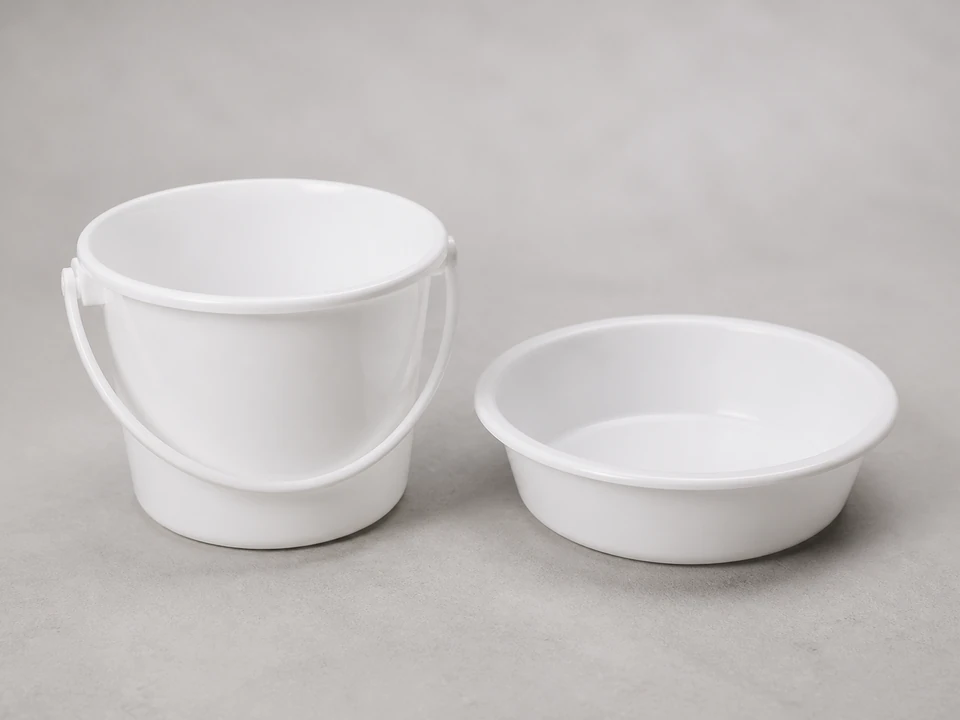
Use it for: To catch the water left in the line when you disconnect it.
Shop small utility buckets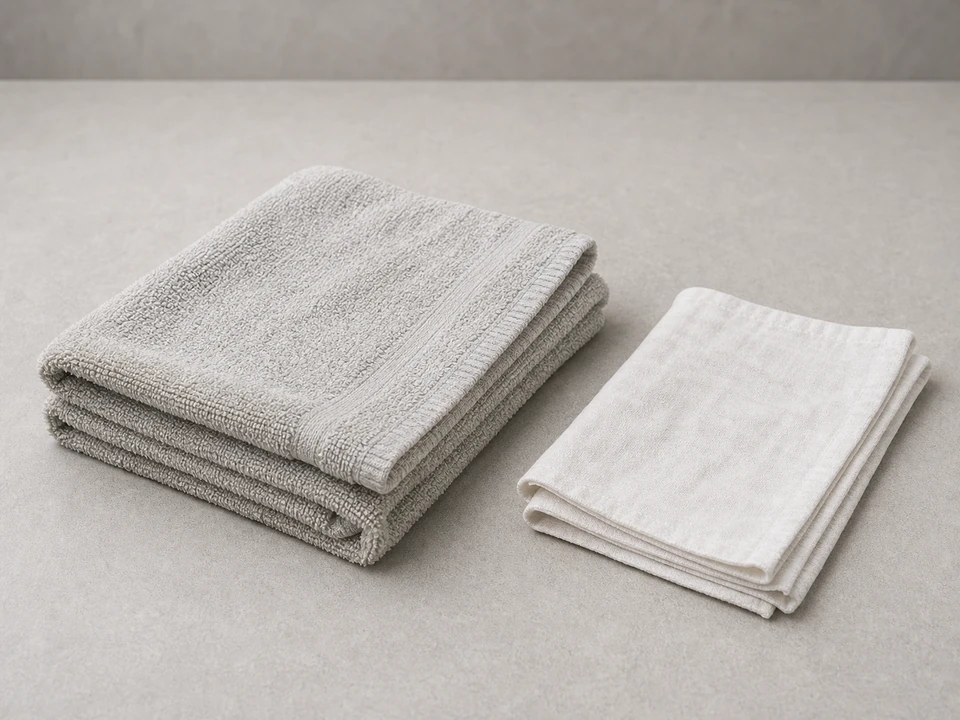
Use it for: To protect the cabinet or floor and wipe fittings dry during leak checks.
Shop absorbent shop towels
Use it for: To see the valve outlet, threads, and any slow drips under the sink or behind the toilet.
Shop LED flashlights
Use it for: To hold the shutoff valve body steady if it wants to twist while you loosen the line.
Shop tongue-and-groove pliersAs an Amazon Associate I earn from qualifying purchases. Repair Riot may earn a commission at no extra cost to you.
If it works: You have traced the leak or visible damage to the supply line or one of its end connections.
If it doesn’t: If the valve body or fixture is leaking instead, stop planning around the line and repair that part first.
If it works: Water flow from the fixture slows to a stop and the line is no longer under pressure.
If it doesn’t: If the valve does not shut the water off, use the home's main water shutoff before removing the line.
If it works: The old line is out and both connection points are clean and accessible.
If it doesn’t: If a nut is stuck, apply steady pressure and support the valve body so you do not damage the piping behind it.
If it works: The new line matches the old one and both ends are started by hand without forcing them.
If it doesn’t: If the new line is too short, too long to route cleanly, or the fittings do not match, exchange it for the correct one before tightening anything.
If it works: The valve is back on and both connections stay dry at rest.
If it doesn’t: If a connection still drips after a careful slight retightening, shut the water back off and recheck the fit, alignment, and thread engagement.
If it works: The supply line stays dry during use and after the fixture has been sitting under pressure.
If it doesn’t: If moisture returns, shut the valve off and inspect whether the leak is from the line connection, the valve itself, or the fixture inlet before replacing more parts.
Match the line length, end sizes, and connection type before ordering.
As an Amazon Associate I earn from qualifying purchases. Repair Riot may earn a commission at no extra cost to you.
Usually no. Most fixture supply lines seal with a built-in washer or cone seal at the nut, not with thread tape on the threads. Follow the sealing style of the line and connection you are using.
Match three things: the length, the shutoff valve connection size and type, and the fixture connection size and type. Bringing the old line with you or comparing it side by side helps avoid ordering the wrong one.
It is better to replace it. Once a supply line has started leaking, especially if the hose, crimp, or sealing surfaces are worn, reuse is a gamble compared with installing a fresh line.
That points to a valve problem, not a supply line problem. If water is coming from the valve stem or body, the valve may need to be repaired or replaced.
Tight enough to seal without forcing them. Start both ends by hand, then snug with a wrench and test. If there is a slight drip, tighten a little more. Avoid cranking down hard, which can damage the fitting or washer.