
Adjustable wrench
Use it for: To loosen and tighten compression nuts and hold the valve body steady.
Shop adjustable wrenchesTo replace a hose bib shutoff valve compression supply line, shut off the water, relieve pressure, remove the old line with two wrenches, install the new line without twisting it, then turn the water back on and check closely for leaks.
This repair is usually the right move when the supply line is dripping at the nut, corroded, kinked, or wet along the tubing itself. The job is straightforward if the shutoff body and nearby pipe are still solid.
Before you start: Match the line length, end sizes, and connection type before ordering.
Use it for: To loosen and tighten compression nuts and hold the valve body steady.
Shop adjustable wrenches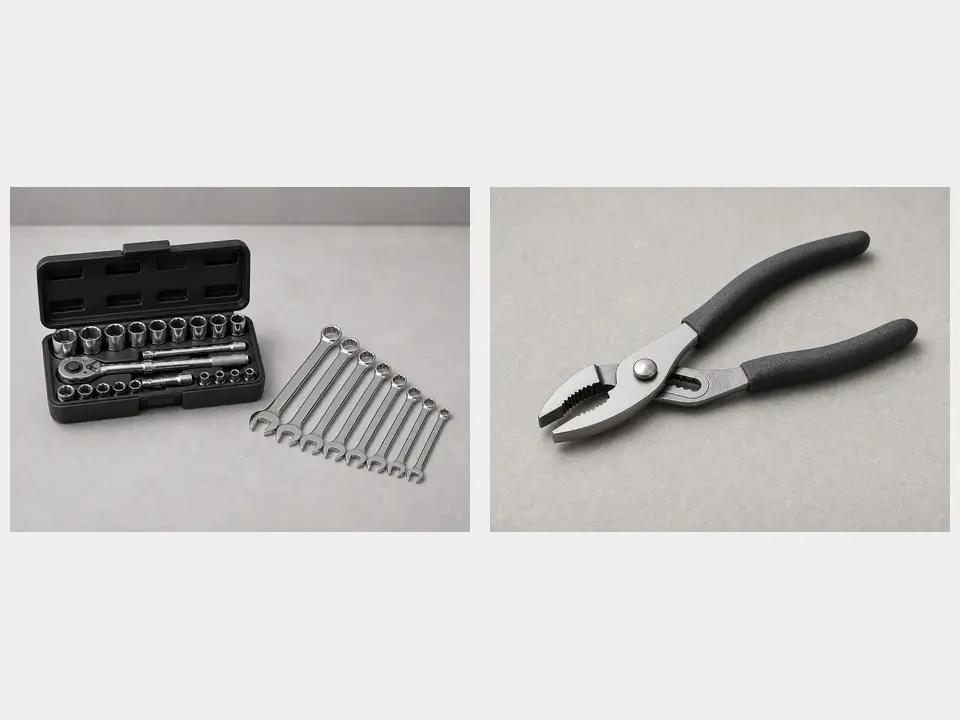
Use it for: To back up the valve or connected fitting so you do not twist the pipe in the wall.
Shop backup pliers
Use it for: To catch the water left in the line when you disconnect it.
Find a drain pan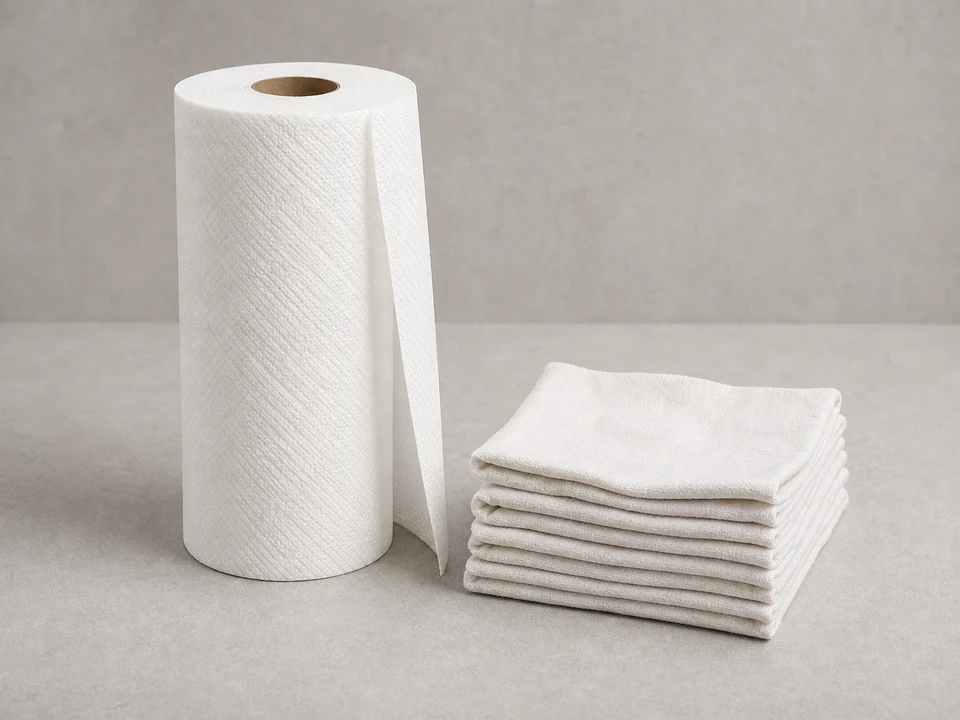
Use it for: To dry fittings so you can spot a fresh leak during testing.
Shop shop towels
Use it for: To confirm the replacement line is the right length before installation.
Find a tape measureAs an Amazon Associate I earn from qualifying purchases. Repair Riot may earn a commission at no extra cost to you.
If it works: You have confirmed the leak or damage is coming from the supply line or its end connections.
If it doesn’t: If water is coming from the valve stem, valve body, wall penetration, or the pipe itself, this is probably not the right repair path.
If it works: Water flow has stopped and the line is depressurized.
If it doesn’t: If water keeps running steadily after the shutoff is closed, use the main shutoff before disconnecting anything.
If it works: The old supply line is out and you have confirmed the new line matches the basic length and connection style.
If it doesn’t: If a nut is seized, apply steady pressure and improve your grip rather than forcing the pipe to turn. If the replacement does not match, pause and get the correct line.
If it works: The new line is installed straight, supported, and not twisted or kinked.
If it doesn’t: If a nut will not start by hand, back it off and realign it before tightening again.
If it works: The line holds pressure and both ends stay dry during the first leak check.
If it doesn’t: If a connection still seeps after a small retightening, shut the water back off, relieve pressure, and inspect for misalignment or the wrong part.
If it works: The hose bib works normally and the new supply line stays dry during use and after shutoff.
If it doesn’t: If moisture returns, dry the area and pinpoint whether it is from a connection, the valve itself, or another nearby plumbing part.
Match the line length, end sizes, and connection type before ordering.
As an Amazon Associate I earn from qualifying purchases. Repair Riot may earn a commission at no extra cost to you.
Usually no. Compression fittings seal at the ferrule or built-in sealing surface, not on the threads. Thread tape is generally not used unless the replacement part specifically calls for it.
Tight enough to seal without crushing or distorting the connection. Start snug, then test under pressure and tighten a little more only if needed while holding the fixed fitting with a backup wrench.
It is better to use the new line and the connection parts that come with it, if included. Reusing worn compression pieces can lead to repeat leaks.
A little extra length is usually fine if the line can make a smooth curve without kinking or rubbing. It should not be forced into a tight bend or sharp loop.
The most common causes are a mismatched connection, a crooked or cross-threaded nut, not enough tightening, overtightening that damaged the seal, or a leak that is actually coming from the shutoff valve or nearby pipe instead of the line.