
Adjustable wrench
Use it for: To loosen and tighten the supply line nuts.
Shop adjustable wrenchesTo replace a shutoff valve compression supply line, shut off the water, relieve pressure, remove the old line with two wrenches, install a matching new line, then reopen the water slowly and check for leaks.
This is a good repair when the supply line is kinked, corroded, dripping at the fittings, or damaged during another repair. The key is using the same connection style and not overtightening the compression end.
Before you start: Match the line length, end sizes, and connection type before ordering.
Use it for: To loosen and tighten the supply line nuts.
Shop adjustable wrenches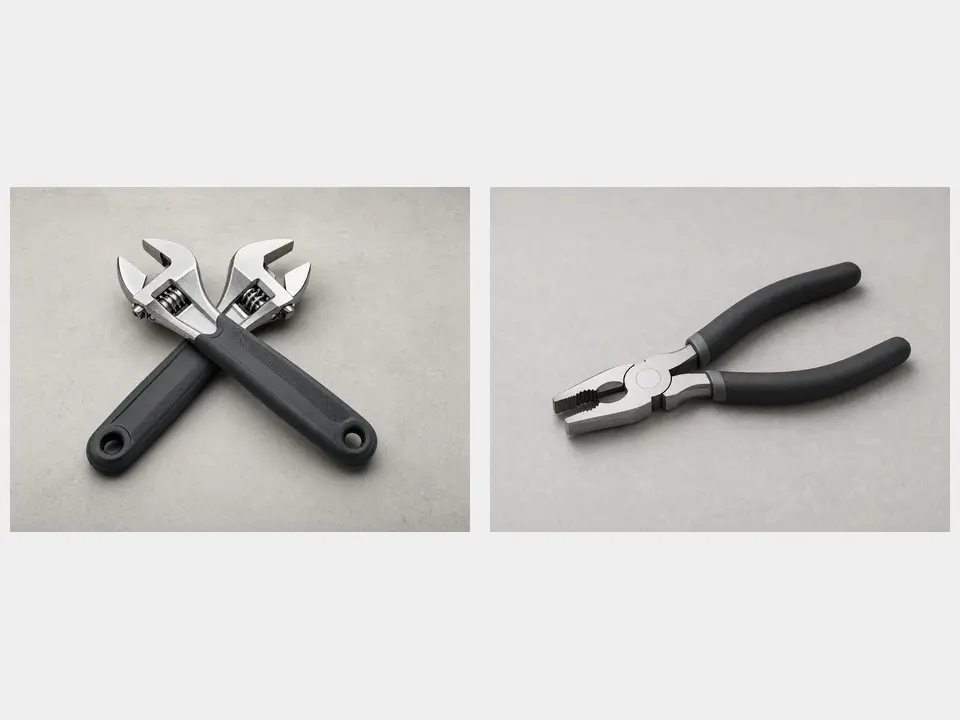
Use it for: To hold the shutoff valve body steady so the valve and pipe do not twist.
Shop a second adjustable wrench
Use it for: To catch the water left in the line when you disconnect it.
Find a drip pan or bucket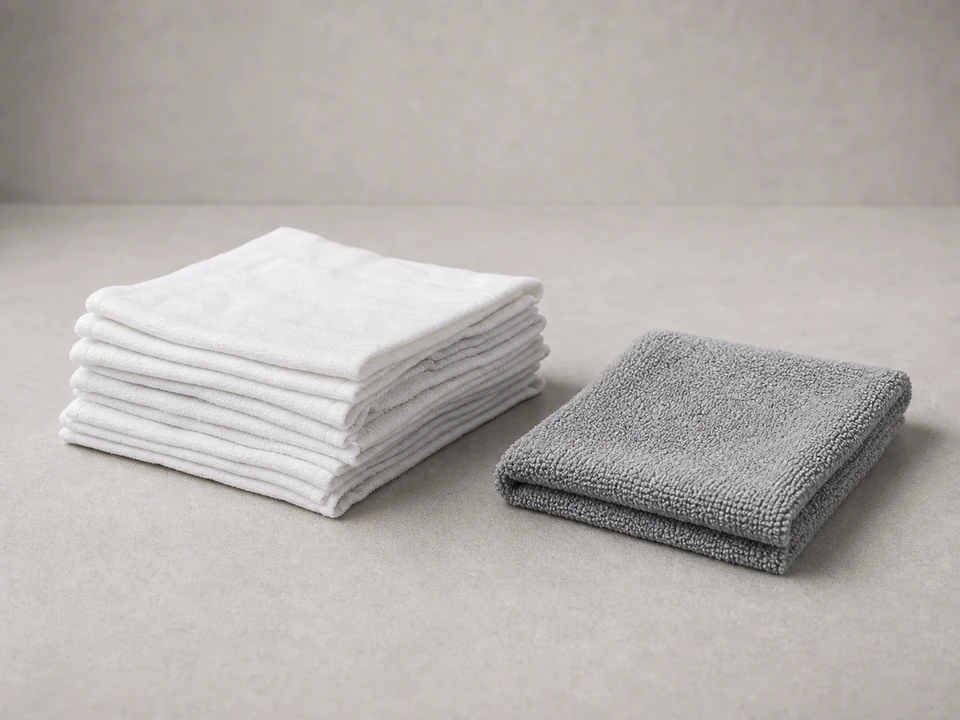
Use it for: To wipe fittings dry so you can spot fresh leaks.
Shop absorbent shop towels
Use it for: To inspect the valve outlet and both connection points clearly.
Find a small inspection flashlightAs an Amazon Associate I earn from qualifying purchases. Repair Riot may earn a commission at no extra cost to you.
If it works: You have confirmed the supply line or its end connection is the likely source of the leak or damage.
If it doesn’t: If the valve body, stem, or supply pipe is leaking instead, replace or repair that part instead of the supply line.
If it works: Water flow from the fixture has slowed to a stop or nearly stopped, and the line is depressurized.
If it doesn’t: If the shutoff valve does not fully stop the water, shut off the home's main water supply before removing the line.
If it works: The old supply line is off, and you know the new line matches the old one closely enough to install.
If it doesn’t: If the new line does not match both ends or is too short to route without strain, get the correct replacement before continuing.
If it works: The new line is connected at both ends, routed cleanly, and the fittings are snug without obvious strain.
If it doesn’t: If a nut will not thread on smoothly by hand, back it off and realign it before tightening again.
If it works: Both ends stay dry with the water back on and the fixture operates normally.
If it doesn’t: If a connection still seeps after a small retightening, shut the water back off, disconnect it, and inspect for the wrong size, damaged threads, or a poor seating surface.
If it works: The supply line stays dry during normal use, and the repair is holding.
If it doesn’t: If moisture returns later, shut the valve off and inspect the leaking end again or replace the line with the exact correct size and connection type.
Match the line length, end sizes, and connection type before ordering.
As an Amazon Associate I earn from qualifying purchases. Repair Riot may earn a commission at no extra cost to you.
Usually no. Compression connections seal at the fitting surfaces, not on the threads. Adding tape can interfere with proper tightening unless the fitting instructions specifically say to use it.
Tight enough to seal without forcing it. Start the nut by hand, then snug it with a wrench while holding the valve body steady. If it seeps, tighten a little more and recheck.
It is better to replace it if you already removed it for a leak, corrosion, or damage. Old lines can seal poorly when reinstalled, especially if they were kinked or stressed.
Shut off the home's main water supply before removing the line. If the valve itself leaks or will not close reliably, the valve may need repair or replacement too.
Match the overall length, both end sizes, and the connection style from the old line. The new line should reach comfortably without stretching, twisting, or making a sharp bend.