Freezer Hums but Won’t Start? Replace the Compressor Start Relay
If the freezer has power and the compressor gives a short hum followed by a click, the start relay or relay-overload assembly is a real suspect. Unplug the freezer, match the relay to the model and compressor pins, photograph the wires, then replace only a part that seats exactly like the old one.
A warm freezer by itself is not enough reason to buy a relay. Check for power, a running fan if your model uses one, and the hum-click pattern at the compressor before you open the rear panel.
Before you start: Match the relay or relay overload assembly to the freezer model number, compressor pin pattern, terminal count, and wire layout. Stop for burned wiring, damaged compressor pins, refrigerant oil, or a part that will not seat without force.
Last reviewed: 2026-06-05
Make sure this is the right repair
A relay is worth replacing when the freezer has power and the compressor cannot start. It is not the first answer for a dead appliance, a steady-running warm freezer, or visible wiring damage.
Good fit for this repair
This page fits when: The light or controls still work, the compressor gives a short hum followed by a click, and the old relay shows damage or matches the suspected failure pattern.
Check something else when: Unplug the freezer, open the rear access panel, and compare the relay-overload assembly to the model-number part before pulling wires.
Fit details that matter
This page fits when: The replacement matches the compressor pin pattern, overload position, wire terminals, retaining clip or cover, and any start-capacitor connection your model uses.
Check something else when: Use the full freezer model number and the old relay markings. Similar-looking relay blocks can have different terminal layouts.
Stop before parts-swapping
This page fits when: The harness is clean, the compressor pins are straight and tight, and there is no burnt plug, oily residue, or damaged refrigerant tubing.
Check something else when: Call an appliance pro for burned harnesses, damaged compressor terminals, refrigerant oil, or repeated trip-off after a correctly matched relay.
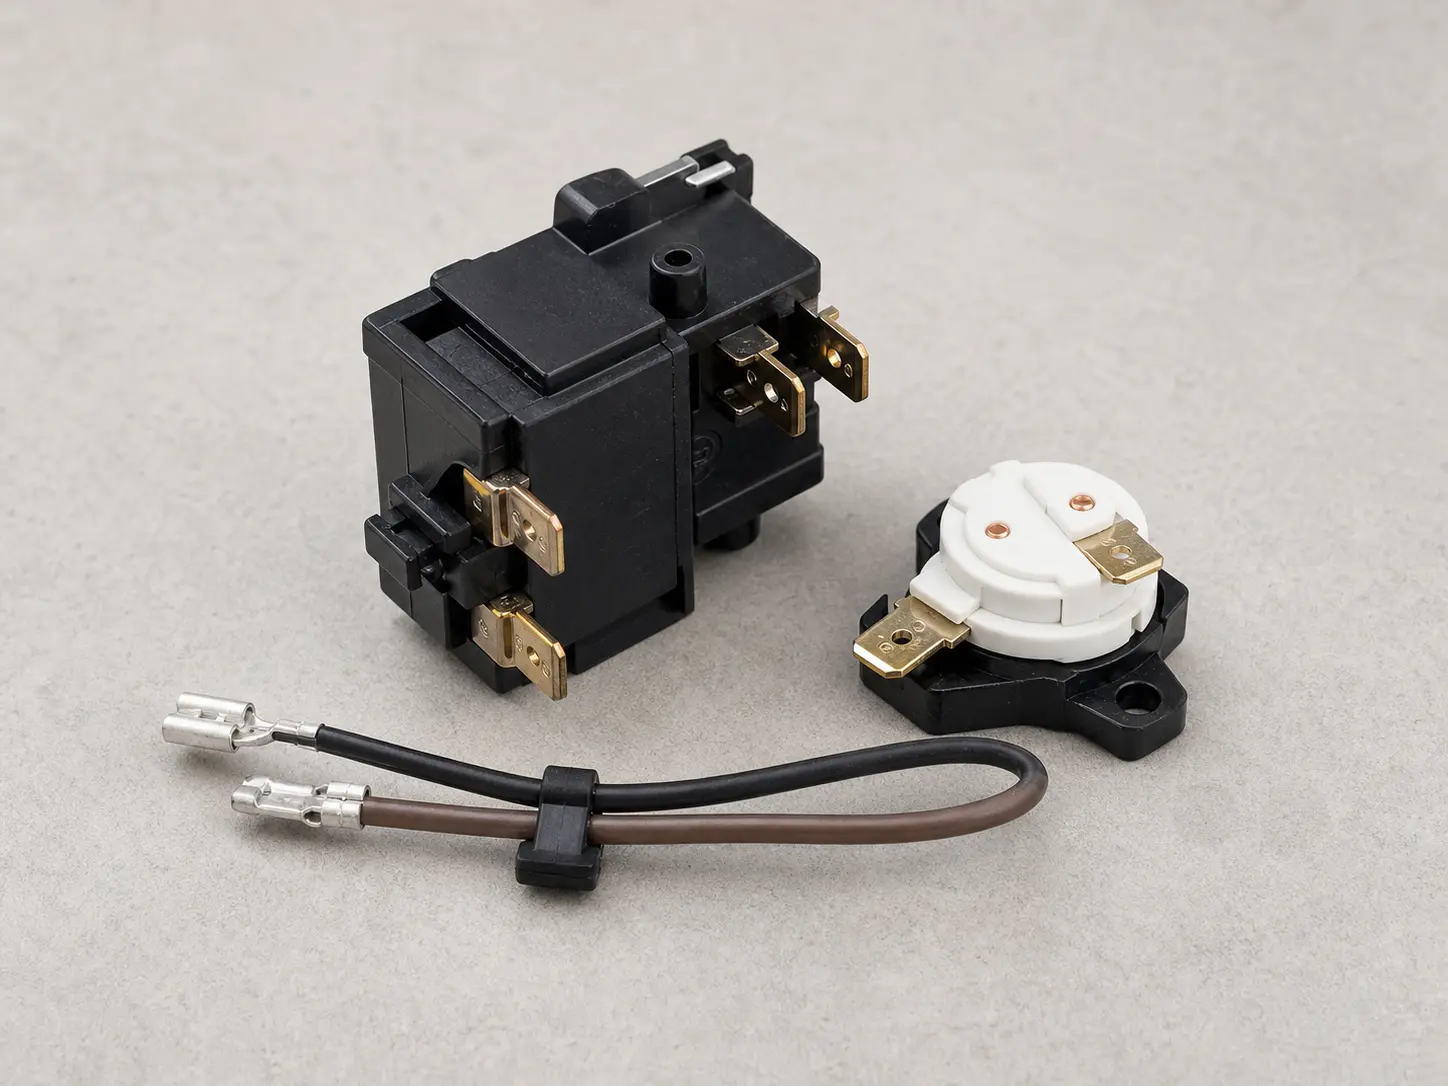
Find the relay on the compressor before ordering
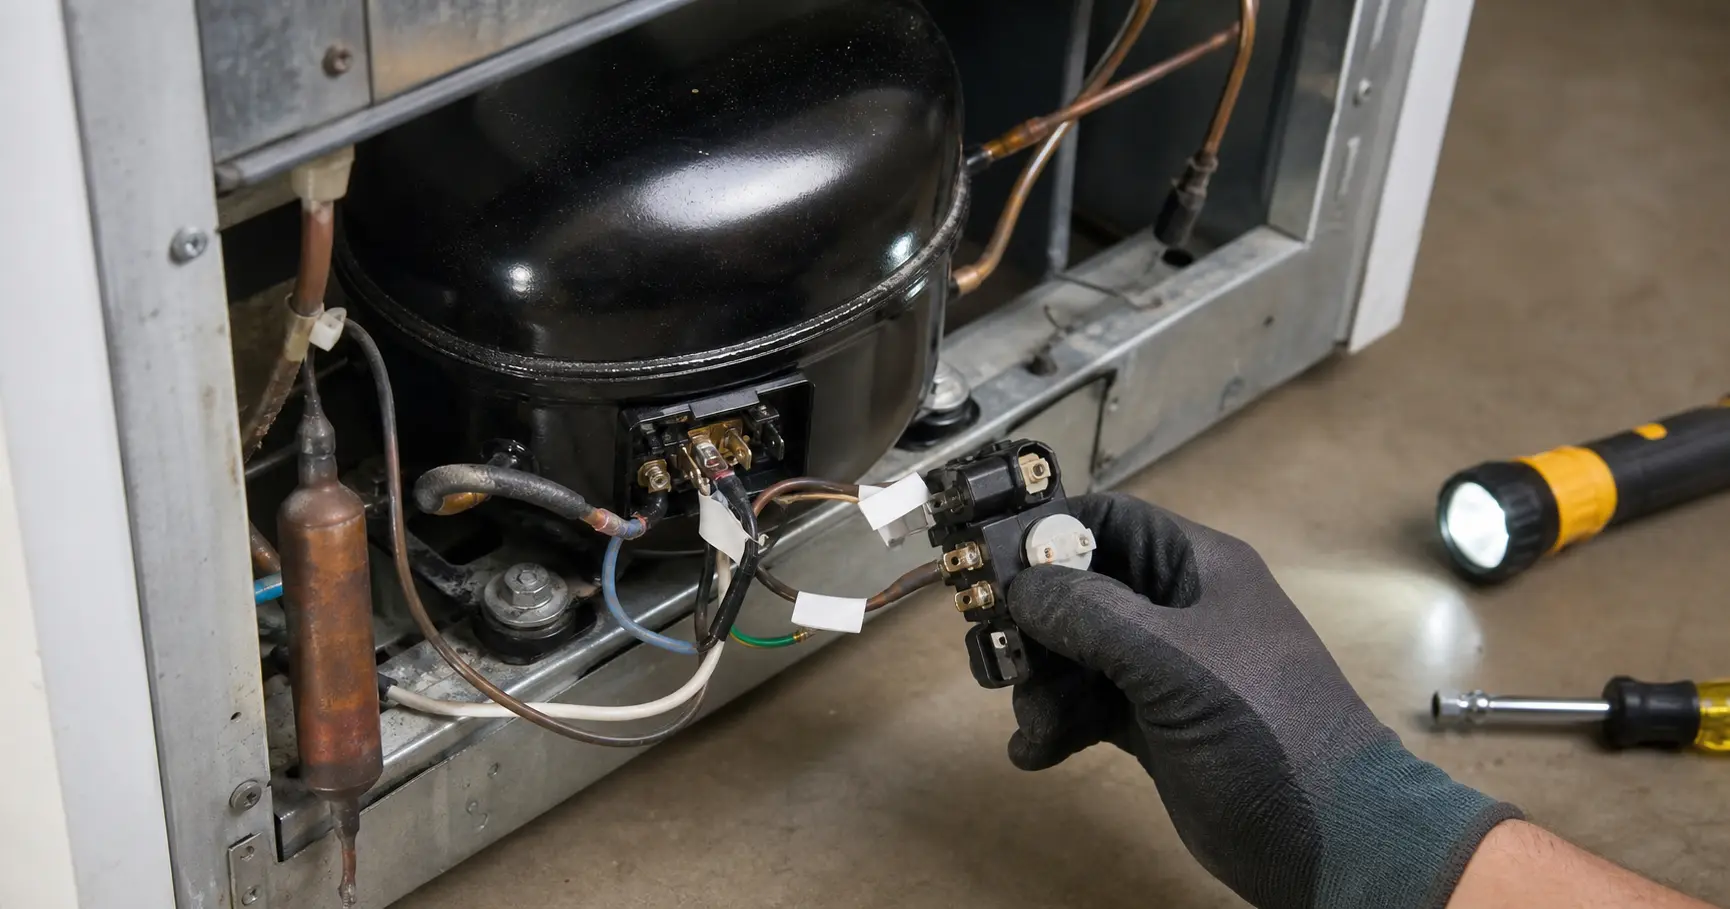
The start relay plugs onto the compressor pins behind the lower rear access cover. Use the photos to identify the relay, look for heat damage, and dry-fit the replacement before any wire gets moved.
Take a photo before disconnecting anything. Wire position, relay shape, and overload style matter more than a generic part name.Look for scorch marks, melted plastic, loose terminals, or a burnt smell. Harness damage is a stop point, not a reason to force on a new relay.Dry-fit the relay by shape and pin spacing before reconnecting wires. If it rocks, hangs loose, or needs force, the fit is wrong.
Safety first
Always disconnect power before removing the rear panel or touching wiring near the compressor.
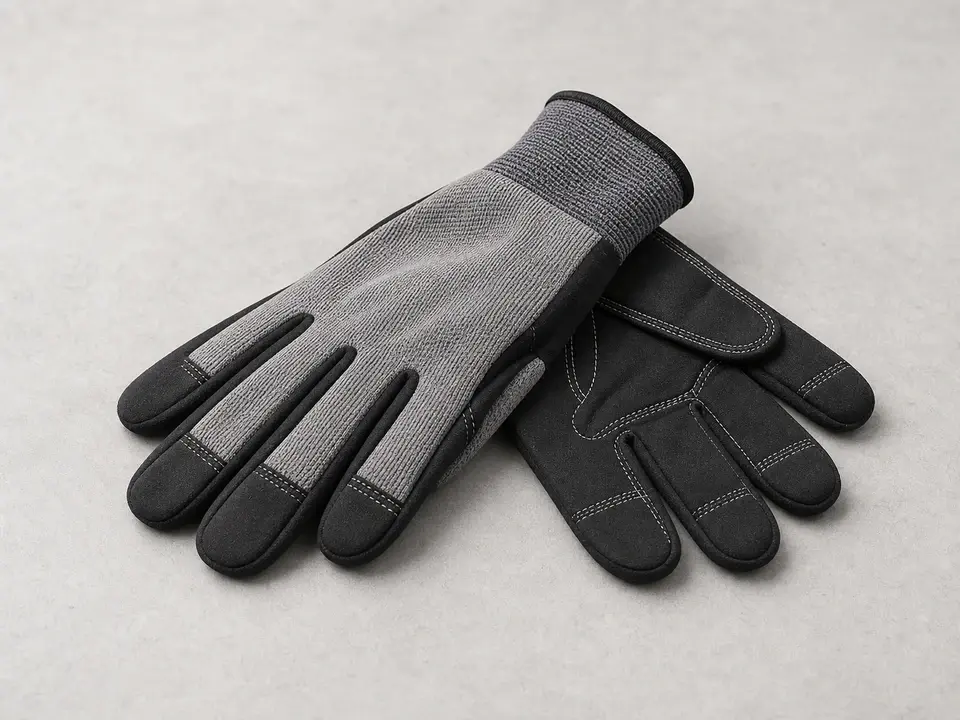
Wear gloves around rear access panels because the metal edges are often sharp.
Pull wire connectors by the terminal ends, not by the wires, to avoid hidden wire damage.
Do not force a relay onto compressor terminals that do not match the relay body and pin pattern.
Leave refrigerant leaks, sealed-system tubing, and compressor replacement to an appliance refrigeration technician.
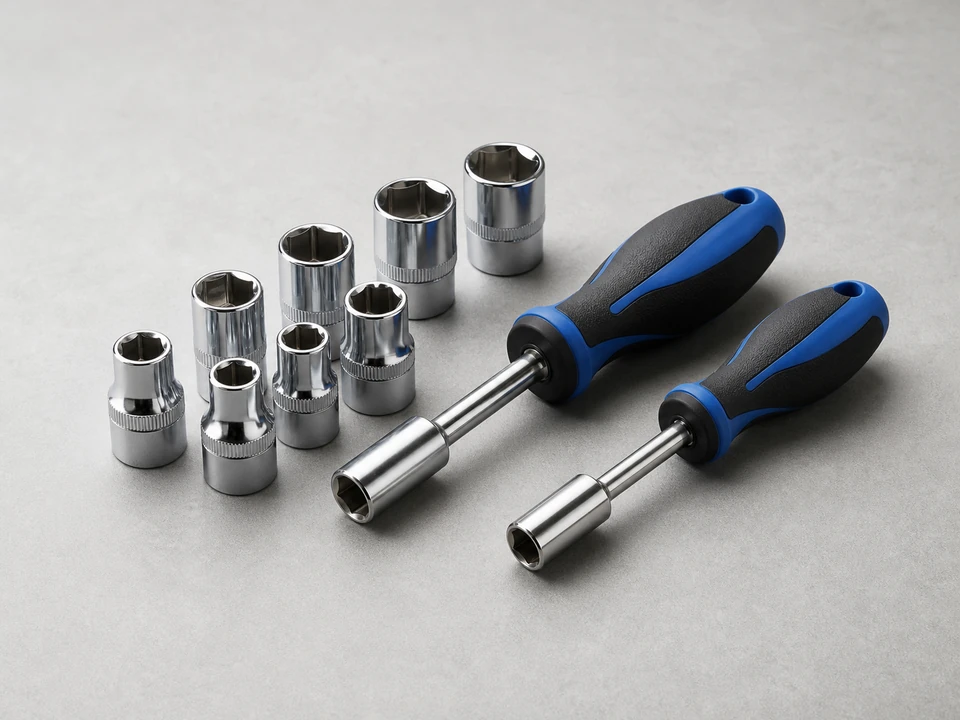
Tools you may need
Work gloves
Use it for: Protects your hands around sharp rear panels and sheet metal edges.
As an Amazon Associate I earn from qualifying purchases. Repair Riot may earn a commission at no extra cost to you.
Step-by-step fix
Step 1: Make sure the start relay is a likely match for the problem
Listen at the lower rear of the freezer for a short compressor hum followed by a click-off. A repeating hum-click cycle points more toward a start circuit problem than a thermostat setting.
Open the door and check whether the light, display, or control panel still has power. If the cabinet is completely dead, start with the outlet, plug, cord, GFCI, and breaker.
Check the condenser area for a blocked fan or packed dust before you blame the relay. Poor airflow can make the compressor hot and short-cycle.
Write down the full model number from the freezer tag, then compare the relay style, overload style, pin pattern, and wire terminals before ordering.
If it works: The freezer has power, the symptom is a compressor hum-click no-start, and the replacement matches the model and compressor connection style.
If it doesn’t: If the compressor runs steadily but the freezer stays warm, look at airflow, frost pattern, door sealing, and sealed-system issues instead of buying a relay.
Stop if:
You smell burnt insulation, see melted wiring, or find a charred connector near the compressor.
The compressor shell is leaking oil, badly rusted at the terminals, or physically damaged.
Step 2: Unplug the freezer and open the compressor area
Unplug the freezer from the wall outlet.
Move frozen food to another freezer or a cooler if the repair will take more than a few minutes, and set a freezer thermometer aside for the final cooling check.
Pull the freezer straight out far enough to give yourself room for both hands at the lower rear panel without stretching the cord.
Watch the copper tubing and drain line as the cabinet moves. They should not kink, rub hard against the wall, or pull tight.
Look at the floor and compressor base before removing screws. Oily residue, water around electrical parts, or mouse-chewed insulation changes the repair from a simple relay swap.
Put on gloves before reaching around the lower rear panel because the sheet metal can be sharp.
Remove the access-panel screws with the driver that fits cleanly, then set the panel and screws where they will not slide under the appliance.
If it works: The freezer is disconnected from power and the compressor area is exposed.
If it doesn’t: If you cannot safely reach the plug or move the freezer without pulling on tubing, stop and get better access before opening the compressor area.
Stop if:
The outlet, plug, or power cord shows heat damage or arcing marks.
You see oily residue on refrigeration tubing or hear hissing near the compressor area.
Step 3: Locate the relay and document how it is installed
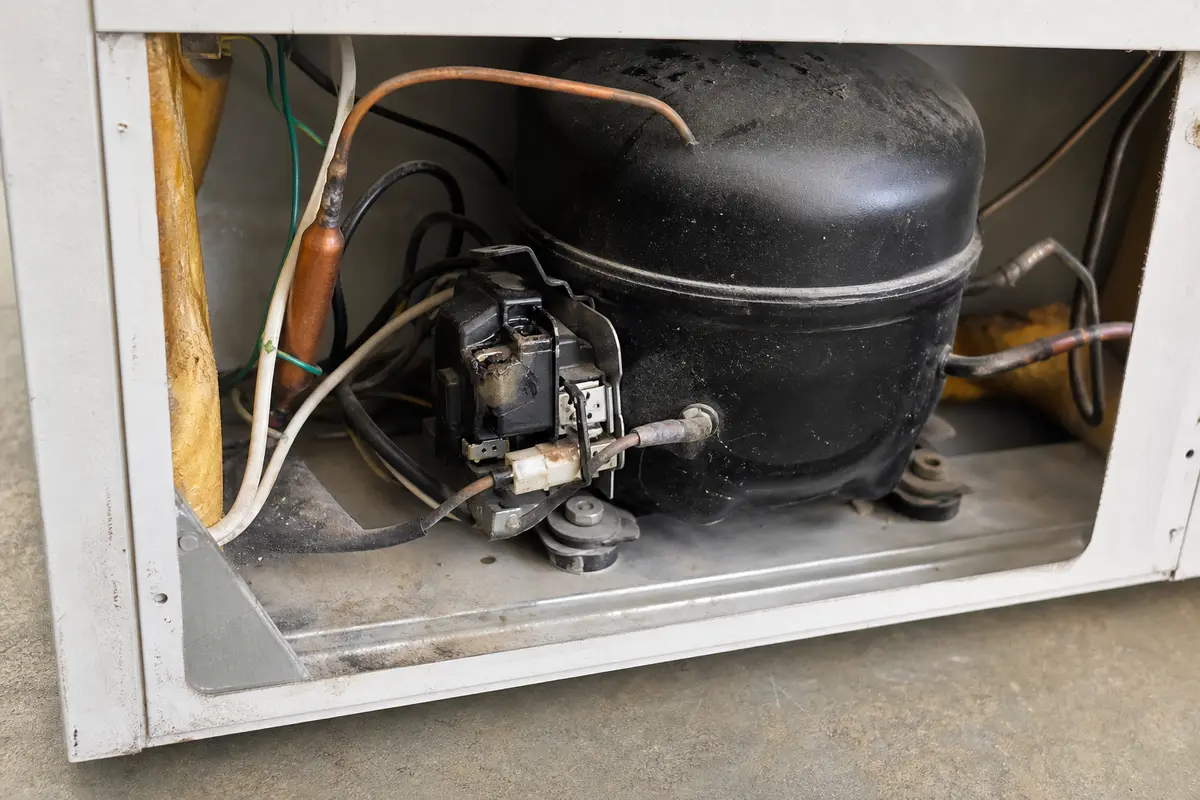
Find the compressor, which is the black metal can near the bottom rear of the freezer.
Look on the side of the compressor for a small relay assembly attached to the compressor terminals, sometimes under a plastic cover.
Take a clear photo of the relay, overload protector, wire colors, wire positions, and any retaining clip before removing anything.
If there is a cover or clip, release it carefully and keep it with the access-panel screws.
Compare the new relay to the installed assembly while the old one is still in place. Check the pin pattern, overload position, and wire terminals now; if the new part will not line up the same way, do not pull the wires yet.
If it works: You have identified the start relay and recorded how the old part is connected.
If it doesn’t: If you cannot clearly identify the relay, do not remove random connectors. Find the wire-connected part mounted directly on the compressor pins, or use the model-number parts diagram.
Stop if:
The installed relay has a different pin pattern, wire count, or overload arrangement than the replacement.
The compressor terminals are cracked, loose, or badly burnt.
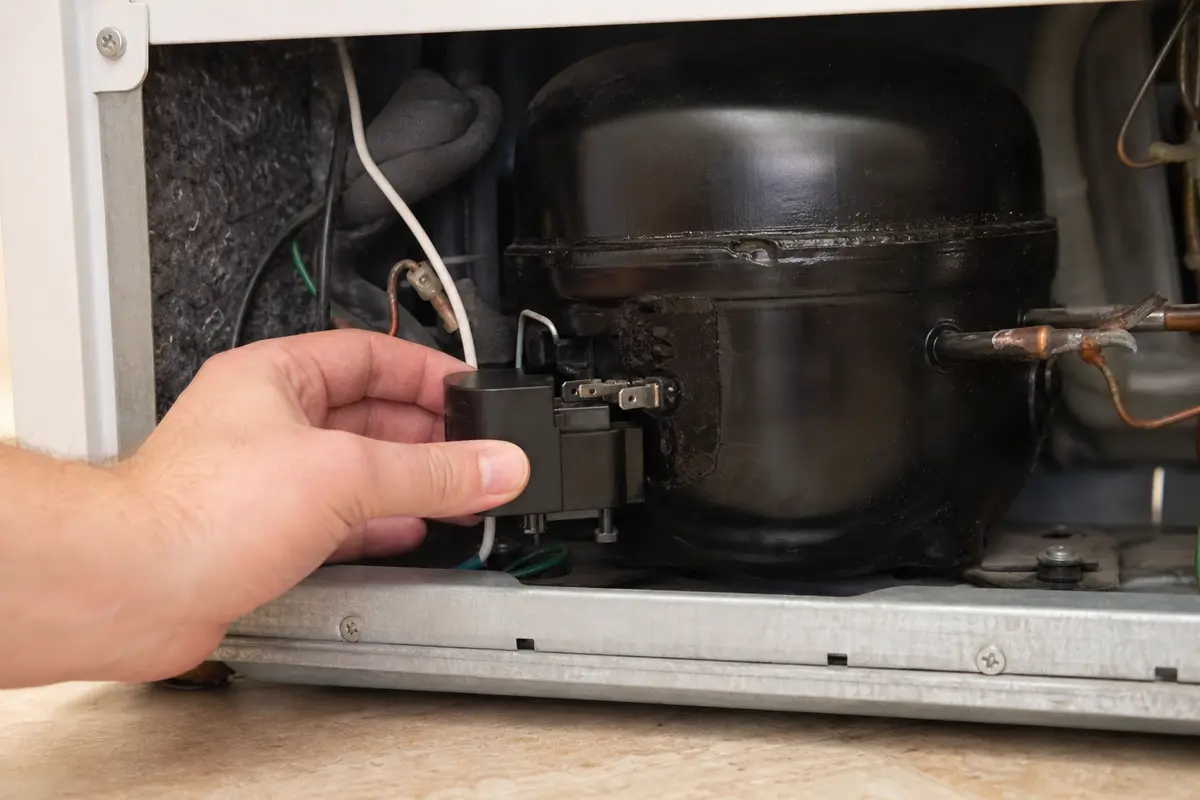
Step 4: Remove the old start relay
Pull the wire connectors off the relay by gripping the connector, not the wire itself.
Slide or pull the old relay straight off the compressor terminals.
Check the old relay for loose internal pieces, burn marks, melted plastic, or a sharp electrical smell.
Inspect the wire terminals for corrosion, looseness, or heat discoloration before installing the new relay.
Look at the compressor pins from the side. They should be straight, tight, and clean enough for the new relay to grip firmly.
If it works: The old relay is off and the compressor terminals and wire connectors are exposed for inspection.
If it doesn’t: If the relay is stuck, wiggle it gently while pulling straight outward. Do not pry against the compressor pins.
Stop if:
A wire connector breaks apart, a terminal is badly overheated, or a compressor pin moves.
The relay damage appears to have burned the harness instead of just the plug-in assembly.
Step 5: Install the new relay and reassemble the cover
Align the new relay the same way the old one sat on the compressor terminals, using your photo and the molded shape as the guide.
Push the new relay straight onto the compressor pins until it is fully seated without rocking or hanging loose.
Reconnect each wire to the same position shown in your photo.
Tug each connector lightly by the terminal end. It should stay on without feeling sloppy.
Reinstall any retaining clip or protective cover that came off earlier so the relay cannot vibrate loose.
Put the rear access panel back on and tighten the screws.
If it works: The new relay is fully seated, the wires are back in the correct spots, and the rear panel is reinstalled.
If it doesn’t: If the new relay will not seat, stop and recheck the model number, pin pattern, overload style, and orientation before forcing it.
Stop if:
The relay or relay-overload assembly does not fit the compressor terminals securely.
Any wire connection feels loose after reconnecting it.
Step 6: Restore power and confirm the repair holds
Plug the freezer back in.
Stand near the rear for the first start. You want one start sound, not a repeated hum-click every few minutes.
Let the freezer run for several minutes and check that the compressor stays running instead of cutting out right away.
Feel for normal airflow at the interior vent if your freezer has a fan, and make sure the rear panel is not rattling against the tubing.
Place a freezer thermometer inside and check it after a few hours. The temperature should be moving downward before you reload a full cabinet.
If it works: The compressor starts normally, the clicking is gone, and the freezer begins cooling again.
If it doesn’t: If the freezer still clicks, hums without starting, or will not cool after a matching relay is installed, stop parts-swapping. The fault may be the compressor, overload device, start capacitor if used, control wiring, or a sealed-system problem.
Stop if:
The new relay gets hot quickly, you smell burning, or the compressor repeatedly trips off right away.
Match the relay and overload assembly to the freezer model and compressor terminals.
As an Amazon Associate I earn from qualifying purchases. Repair Riot may earn a commission at no extra cost to you.
Verify the repair
The freezer powers back on normally after reassembly.
The compressor starts without repeated clicking or short cycling.
A freezer thermometer shows the temperature moving downward over the next several hours.
No burning smell, loose panel, or unusual vibration is present after the repair.
FAQ
What does a bad freezer compressor start relay sound like?
A bad start relay often sounds like a brief compressor hum followed by a click, then the same pattern repeats a few minutes later. Check that the freezer still has power and listen from the lower rear before you order the relay.
Can I replace a freezer compressor start relay myself?
Many homeowners can handle it if the freezer unplugs normally, the relay is accessible, and the new relay or relay-overload assembly matches the compressor terminals exactly. Stop if the wiring or compressor pins are burned.
Will a new start relay fix every freezer that is not cooling?
No. A relay helps only when the start circuit is the failure. If the compressor runs but the cabinet stays warm, or the freezer has no power at all, the repair path is different.
How long does it take to know if the repair worked?
You should usually hear a more normal compressor start right away. Cooling improvement takes longer, so give the freezer several hours to show a clear temperature drop.
Do I need to replace anything else with the relay?
Not always. Some freezers use a combined relay and overload assembly, and some also use a start capacitor. Match the full model number and the original terminal layout before adding parts.
Sources and reference notes
These related Repair Riot appliance pages keep the symptom checks, relay fit notes, and stop conditions tied to freezer no-start and clicking-diagnosis cases.