Unplug the freezer, open the lower rear panel, photograph the relay wiring, and pull the start relay straight off the compressor terminals. Install only a relay that matches the model number, pin pattern, overload setup, and wire connectors. Stop for burned terminals, melted insulation, damaged refrigerant tubing, or a breaker that trips again.
Pick the relay path when the freezer has power and the lower rear area gives a click, short hum, pause, and repeat. Test the outlet, breaker, GFCI, and controls before you buy the part; a dark control panel, dead outlet, tripped GFCI, bad wiring, or damaged compressor terminal points to a different repair path.
Before you start: Before ordering, match the freezer model number, relay markings, compressor pin pattern, overload style, connector blades, and cover clip. Stop if terminals are burned, pins are loose, insulation is melted, tubing is damaged, or the breaker keeps tripping.
Last reviewed: 2026-06-13
Make sure this is the right repair
Use this repair after simple power checks pass. Start at the outlet, breaker, and GFCI; lights or controls should be on while the lower rear panel gives a click, hum, drop-out pattern. Match the relay to the model number and old terminal layout before opening the cover. Stop for burned wiring, loose pins, oil, or damaged tubing.
This page fits
This page fits when: Lights or controls are on. At the lower rear panel, the compressor clicks, hums for a few seconds, stops, and retries after a pause. After you unplug the freezer and remove the relay, scorched plastic, a cracked housing, a loose connector, or a rattle inside the relay supports this repair path.
Check something else when: If the cabinet is dead, measure outlet voltage or check the breaker and GFCI first. A dark control panel is not a relay-first symptom.
Confirm the fit first
This page fits when: The new relay matches the full model number, compressor pin pattern, terminal count, overload shape, connector blade size, cover slot, and retaining clip. It should dry-fit without force.
Check something else when: If the shape is close but not exact, stop. Do not push a look-alike relay onto compressor pins.
Stop for wiring or compressor damage
This page fits when: DIY replacement fits only when the pins are fixed, wires are clean, and copper lines are sound. A small cover gap can be normal; a loose terminal is not.
Check something else when: Call an appliance tech for burned compressor pins, oil on the shell, or damaged tubing. Call a licensed electrician if the circuit trips with the freezer unplugged.
Use the failure point and dry-fit check
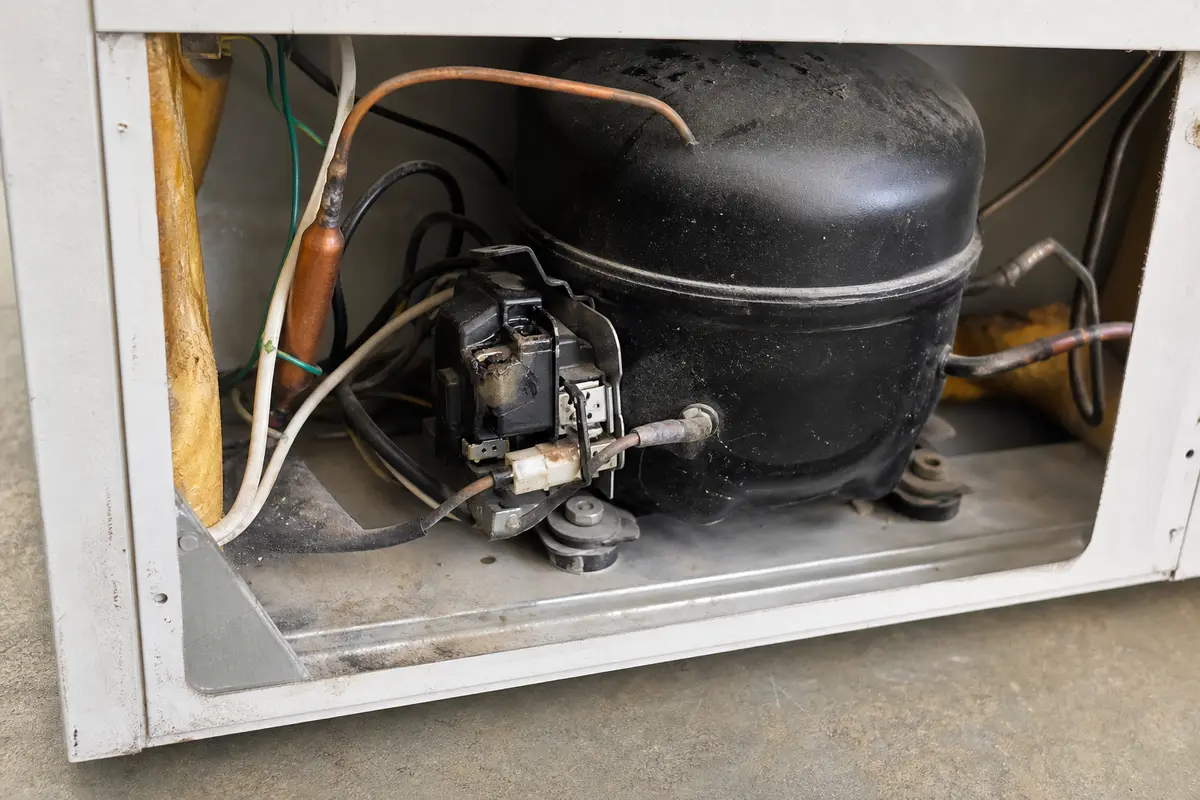
The rear-panel view should answer two questions before power comes back on. Are the terminals, wires, and tubing safe to reuse, and does the relay line up with the compressor pins without force?
Use the open compressor compartment to check the relay area, wire insulation, copper tubing, and oil marks. Stop if the damage reaches the compressor pins.Dry-fit the relay by hand before connecting wires. The terminal pattern should line up square, seat flush, and leave no forced gap.
Safety first
Unplug the freezer before removing the rear panel, relay cover, wire connectors, or compressor terminal cover.
Wear gloves around rear-panel flanges, brackets, and dusty condenser edges because the sheet metal can cut skin.
Do not pry against compressor pins, copper refrigerant tubing, or the sealed compressor shell.
If your freezer has a separate capacitor and you do not know the discharge and test procedure, stop and call an appliance tech.
If the breaker will not reset with the freezer unplugged, stop troubleshooting the appliance and call a licensed electrician.
Reinstall the rear access panel before normal operation so airflow around the compressor and condenser stays correct.
Tools you may need
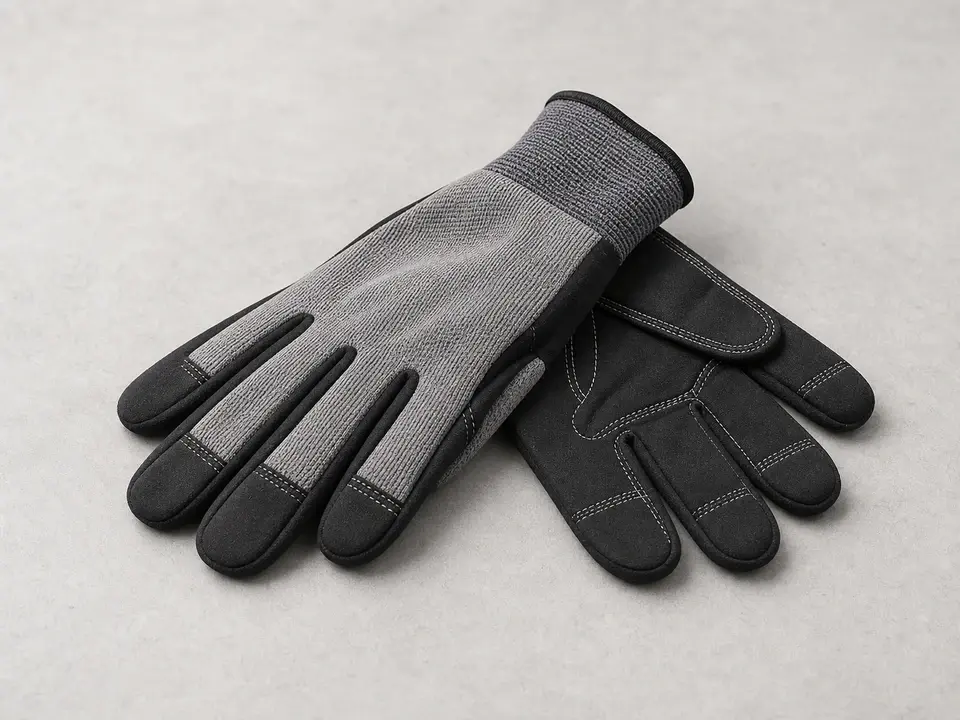
Work gloves
Use it for: Protects your hands around sharp rear-panel flanges, compressor brackets, and dusty metal edges.
As an Amazon Associate I earn from qualifying purchases. Repair Riot may earn a commission at no extra cost to you.
Step-by-step fix
Step 1: Confirm the relay is worth replacing
Check that the freezer has power. Interior lights, controls, or the evaporator fan may still work when the compressor will not start.
Listen at the lower rear panel. A start relay clue is a click, short hum, pause, and repeat from the compressor area.
Touch only the compressor shell, not the terminals. Warm is normal after failed starts; too hot to keep your hand on is a stop sign.
Rule out the outlet, breaker, GFCI, temperature setting, and door gasket before you blame the relay.
Match the full model number, relay number, terminal pattern, and overload style before you open the compressor cover.
If it works: The freezer has power, the compressor tries to start but drops out, and the relay match can be checked against the old setup.
If it doesn’t: If the cabinet is fully dead, measure outlet voltage or check the breaker and GFCI before you touch the compressor area.
Stop if:
You smell burned insulation, see melted plastic, or find scorching near the compressor terminals.
The compressor shell shows an oil leak or a copper refrigerant line is kinked, rubbed through, or cracked.
The breaker or GFCI trips again after the freezer is unplugged from the outlet.
After you unplug the freezer, you still cannot identify the relay, overload, and any capacitor without guessing.
Step 2: Unplug the freezer and open the compressor area
Move food to another freezer or a cooler if the door will be open long. Keep the door closed while you work from the rear.
Unplug the freezer from the wall outlet. Do not rely on the control panel off button.
Pull the freezer out far enough to leave a work gap behind it without stretching the power cord or copper tubing.
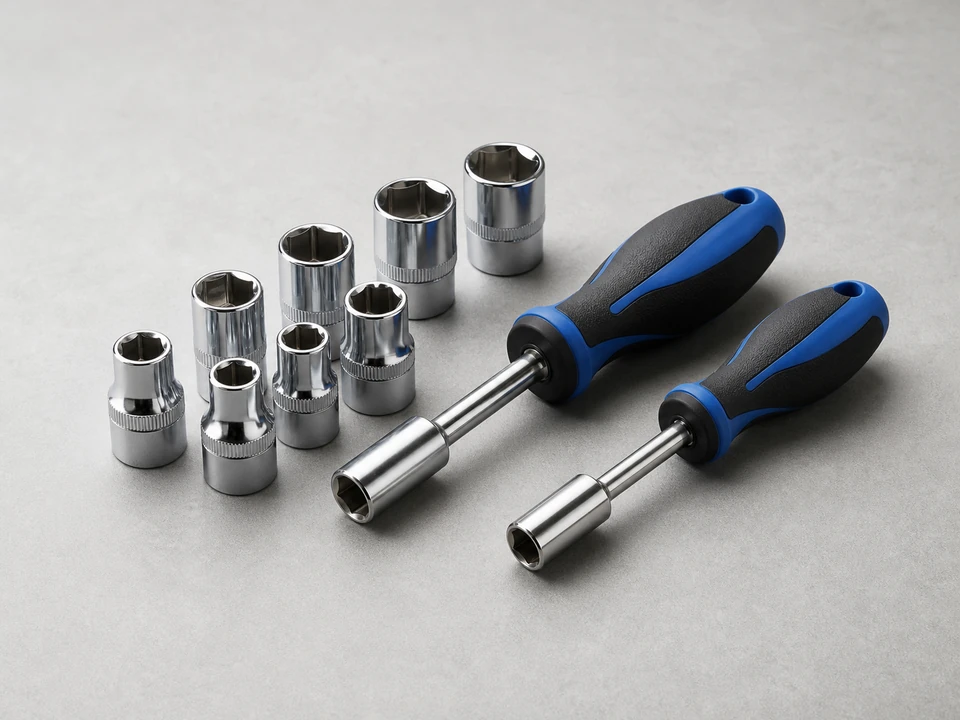
Remove the rear-panel fasteners with the nut driver or screwdriver. Note which slot or flange each screw came from.
Lift the panel away slowly and check that no wire, fan guard, or condenser tubing is clipped to it.
Find the black compressor shell. The start relay and overload sit on the side where the wire connectors enter the compressor terminal cover.
If it works: The freezer is unplugged and you can clearly reach the compressor and relay area.
If it doesn’t: If the floor, cabinet opening, or cord length will not give you a safe work gap, get help moving the freezer before continuing.
Stop if:
The access panel is bent, razor sharp, or jammed against the refrigerant tubing.
You see heavy scorching, melted plastic, rodent-damaged wiring, or a loose ground wire in the compressor compartment.
After you unplug the freezer, your model has a separate capacitor and you are not sure which terminals are safe to handle.
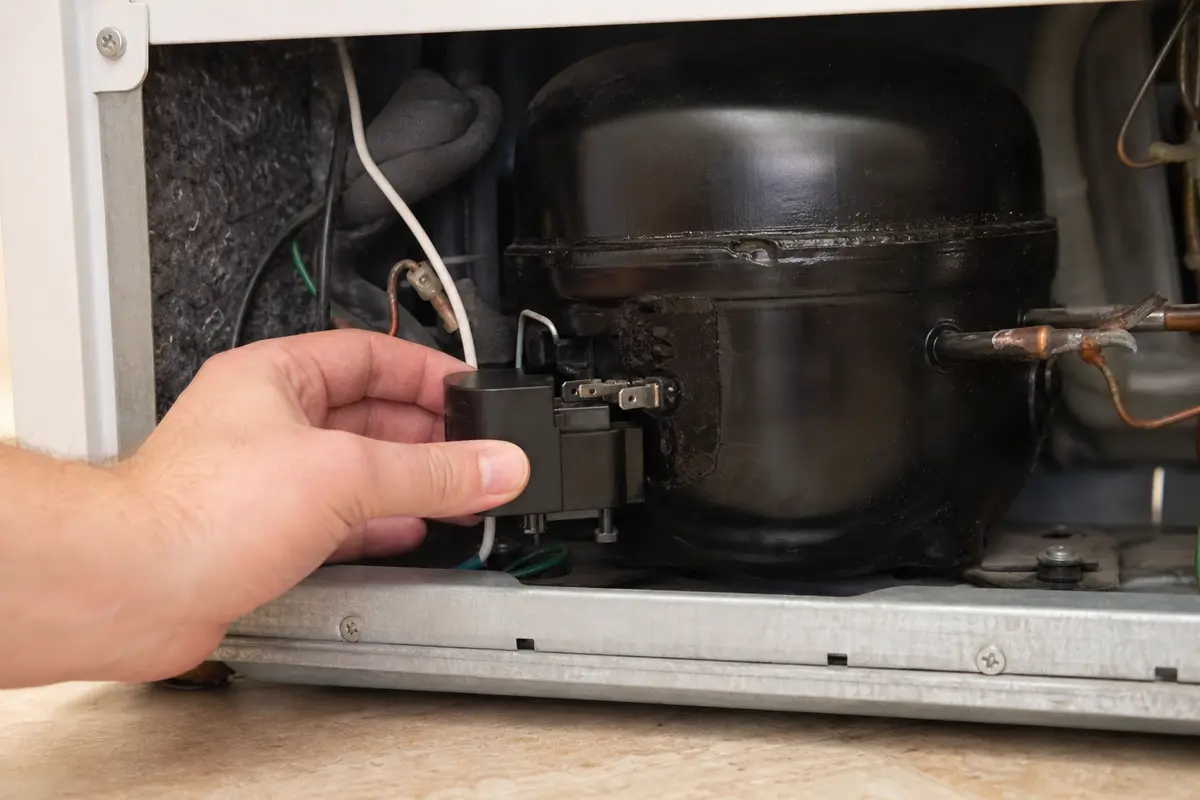
Step 3: Remove the old start relay
Take a close photo of the relay, overload, wire colors, cover slot, and connector positions before disconnecting anything.
Remove the retaining clip or plastic cover without bending it. Set the fastener and cover where they will not be lost.
Pull each wire connector by the insulated connector body. Use needle-nose pliers on the connector, never on bare wire.
Pull the relay straight off the compressor pins. Rock it gently in line with the pins if it is tight.
Look at the compressor pins. They should be fixed, clean, and straight with no melted plastic, carbon track, oil leak, or loose gap.
Shake the removed relay near your ear. Loose pieces, a burned smell, or a cracked housing support the diagnosis, but the fit still has to match.
If it works: The old relay is off the compressor and the wire layout is documented.
If it doesn’t: If the relay will not move, recheck for a hidden clip or cover tab before you pry against the compressor.
Stop if:
A compressor terminal is cracked, loose, or pulls out with the relay.
A wire connector is burned badly enough that it cannot grip the new relay securely.
You see oil on the compressor shell or damaged refrigerant tubing beside the relay.
Step 4: Install the new relay
Compare the old and new relays side by side. Match the compressor pin pattern, terminal count, connector blade size, cover slot, and overload shape.
Dry-fit the relay on the compressor pins before connecting wires. It should slide on square with even pressure and no visible gap at the terminal face.
Reuse an overload protector only when the kit and service label call for it and the overload terminals are clean, tight, and unburned.
Push the relay fully onto the pins until it sits flush. Do not twist the relay to make a close-but-wrong shape fit.
Reconnect each wire exactly as shown in your photo, then tug each connector lightly to check grip.
Reinstall the retaining clip or terminal cover so the relay cannot vibrate loose.
If it works: The new relay is fully seated, the wires are back in place, and nothing is loose around the compressor terminals.
If it doesn’t: If the relay does not line up cleanly, stop and recheck the model number, compressor pin pattern, and connector blade size.
Stop if:
The new relay does not match the original connection layout.
Any terminal connection feels loose enough to slip off during operation.
The relay only seats after force, twisting, or bending a wire connector.
Step 5: Reassemble and restore power
Reinstall the rear access panel before startup. That panel helps direct airflow across the compressor and condenser.
Check that the panel flange sits flush, the fasteners return to their original slots, and no wire or copper line is pinched.
Push the freezer back carefully and leave the same wall gap it had before the repair. Keep slack in the power cord.
Plug the freezer in and listen from the rear. A normal start is one brief hum followed by steady compressor vibration.
Wait several minutes without rapid unplugging and replugging. A relay that still clicks repeatedly is telling you the problem is not solved.
Once the compressor starts, let the freezer run with the panel installed before you load warm food back inside.
If it works: The freezer powers back up and the compressor starts without repeated clicking.
If it doesn’t: A compressor that still only clicks or hums briefly needs another power-off check of relay fit, wire connections, and part match.
Stop if:
The breaker trips, you see sparking, or you smell overheating after restoring power.
The compressor becomes too hot to touch quickly and still will not start.
The new relay chatters, smokes, or shifts on the compressor pins.
Step 6: Verify the repair holds in real use
Set an appliance thermometer in the cabinet and compare it with the door display. The temperature should keep moving down toward the set point as the compressor cycles over the next few hours.
Listen through at least two compressor cycles. You want steady starts and stops, not a click-hum-pause pattern.
Check the door gasket and floor for water if food thawed during the repair. A leaking gasket or wet floor can confuse the cooling check.
Look behind the freezer with the panel still installed. The panel should sit flush, the wall gap should remain open, and the cord should have slack.
If you need to open the rear panel again, unplug the freezer first and check for hot-plastic smell, fresh clicking marks, wire movement, or oil leak.
Give the freezer several hours before judging food temperature. Warm food loads and an open door slow recovery.
If it works: The compressor starts and runs normally, the clicking is gone, and the freezer returns to proper cooling.
If it doesn’t: A running compressor with a warm cabinet points toward airflow, control, sealed-system, or compressor testing instead of another relay.
Stop if:
The freezer still will not cool and the compressor will not stay running after the new relay is installed.
You hear loud buzzing, smell overheating, or see repeated shutdowns that point to a deeper compressor problem.
Water from thawing food reaches the outlet, extension cord, or power strip.
Match the relay by full freezer model number, compressor pin pattern, overload style, wire connectors, and retaining cover before ordering.
As an Amazon Associate I earn from qualifying purchases. Repair Riot may earn a commission at no extra cost to you.
Verify the repair
The compressor starts in one attempt without repeated clicking, buzzing, or relay chatter.
The freezer temperature moves down toward the set point over the next several hours.
The relay cover is clipped on, the wires grip tightly, and the rear panel sits flush.
The wall gap behind the freezer is open and the power cord is not pinched.
There is no burning smell, sparking, water near the outlet, or fast overheating at the compressor area.
FAQ
What does a freezer start relay do?
The start relay helps the compressor get moving at startup. If it fails, the freezer may still have lights and controls, but the compressor may click, hum for a few seconds, and drop out.
How do I know if the start relay is bad?
Suspect the relay when the freezer has power but the lower rear area clicks, hums for a few seconds, and drops out. First check the outlet, breaker, GFCI, and controls; after removal, a burn mark, cracked housing, loose connector, or rattle supports the relay diagnosis.
Can I replace a freezer start relay myself?
Many homeowners can do this repair if they unplug the freezer, take a wire photo, and install the exact matching relay. Stop if you find burned wiring, loose compressor pins, oil on the compressor shell, or damaged refrigerant tubing.
Will a new start relay fix every no-cool problem?
No. The relay only helps when the compressor start circuit is the failure point. When the compressor runs but the cabinet stays warm, look at airflow, controls, defrost trouble, or sealed-system problems before buying another relay.
Do I need to replace the overload protector too?
Sometimes the relay and overload come as one assembly, and sometimes they are separate pieces. Match the original layout and do not reuse an overload with burned terminals, loose blades, or a cracked housing.
Sources and reference notes
These companion pages keep this repair tied to the symptom path: clicking at the compressor, model-matched relay fit, safe terminal access, and the point where wiring or compressor damage stops the DIY job.