Garage door weather seal replacement

How to Replace Garage Door Side Weather Seal

To replace garage door side weather seal, confirm the side gaps are caused by worn or flattened seal, remove the old strip and any loose fasteners, cut the new seal to length, fasten it so it lightly contacts the closed door, and test for an even seal from top to bottom.

This is a manageable homeowner repair if the door and trim are still solid. The goal is a light, even seal against the door face without pushing the door out of alignment or making it bind.

Before you start: Match the profile, length, mounting style, and opening compatibility before ordering.

Prepared by: Repair Riot Last updated: 2026-06-05 How we build and check guides

Safety first

  • Keep hands clear of door sections, hinges, and pinch points while the door is moving.
  • Do not work under a moving garage door or rely on the opener to hold the door safely for you.
  • Wear gloves when handling old fasteners, cut seal material, and rough trim edges.
  • Use a stable ladder only if needed, and do not overreach along the jamb.

Tools you may need

Tape measure tool

Tape measure

Use it for: To measure the old seal and cut the replacement to the right length.

Shop tape measures
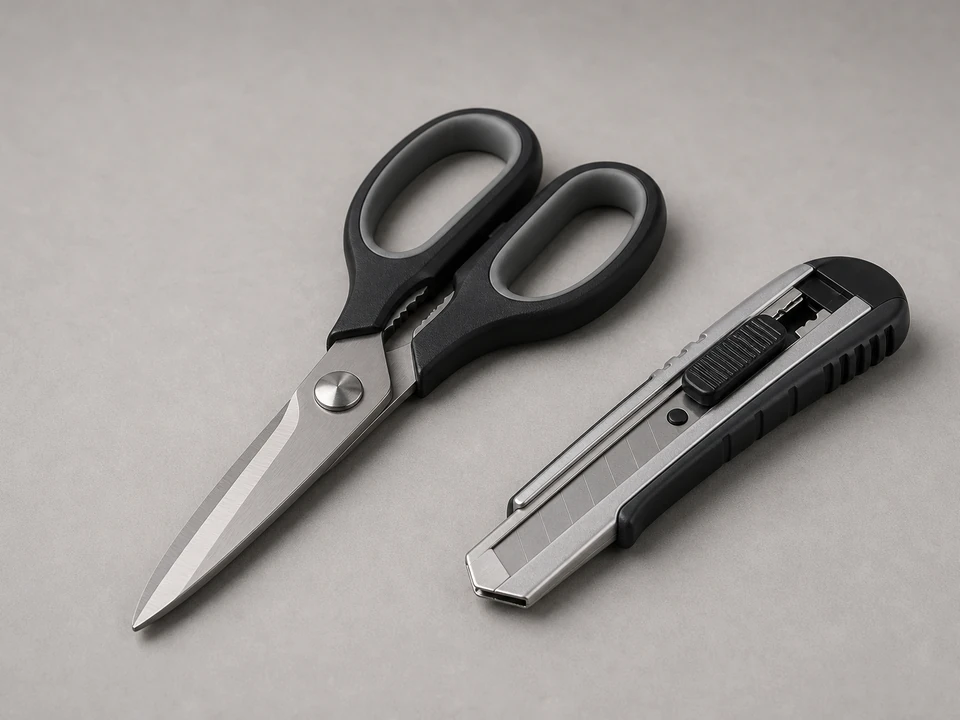
Utility knife or heavy scissors tool

Utility knife or heavy scissors

Use it for: To trim the new weather seal cleanly.

Shop utility knives
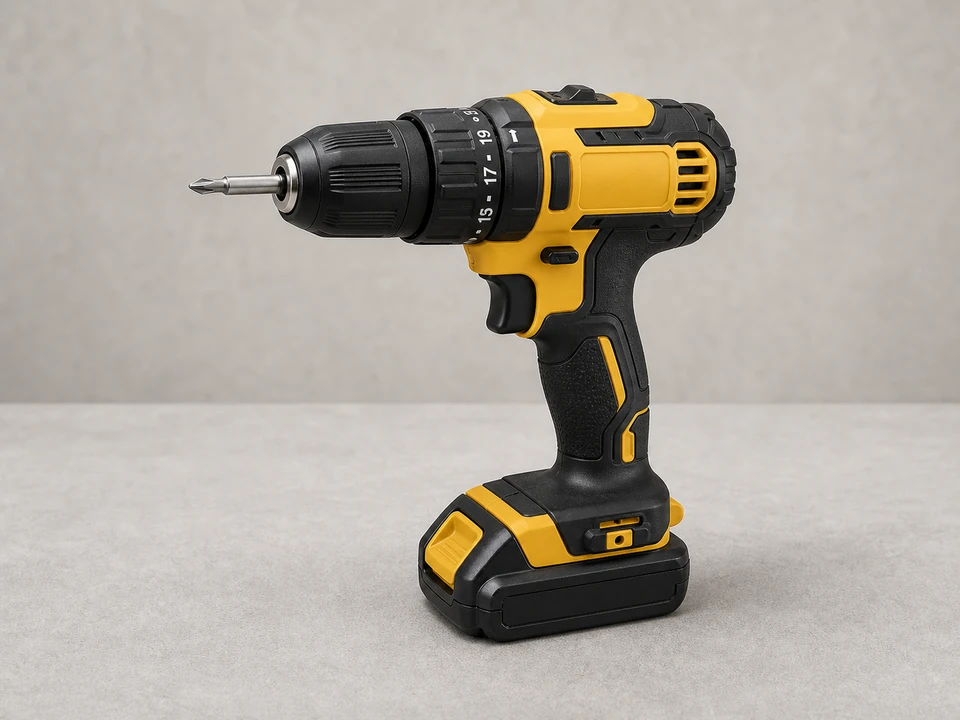
Drill driver tool

Drill/driver

Use it for: To remove and install screws if the seal mounts with a retainer or fasteners.

Shop drill drivers

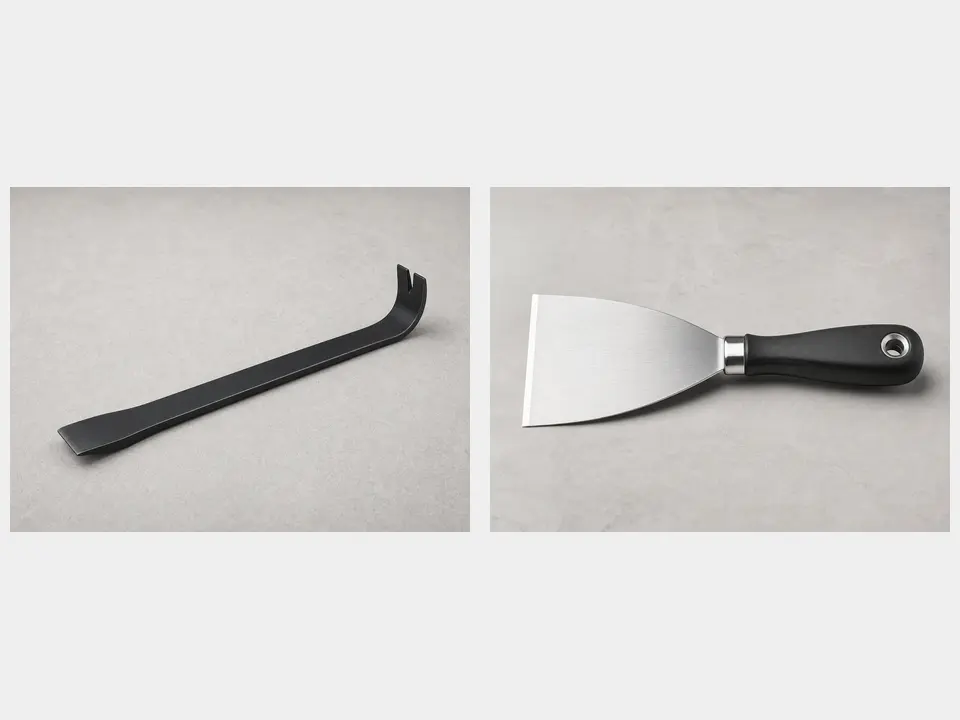
Pry bar or putty knife tool

Pry bar or putty knife

Use it for: To lift old seal or trim carefully without tearing up the jamb.

Shop pry bars

Work gloves tool

Work gloves

Use it for: To protect your hands from sharp fasteners, splinters, and cut seal edges.

Shop work gloves

As an Amazon Associate I earn from qualifying purchases. Repair Riot may earn a commission at no extra cost to you.

Step-by-step fix

Step 1: Confirm the side weather seal is the problem

  1. Close the garage door fully and look along both side edges from inside and outside the garage.
  2. Check for flattened, torn, brittle, missing, or permanently compressed side seal.
  3. Slide a thin piece of paper near obvious gaps. If it moves freely where the seal should touch the door, the seal is no longer doing its job.
  4. Make sure the door itself is not visibly bent and the wood or vinyl trim is not loose, rotted, or pulling away from the wall.

If it works: You found worn side seal or clear side gaps while the door and mounting surface still look sound.

If it doesn’t: If the seal looks good but the gap changes shape as the door closes, check door alignment, track condition, or the bottom seal instead of replacing the side seal first.

Stop if:
  • The door is off track, heavily damaged, or rubbing hard against the frame.
  • The jamb or trim is rotted, split, or too loose to hold new fasteners safely.

Step 2: Set up the area and remove the old seal

  1. Unplug the garage door opener or lock out wall control use so no one runs the door while you are working near the jamb.
  2. Open the door only if needed to reach fasteners safely, then secure your footing and work from the side, not under the door.
  3. Remove screws, nails, or retainer pieces holding the old side weather seal.
  4. Pull the old seal free and scrape off loose debris, old caulk, or broken pieces so the mounting surface is flat and clean.

If it works: The old seal is off and the jamb surface is clean enough for the new seal to sit flat.

If it doesn’t: If fasteners are stripped or painted over, back them out slowly and use a putty knife or pry bar to free the seal without tearing up the trim.

Stop if:
  • Removing the old seal exposes hidden rot, crumbling wood, or a loose jamb.
  • You cannot work safely because the door or trim blocks access and forces you into an unstable position.

Step 3: Measure and cut the new side weather seal

  1. Measure the full height of each side where the seal will mount.
  2. Compare the new seal profile to the old one so the flexible edge will press lightly against the door face when installed.
  3. Cut each piece to length, leaving a clean square end unless your mounting style needs a different cut to match existing trim.
  4. Dry-fit the pieces in place before fastening anything.

If it works: The new seal pieces match the opening height and sit in the correct orientation.

If it doesn’t: If the new seal looks too thick, too thin, or the mounting edge does not match the old setup, pause and get the correct profile before fastening it in place.

Stop if:
  • The replacement seal clearly does not match the mounting style or cannot contact the door evenly.

Step 4: Fasten the first side so it just touches the closed door

  1. Close the garage door fully so you can set the seal against the actual door position.
  2. Place the first side seal against the jamb with the flexible edge touching the door lightly from top to bottom.
  3. Start fastening at the top, then the bottom, then fill in the middle so the seal stays straight.
  4. Keep the contact light and even. The seal should close the gap without bending the trim inward or pushing the door sideways.

If it works: The first side is mounted straight and makes light, even contact with the closed door.

If it doesn’t: If the seal buckles or leaves a gap, loosen the fasteners and shift it slightly until the contact line looks even.

Stop if:
  • Fasteners will not hold because the mounting surface is weak or damaged.

Step 5: Install the second side and fine-tune both sides

  1. Repeat the same process on the other side with the door closed.
  2. Stand back and compare both sides so the reveal and seal pressure look similar.
  3. Trim any excess material at the top or bottom so it does not catch the door or hold water.
  4. Tighten all fasteners snugly without crushing the seal or splitting the trim.

If it works: Both side seals are installed neatly and contact the door evenly without obvious gaps.

If it doesn’t: If one side seals well but the other still has a changing gap, the issue may be with the door fit or jamb rather than the new seal position.

Stop if:
  • The door binds, reverses, or becomes hard to move after the seal is adjusted lightly.

Step 6: Test the seal in real use

  1. Reconnect the opener if you unplugged it.
  2. Run the door through a full open and close cycle and watch for rubbing, snagging, or seal movement.
  3. Check from inside for daylight along the sides with the door fully closed.
  4. During the next rain or with a light hose test aimed at the exterior wall area, check whether water still gets past the side edges.

If it works: The door moves normally and the new side weather seal blocks side drafts, light, and routine water intrusion better than before.

If it doesn’t: If water or daylight still shows at the sides, readjust the seal slightly for more even contact. If the gap shape stays uneven, inspect the door, stop molding, and opening for alignment issues.

Stop if:
  • The door will not close properly, reverses unexpectedly, or the gap remains large because the opening or door is out of shape.

Replacement Parts

As an Amazon Associate I earn from qualifying purchases. Repair Riot may earn a commission at no extra cost to you.

Verify the repair

  • With the door closed, the side seal should touch the door evenly without large visible gaps.
  • The door should open and close normally without dragging hard on the new seal.
  • You should see less daylight, feel fewer drafts, and notice less dust or water coming in at the sides.
  • Fasteners should stay snug after a few door cycles, with the seal still sitting straight.

FAQ

How do I know if the side weather seal needs replacement instead of adjustment?

Replace it if it is cracked, flattened, torn, brittle, missing sections, or no longer springs back against the door. If the seal looks healthy but the gap is uneven, the door or trim may need adjustment instead.

Should the side seal press tightly against the garage door?

No. It should make light, even contact. Too much pressure can make the door drag, bind, or wear the seal out faster.

Can I replace just one side?

Yes, if only one side is damaged. But if both sides are old and compressed, replacing both at the same time usually gives a more even seal.

Why is water still getting in after I replaced the side seal?

The side seal may need a small adjustment, or the leak may be coming from the bottom seal, the threshold area, or an out-of-square door opening. Side seal alone cannot fix every water path.

Do I need to remove the whole trim board?

Usually no. In many setups, you remove only the old weather seal or its retainer. If the trim itself is damaged or rotten, that needs repair before the new seal will hold properly.