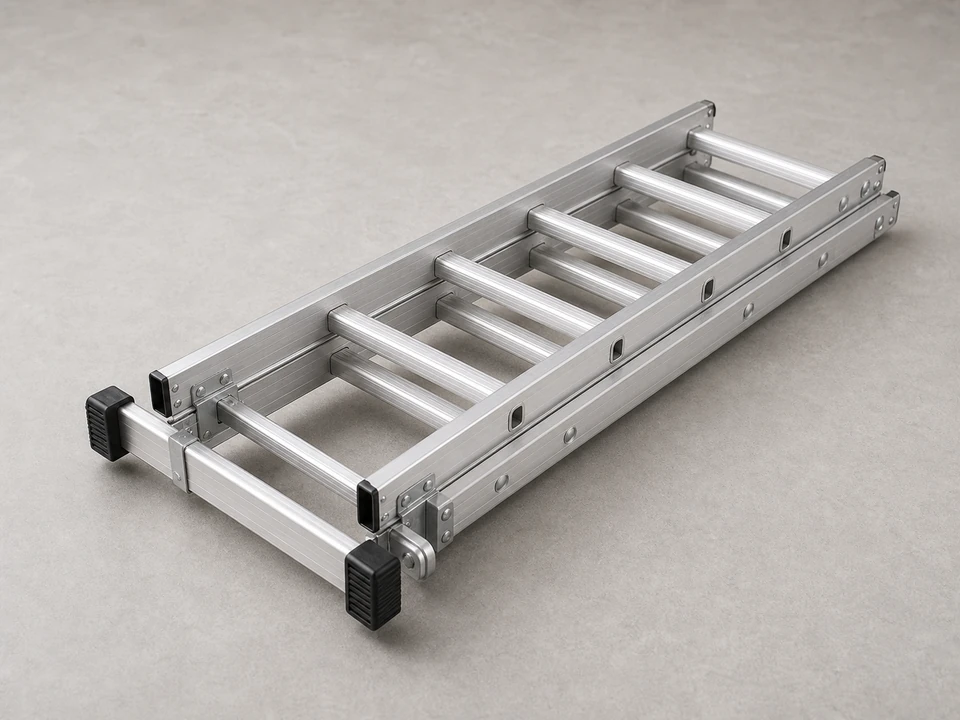
Extension ladder
Use it for: To reach the gutter end safely and work at a comfortable height.
Shop extension laddersTo replace a gutter end cap, confirm the leak is coming from the gutter end, remove the failed cap or old sealant, clean the metal thoroughly, install the correct replacement cap, seal it if needed, and test it with water.
A bad gutter end cap usually shows up as dripping or staining at the very end of the run. This is a manageable repair for many homeowners if the gutter is still solid and you can work safely from a stable ladder.
Before you start: Match the replacement part to your exact gutter before ordering.
Use it for: To reach the gutter end safely and work at a comfortable height.
Shop extension ladders
Use it for: To protect your hands from sharp gutter edges and old fasteners.
Shop work gloves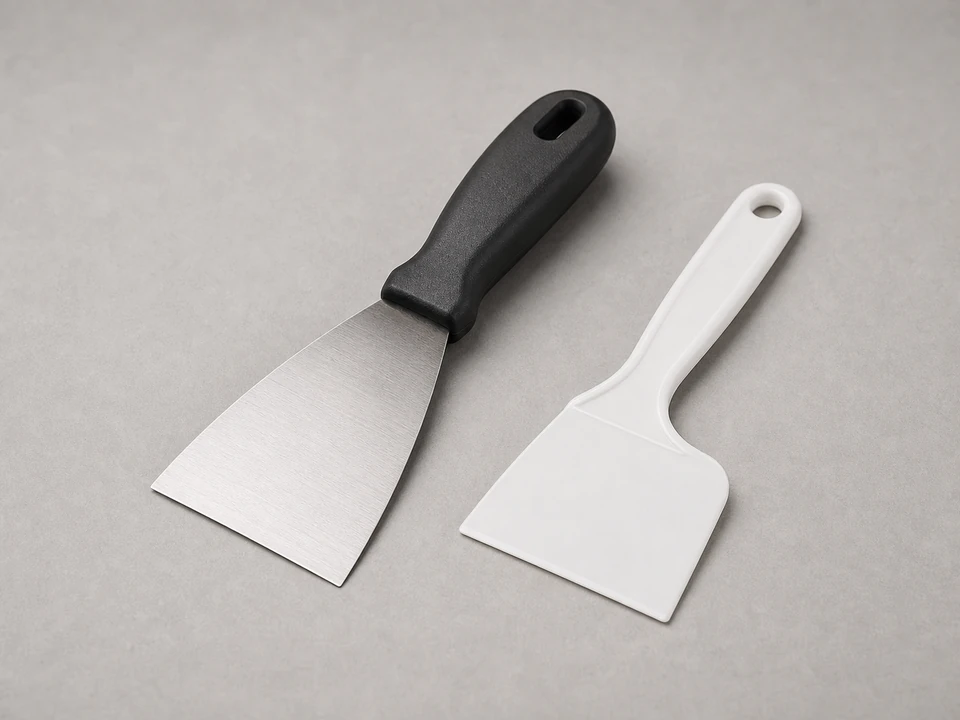
Use it for: To remove old sealant, debris, and loose material from the gutter end.
Shop scrapers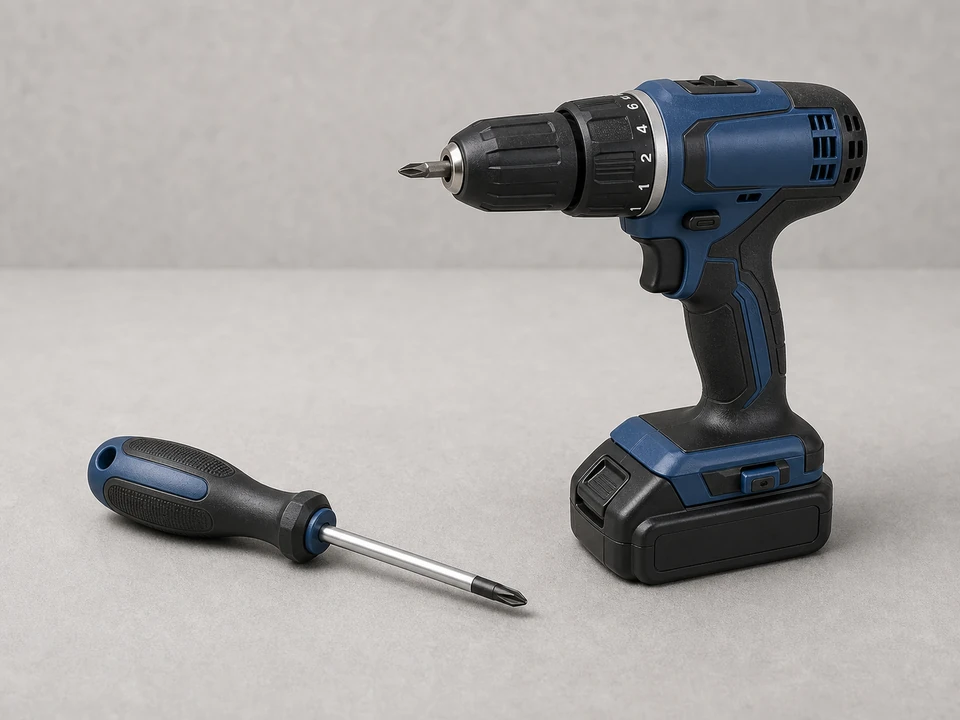
Use it for: To remove and reinstall screws if the end cap is mechanically fastened.
Shop drills and drivers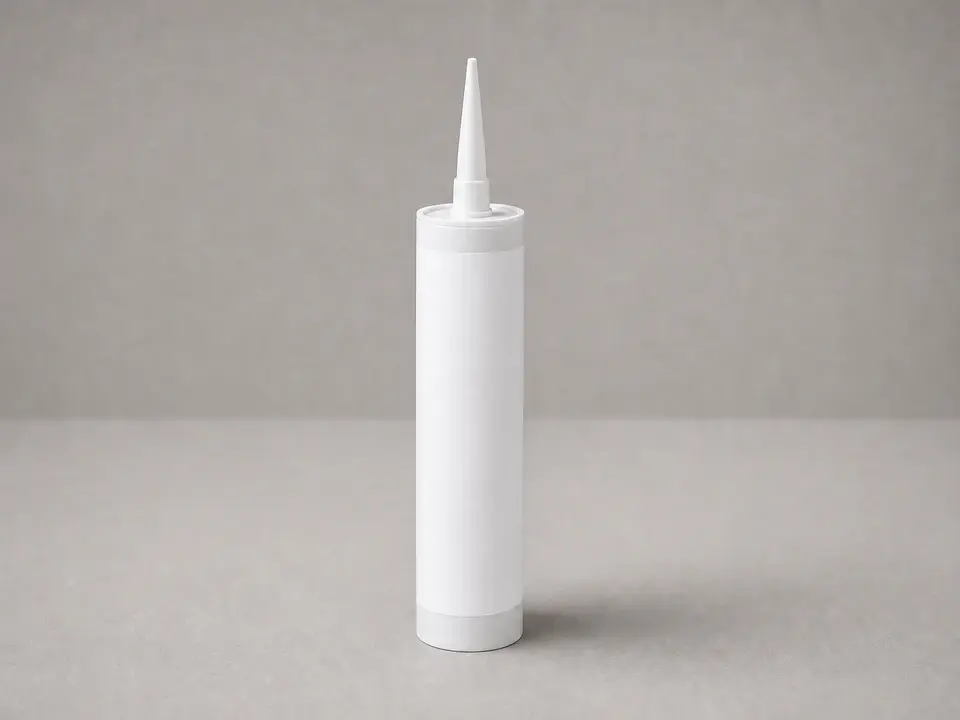
Use it for: To seal the joint so water stays inside the gutter.
Find gutter sealant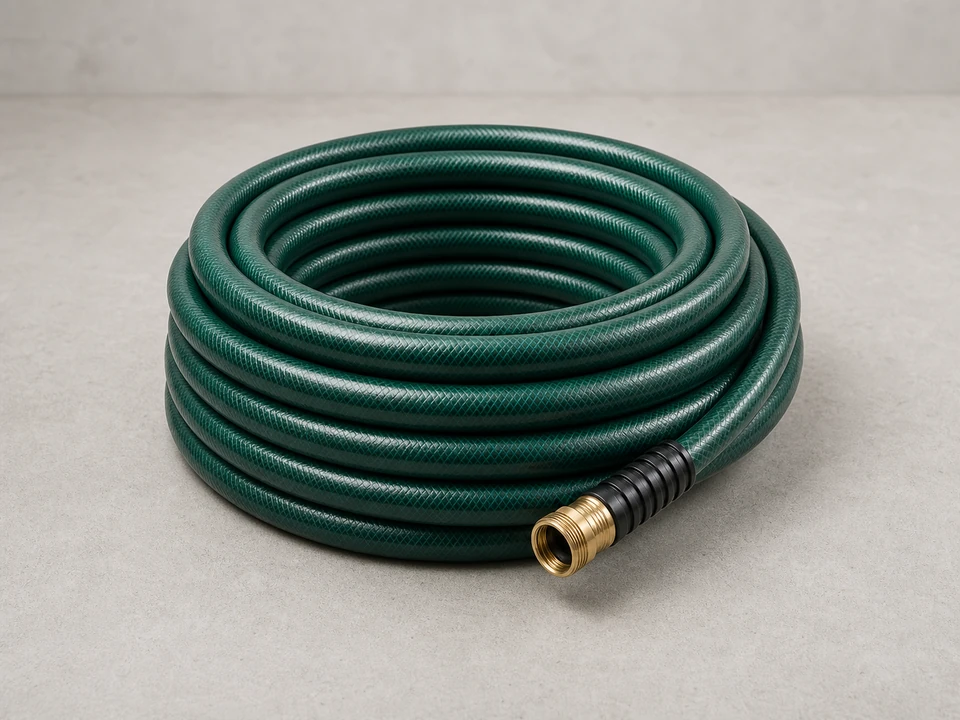
Use it for: To flush the gutter and verify the new end cap does not leak.
Shop garden hosesAs an Amazon Associate I earn from qualifying purchases. Repair Riot may earn a commission at no extra cost to you.
If it works: You have confirmed the leak or damage is at the gutter end cap itself.
If it doesn’t: If the leak is coming from a seam, a hole in the gutter, or overflow from a clog, fix that issue first.
If it works: The gutter end is bare, clean, and ready for the new part.
If it doesn’t: If the old cap will not come off cleanly, keep removing sealant and work it loose slowly instead of bending the gutter.
If it works: The replacement cap fits the gutter correctly and sits in place without distortion.
If it doesn’t: If the cap is loose, too tight, or the wrong shape, stop and get the correct replacement for your gutter style.
If it works: The new end cap is secure and the joint is fully sealed.
If it doesn’t: If the cap shifts or will not stay seated, remove it before the sealant cures, clean the area again, and refit it.
If it works: The repair has had time to set and water can flow through the gutter normally during testing.
If it doesn’t: If the gutter is still clogged, clear it first so overflow does not look like a failed end cap repair.
If it works: Water stays inside the gutter and the new end cap remains dry on the outside except for normal splash.
If it doesn’t: If it still leaks, dry the area, add sealant only where the joint is incomplete, or recheck that you have the correct cap and a clean sealing surface.
Match the replacement part to your exact gutter before ordering.
As an Amazon Associate I earn from qualifying purchases. Repair Riot may earn a commission at no extra cost to you.
Many end cap repairs use sealant to keep the joint watertight, even if the cap also uses screws. Use a sealant made for exterior gutter or metal gutter work and follow its cure time.
Match the cap to your gutter's profile, size, and side. A cap that looks close but does not sit flush will usually leak or distort the gutter edge.
Yes, if the rest of the gutter is solid and the leak is only at the end. If the gutter end is rusted through, bent badly, or pulling away from the house, a larger repair may make more sense.
Work slowly with a scraper or putty knife and remove as much old sealant as possible before prying. Forcing it can bend the gutter and create a bigger leak.
The most common causes are a dirty sealing surface, the wrong cap, an incomplete bead of sealant, or a nearby seam or crack that was mistaken for an end cap leak.