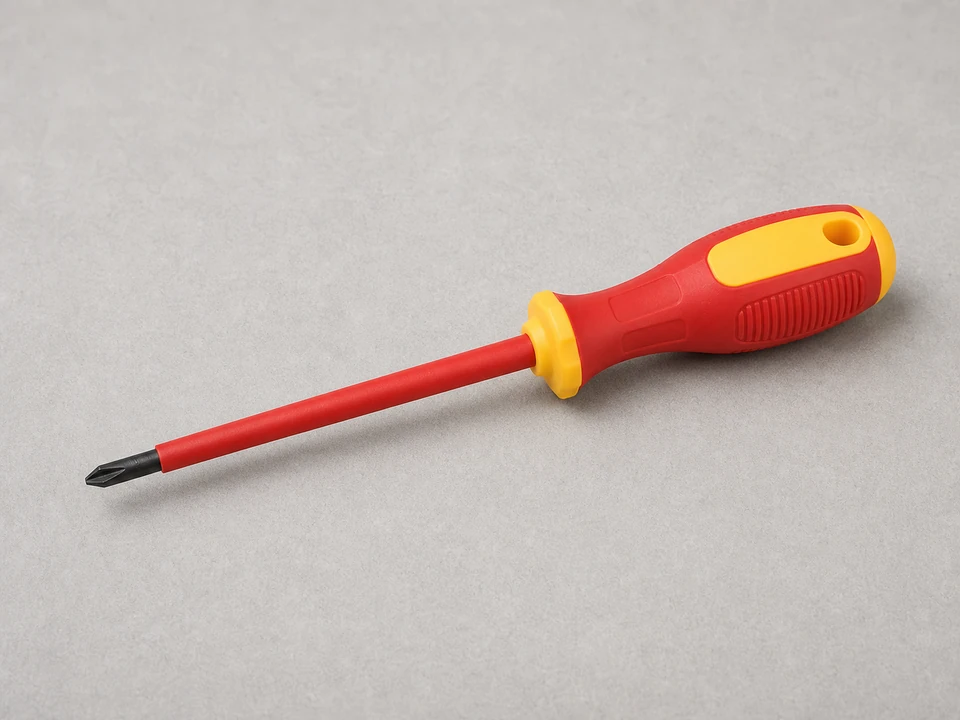
Insulated screwdriver
Use it for: To remove the access panel and help discharge the old capacitor safely.
Shop insulated screwdriversIf your heat pump blower hums, starts slowly, or will not start even though the system is calling for air, a weak or failed blower capacitor is a common cause. Replacing it means shutting off power, confirming the old capacitor ratings, moving the wires one at a time, and testing the blower in a normal heating or cooling cycle.
This is a manageable homeowner repair if you work carefully. The main risk is stored electrical charge, so take time to shut power off fully and discharge the old capacitor before touching its terminals.
Before you start: Match the microfarad rating, voltage rating, and terminal layout before ordering.
Use it for: To remove the access panel and help discharge the old capacitor safely.
Shop insulated screwdrivers
Use it for: To pull wire connectors off the capacitor terminals without yanking the wires.
Shop needle-nose pliers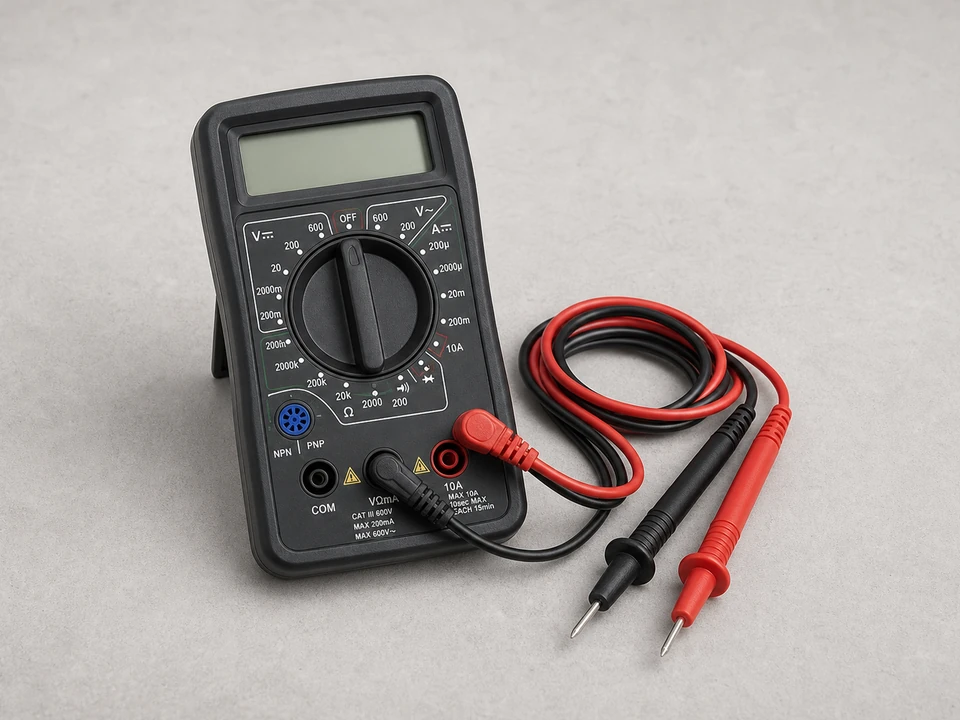
Use it for: To confirm power is off before you touch wiring.
Shop multimeters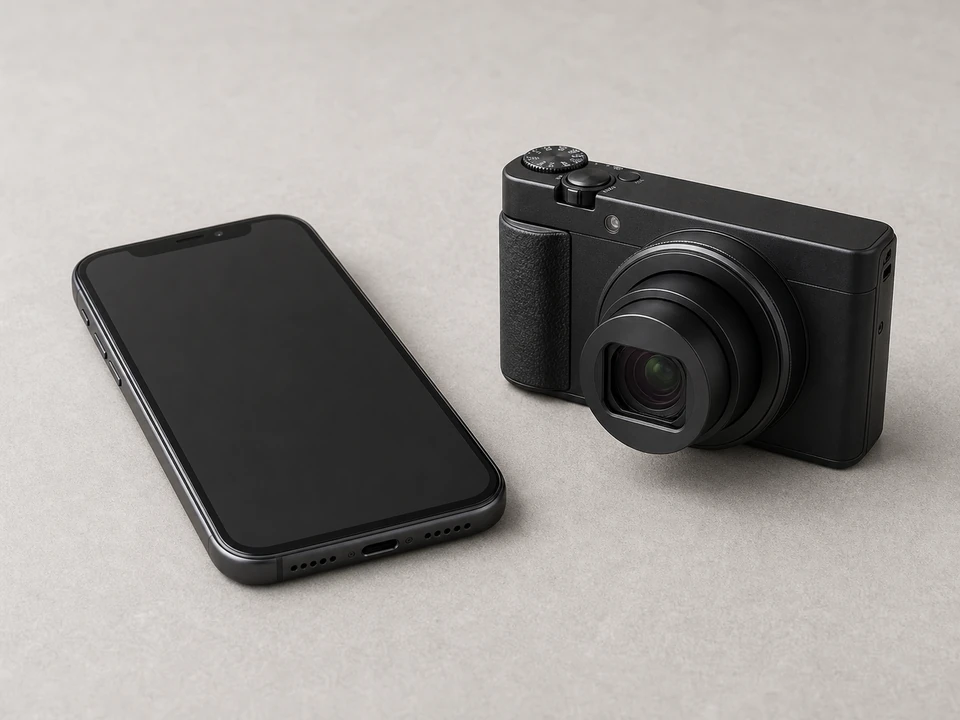
Use it for: To take a clear wiring photo before moving anything.
Shop small work cameras
Use it for: To protect your hands from sharp cabinet edges.
Shop work glovesAs an Amazon Associate I earn from qualifying purchases. Repair Riot may earn a commission at no extra cost to you.
If it works: The symptoms point to a blower motor start or run problem, and the capacitor is a reasonable repair to replace.
If it doesn’t: If the blower runs at full speed normally, or the motor shaft is seized, or there is no call for the blower at all, this is probably not the right repair path.
If it works: The blower compartment is open and you have confirmed the unit is de-energized.
If it doesn’t: If you still read live voltage, stop and find the correct disconnect or breaker before continuing.
If it works: You have a replacement that matches the old capacitor closely enough to install with confidence.
If it doesn’t: If the label is unreadable, use the unit parts list or the old part dimensions and terminal markings to identify the correct replacement before proceeding.
If it works: The old capacitor is safely disconnected and the wires are transferred correctly or ready to be transferred.
If it doesn’t: If a connector is loose or corroded, tighten or replace the connector before installing the new capacitor so it makes a firm connection.
If it works: The new capacitor is mounted securely, wired correctly, and the cabinet is closed back up.
If it doesn’t: If the panel will not fit or the capacitor does not sit securely, reposition the part and wiring so nothing is pinched or rubbing.
If it works: The blower starts normally, runs smoothly, and keeps airflow steady through a full cycle.
If it doesn’t: If the blower still hums, starts slowly, or does not run, the motor, control board, relay, or wiring may be the real cause and the system needs further diagnosis.
Match the microfarad rating, voltage rating, and terminal layout before ordering.
As an Amazon Associate I earn from qualifying purchases. Repair Riot may earn a commission at no extra cost to you.
Common signs are a blower that hums but does not start, starts slowly, or needs a push to get moving. A swollen or leaking capacitor is also a strong clue.
Match the microfarad rating exactly. The voltage rating can be the same or higher than the old one, but not lower.
It is much safer to use a multimeter so you can confirm power is actually off before touching the wiring. That is an important step on this repair.
The blower motor itself, a relay, a control board issue, or damaged wiring may be the real cause. At that point, more diagnosis is needed instead of swapping more parts blindly.
Not always. Many systems use a separate capacitor for the indoor blower and a different capacitor arrangement outside. Match the indoor blower capacitor by its own label and wiring.