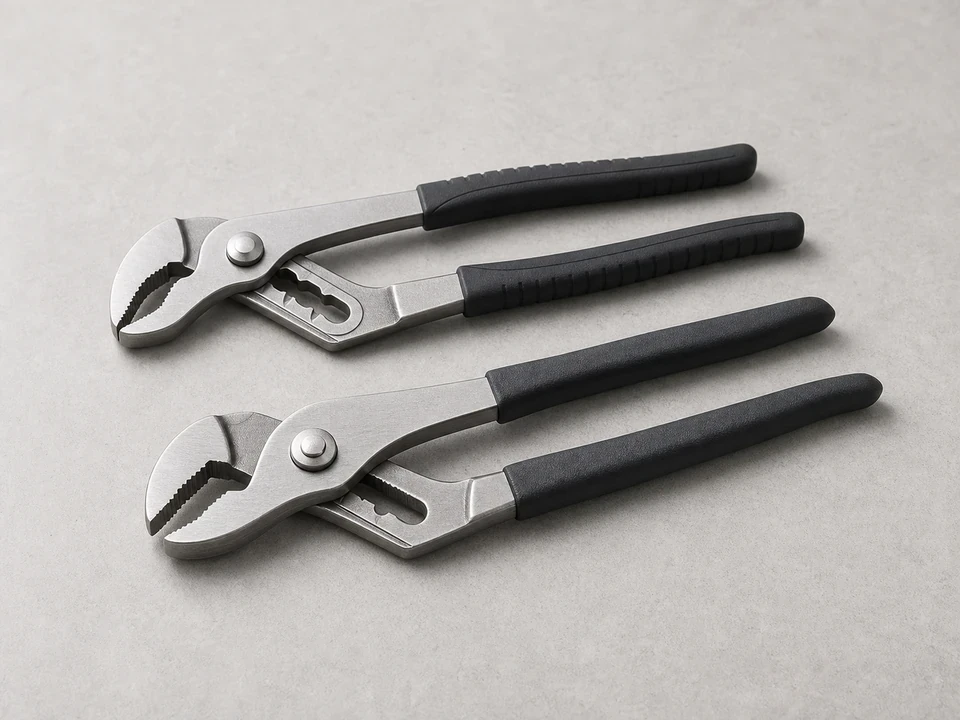
Adjustable pliers
Use it for: To loosen the old vacuum breaker cap or hold parts steady during removal and installation.
Shop adjustable pliersTo replace a hose bib vacuum breaker kit, confirm the leak or spray is coming from the vacuum breaker at the top of the hose bib, remove the old cap and internal parts, install the matching replacement pieces, and test the faucet under pressure.
This is a manageable repair when the hose bib itself is still solid and the problem is limited to the vacuum breaker. Work gently so you do not crack the faucet body or damage the threads.
Before you start: Match the vacuum breaker style, thread size, and hose bib compatibility before ordering.
Use it for: To loosen the old vacuum breaker cap or hold parts steady during removal and installation.
Shop adjustable pliers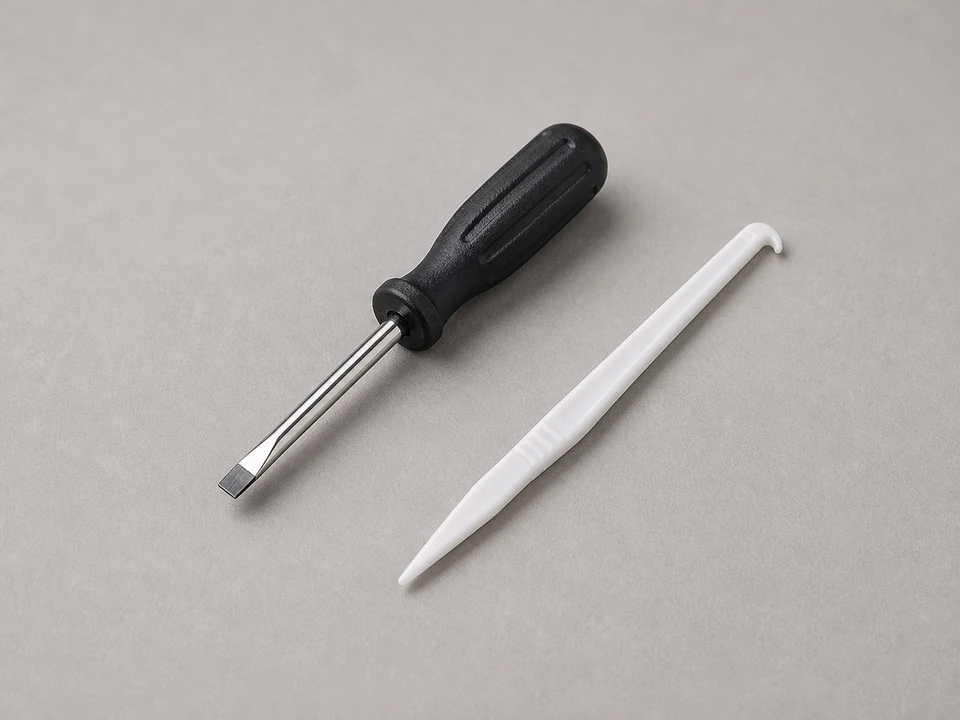
Use it for: To lift out old seals, clips, or broken internal pieces from the vacuum breaker.
Shop small flat screwdriver set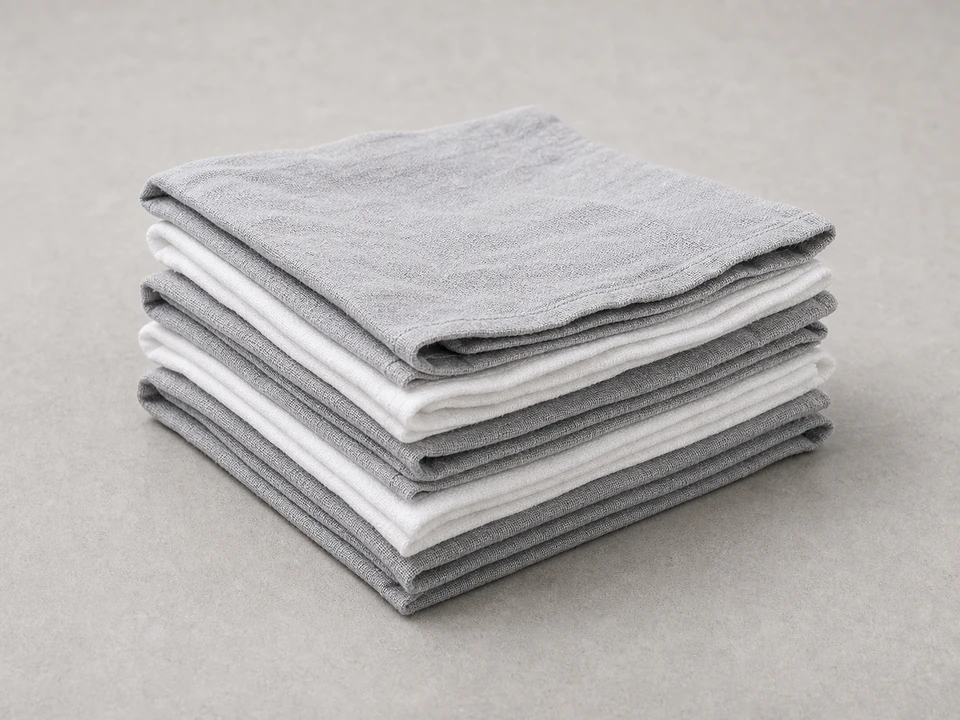
Use it for: To wipe mineral buildup, dirt, and water from the hose bib before reassembly.
Shop cleaning rags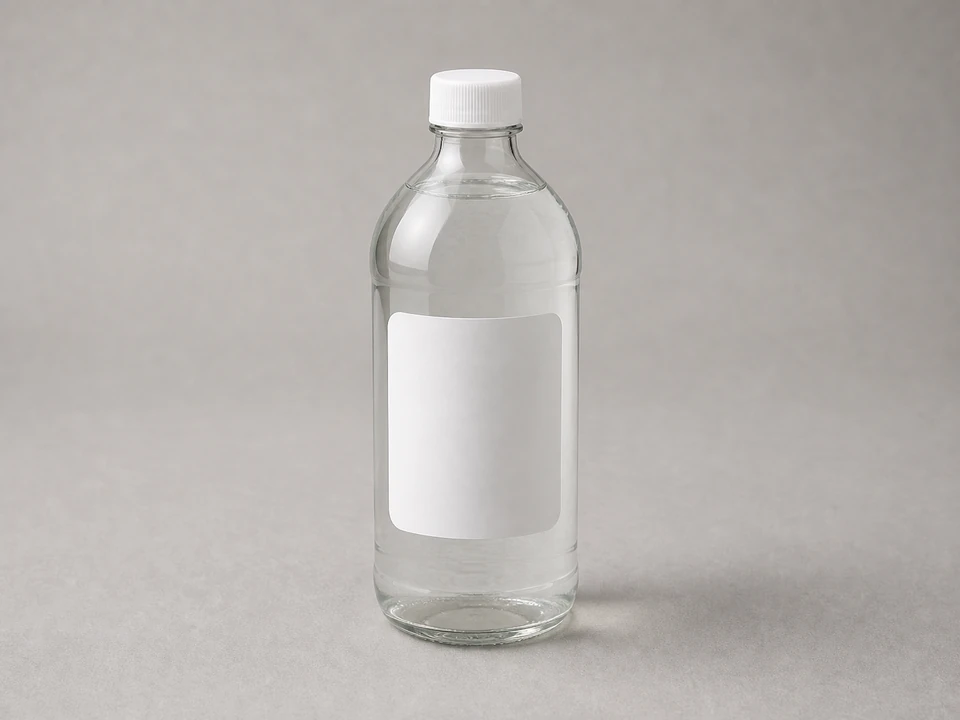
Use it for: To loosen scale that can keep the new vacuum breaker from sealing properly.
Shop white vinegar for cleaning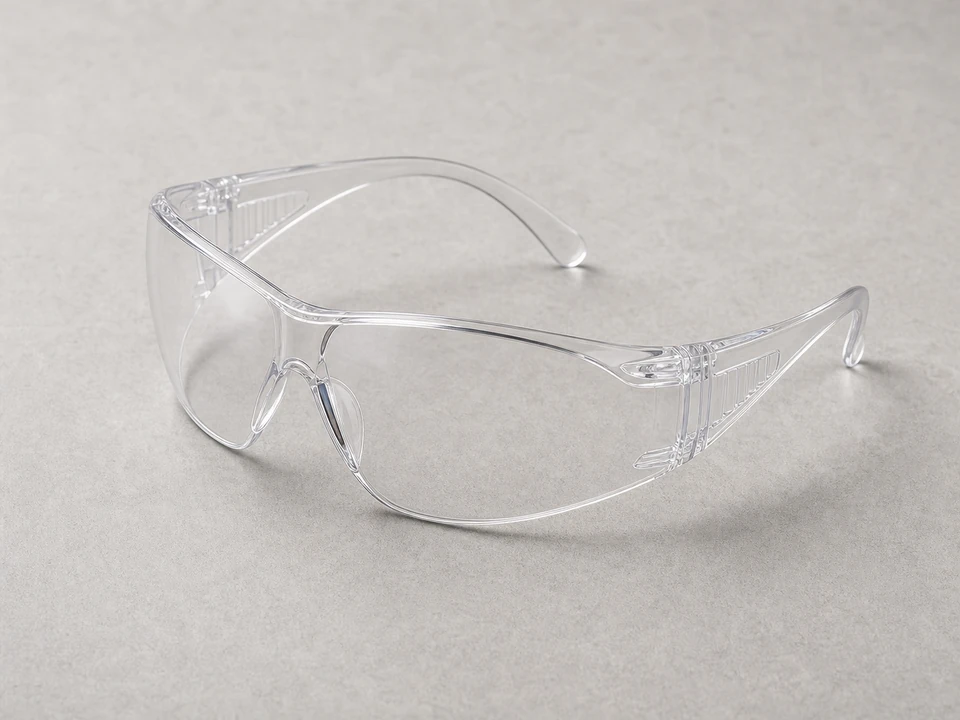
Use it for: To protect your eyes if a spring, clip, or pressurized water spits out during disassembly.
Shop safety glassesAs an Amazon Associate I earn from qualifying purchases. Repair Riot may earn a commission at no extra cost to you.
If it works: You have confirmed the leak or spray is coming from the vacuum breaker assembly on the hose bib.
If it doesn’t: If water is leaking from the handle, packing nut, spout threads, or inside the wall, this is a different repair path.
If it works: The hose bib is depressurized, clear of attachments, and ready for disassembly.
If it doesn’t: If a hose or accessory is stuck on the threads, remove that first so you can access and test the faucet properly.
If it works: The old vacuum breaker components are out and the hose bib is ready to be cleaned and rebuilt.
If it doesn’t: If the cap will not move, apply a little vinegar to mineral buildup, wait a few minutes, and try again with light, controlled force.
If it works: The sealing area is clean and the replacement kit matches the old vacuum breaker layout.
If it doesn’t: If the new parts do not match the old size or style, pause and get the correct kit before forcing anything together.
If it works: The new vacuum breaker kit is installed squarely and the cap is secure without being forced.
If it doesn’t: If the cap will not start by hand, back it off and realign it so you do not damage the threads.
If it works: The hose bib runs and shuts off without leaking or spraying from the vacuum breaker.
If it doesn’t: If it still leaks from the vacuum breaker, reopen it and check for debris, a misaligned seal, or a mismatched kit. If those are correct, the hose bib itself may need replacement.
Match the vacuum breaker style, thread size, and hose bib compatibility before ordering.
As an Amazon Associate I earn from qualifying purchases. Repair Riot may earn a commission at no extra cost to you.
It helps prevent contaminated water from being drawn backward into the water supply if pressure drops. It also often causes visible leaking or spraying when its internal seal fails.
If the leak is only from the vacuum breaker area and the faucet body, handle, and wall connection are still sound, a kit is often the right repair. If the body is cracked, badly corroded, or leaking in the wall, replace the hose bib instead.
It is better to replace the internal parts with the matching new pieces from the kit. Old rubber and springs usually do not seal reliably once they have started leaking.
That usually means the internal seal is worn, dirty, misaligned, or damaged. Pressure exposes the weak seal, so the leak shows up only during use.
Usually no if the cap and internal seal are designed to seal as a unit. Follow the part design and avoid adding sealant unless the replacement instructions specifically call for it.