
Adjustable wrench
Use it for: To loosen and tighten supply line and valve nuts without rounding them off.
Shop adjustable wrenchesTo replace a kitchen sink cold shutoff valve, first confirm the valve is the restriction or leak point, shut off the home water supply, remove the old valve, install the new one with the correct connection style, then restore water and check for leaks and normal cold-water flow.
This is a manageable under-sink repair if the valve is accessible and the supply pipe is in good shape. Take your time, keep a towel and small bucket under the work area, and stop if the pipe is damaged or the connection style is unclear.
Before you start: Match the connection type, outlet size, and valve orientation before ordering.
Use it for: To loosen and tighten supply line and valve nuts without rounding them off.
Shop adjustable wrenches
Use it for: To hold the valve body or back up the pipe while you loosen stubborn fittings.
Shop tongue-and-groove pliers
Use it for: To catch water left in the line when the old valve comes off.
Find a drain pan or bucket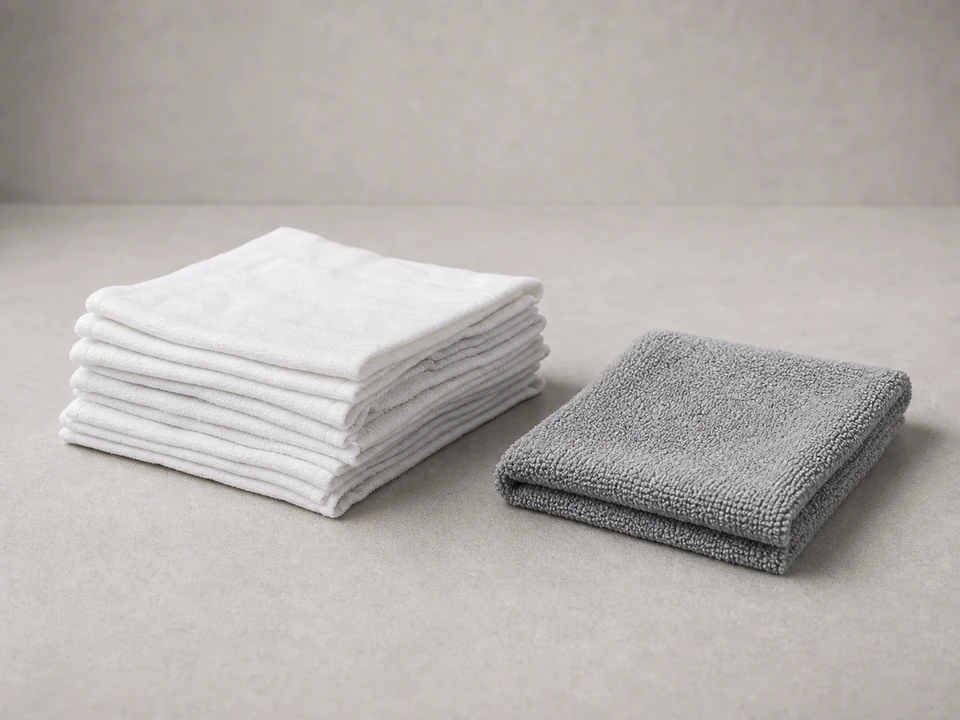
Use it for: To protect the cabinet floor and wipe fittings dry during leak checks.
Shop absorbent shop towels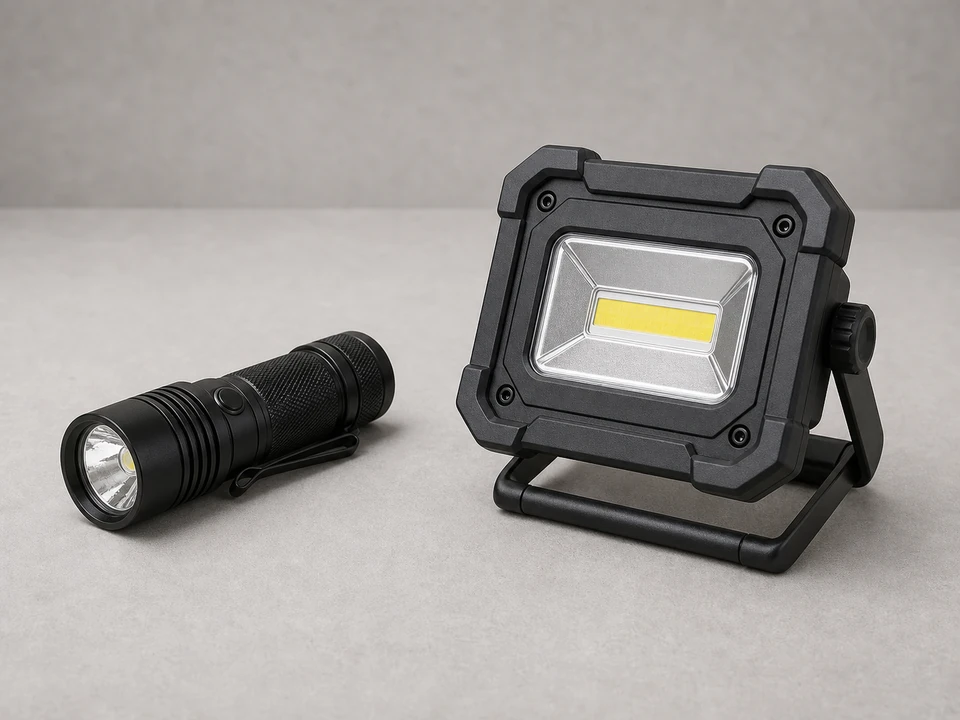
Use it for: To see the valve connection clearly under the sink before you buy and install the replacement.
Find an LED work light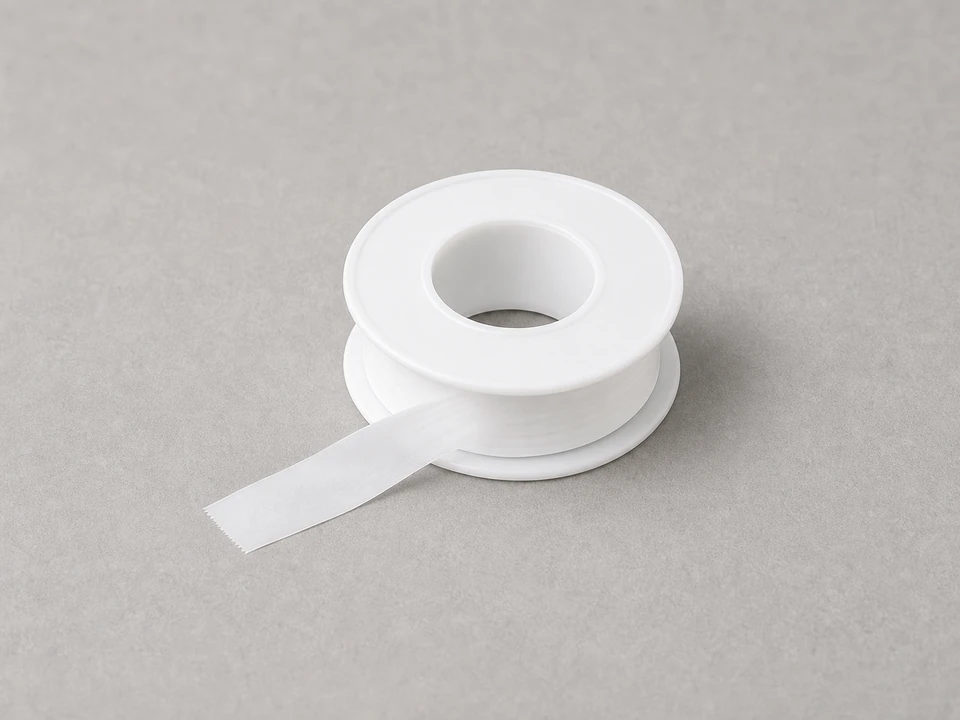
Use it for: To seal threaded pipe connections if your new valve uses threaded inlet connections.
Shop plumber thread seal tapeAs an Amazon Associate I earn from qualifying purchases. Repair Riot may earn a commission at no extra cost to you.
If it works: You have a clear reason to replace the valve, such as leakage, a seized handle, internal restriction, or a valve that will not shut off properly.
If it doesn’t: If the valve operates normally and flow is still weak only at the faucet, the restriction may be in the faucet supply line, aerator, or faucet cartridge instead.
If it works: The cold line is depressurized and the work area is clear and protected.
If it doesn’t: If water keeps running steadily from the faucet, the main shutoff may not be fully closed or may not be holding.
If it works: The old valve is off and the supply pipe end is exposed for inspection.
If it doesn’t: If the valve will not budge, apply steady pressure while backing up the pipe so you do not twist the stub-out in the wall.
If it works: The new valve is installed squarely, the supply line is reconnected, and nothing looks cross-threaded or forced out of alignment.
If it doesn’t: If the supply line no longer reaches cleanly or the valve points the wrong way, recheck the valve orientation and outlet style before turning the water back on.
If it works: The valve opens and closes normally and both connections stay dry under pressure.
If it doesn’t: If a small seep continues after a careful snugging, shut the water back off and re-seat or remake that connection rather than overtightening it.
If it works: Cold water flow is restored, the valve shuts off properly, and the area stays dry during real use.
If it doesn’t: If flow is still weak with a new valve and no leaks, the restriction is likely farther downstream at the faucet supply line, aerator, or faucet itself.
Match the connection type, outlet size, and valve orientation before ordering.
As an Amazon Associate I earn from qualifying purchases. Repair Riot may earn a commission at no extra cost to you.
If the valve leaks, will not turn properly, will not shut off, or delivers weak flow even when fully open, it is a strong suspect. If flow is strong coming out of the valve but weak at the faucet, the problem is more likely in the faucet supply line, aerator, or faucet cartridge.
Yes. If only the cold valve is leaking, seized, or restricted, you can replace just that side. Many homeowners still compare both valves first so they know the hot side is working normally.
Only on threaded pipe connections where the valve screws onto male pipe threads. Compression-style connections and many faucet supply line nuts do not use thread seal tape on the threads.
Do not pry so hard that you damage the pipe. If the sleeve is stuck and the pipe is short or delicate, that is a good time to stop and get help so the stub-out is not ruined inside the wall.
A continuing drip usually means the connection is not seated correctly, the wrong valve type was used, or the pipe surface is damaged. Shut the water back off and remake the connection instead of just tightening harder.