
Adjustable wrench
Use it for: To hold the valve body and loosen or tighten compression nuts or supply connections.
Shop adjustable wrenchesTo replace a kitchen sink shutoff valve, first confirm the valve itself is leaking or no longer shuts off fully, then turn off the home water supply, relieve pressure, remove the old valve, install a matching new valve, and test it under pressure.
This is a manageable repair for many homeowners if the valve is accessible and the supply pipe is in good shape. The key is using the correct replacement style and not forcing old plumbing that is already corroded or loose in the wall.
Before you start: Match the connection type, outlet size, and valve orientation before ordering.
Use it for: To hold the valve body and loosen or tighten compression nuts or supply connections.
Shop adjustable wrenches
Use it for: To catch the water left in the line when the old valve comes off.
Shop drip pans and buckets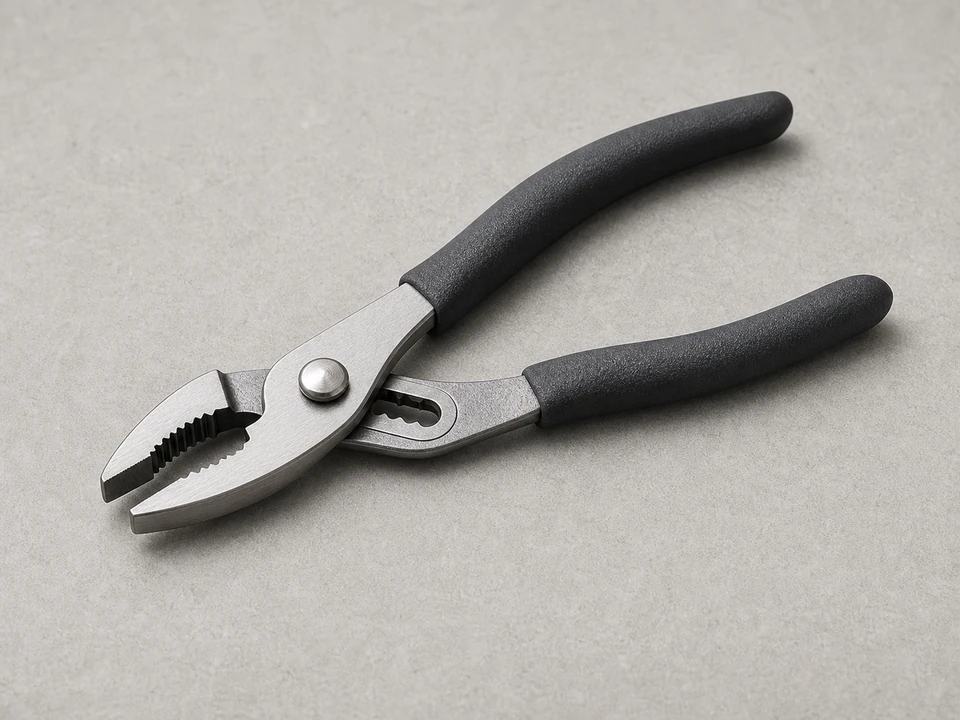
Use it for: To steady nearby fittings and help with stubborn connections.
Shop slip-joint pliers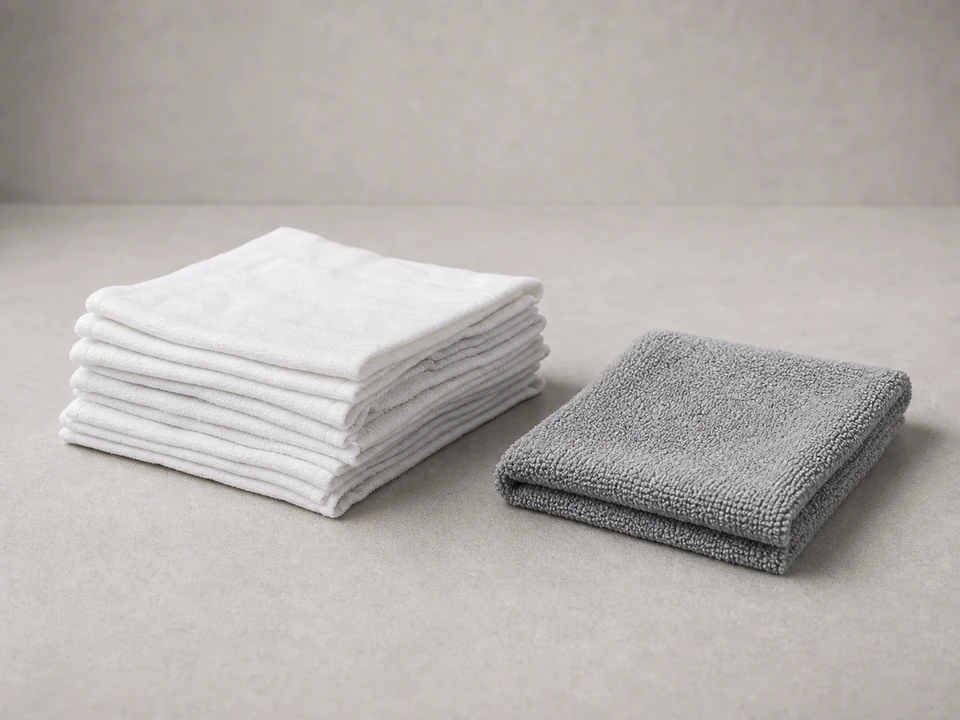
Use it for: To protect the cabinet and wipe fittings dry during leak checks.
Shop absorbent shop towels
Use it for: To see the back side of the valve and check for slow drips under the sink.
Shop LED flashlights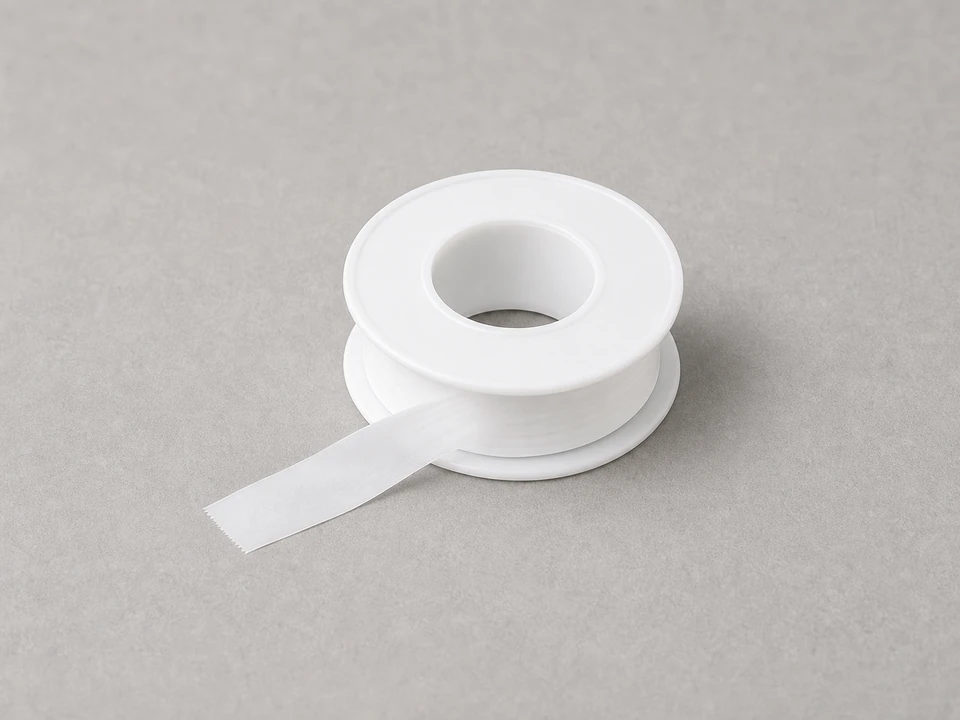
Use it for: To seal threaded connections if your new valve uses pipe threads. Do not use it on compression threads unless the valve instructions call for it.
Shop thread seal tapeAs an Amazon Associate I earn from qualifying purchases. Repair Riot may earn a commission at no extra cost to you.
If it works: You have confirmed the kitchen sink shutoff valve itself is leaking, seized, or failing to shut off properly.
If it doesn’t: If the leak is coming from the supply tube or faucet connection instead, repair that connection first and leave the valve in place.
If it doesn’t: If the supply tube no longer reaches cleanly or has to bend sharply, replace or reroute the tube before turning water back on.
If it works: The valve stays dry under pressure, the faucet supply works normally, and the shutoff valve fully opens and closes without leaking.
If it doesn’t: If you find a small drip at a connection, gently tighten that connection a little more while supporting the valve, then dry it and test again.
Match the connection type, outlet size, and valve orientation before ordering.
As an Amazon Associate I earn from qualifying purchases. Repair Riot may earn a commission at no extra cost to you.
Dry everything first, then watch where water starts. A bad shutoff valve often leaks from the stem, body, or inlet area, or it will not shut water off fully. A bad supply line usually leaks at its own nut or along the tube.
Yes. Hot and cold valves are usually separate. If only one is leaking or not shutting off, you can replace that one alone as long as the other valve is still in good condition.
Only on threaded pipe connections where the valve instructions call for it. Do not put thread seal tape on compression threads unless the valve design specifically uses it there.
If corrosion is limited to the valve, replacement is often still possible. If the supply pipe itself is pitted, thin, cracked, or starts twisting when you loosen the valve, stop and have the pipe repaired before installing a new valve.
It is often a good idea if the tube is old, kinked, corroded, or does not line up well with the new valve. A fresh tube can make the final connection easier and reduce the chance of a leak.