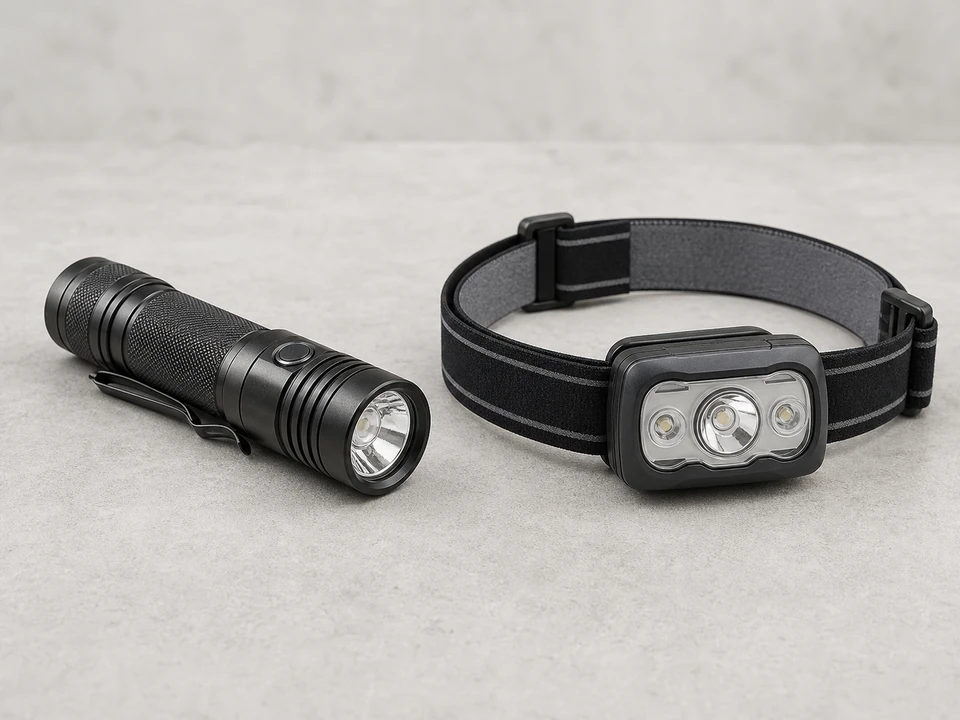
Flashlight or headlamp
Use it for: Lets you see the clip locations and check for rust, cracks, or missing hardware under the sink.
Shop flashlights for under-sink workTo replace kitchen sink mounting clips, support the sink from below, remove the loose or damaged clips, install matching replacements, and tighten them evenly so the sink sits flat against the countertop.
This repair is usually worth doing when the sink rim has lifted, the sink shifts when you lean on it, or old clips are rusted, bent, or missing. Work slowly under the sink so you do not crack the countertop or pull plumbing loose.
Before you start: Match the replacement part to your exact kitchen sink before ordering.
Use it for: Lets you see the clip locations and check for rust, cracks, or missing hardware under the sink.
Shop flashlights for under-sink work
Use it for: Protects your hands from sharp metal edges and old sealant.
Shop work gloves
Use it for: Many mounting clips tighten with a screw that pulls the clip up against the countertop.
Find a screwdriver set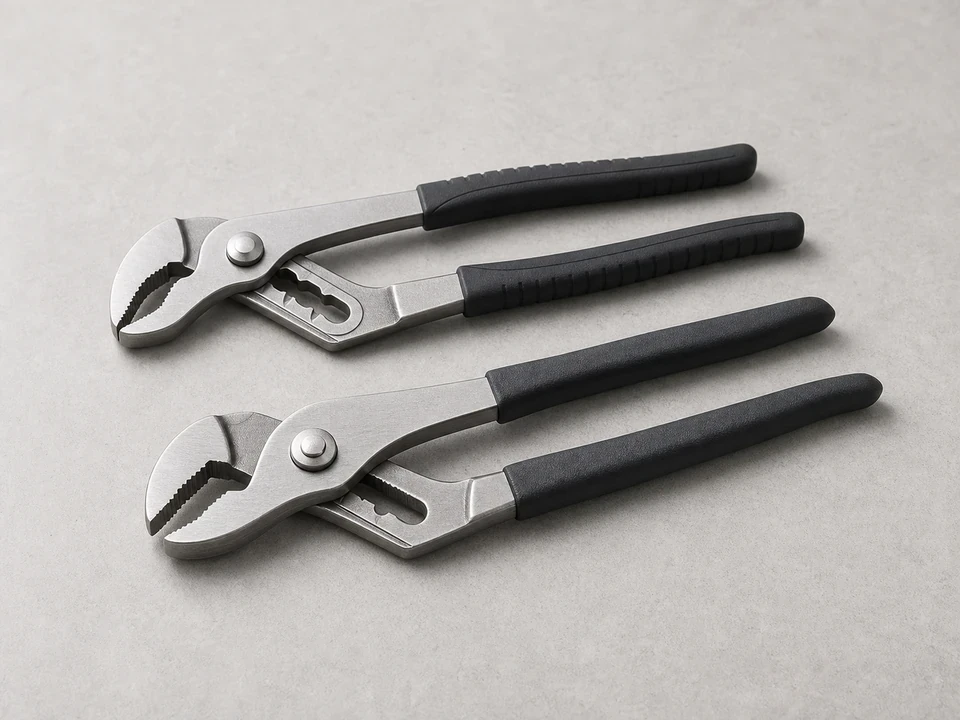
Use it for: Helps remove stubborn clips or hold small hardware in tight spaces.
Shop adjustable pliers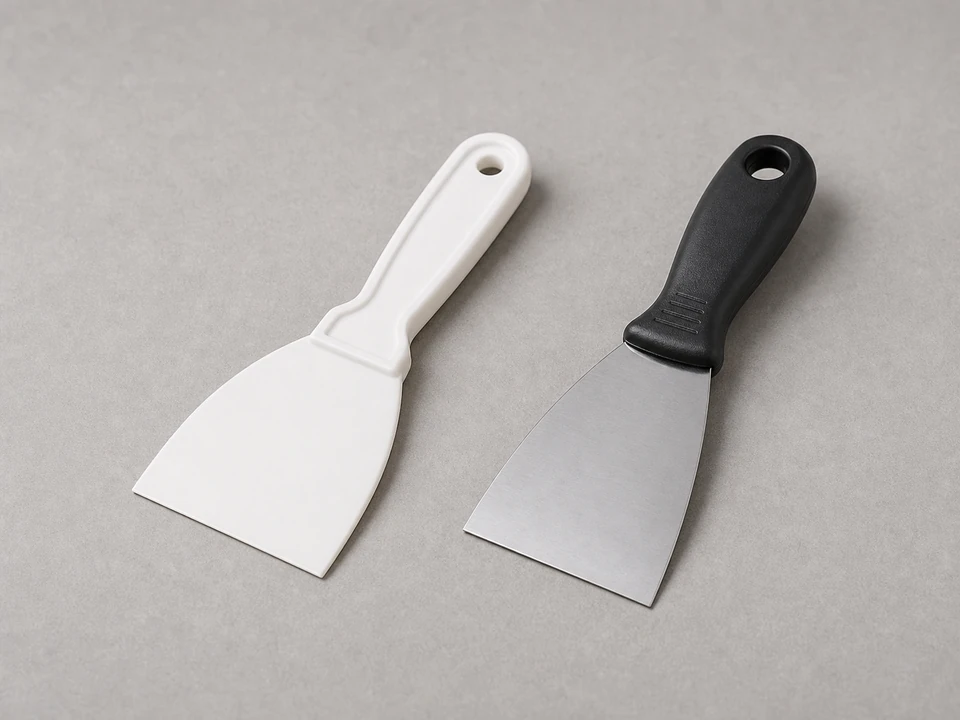
Use it for: Useful for clearing old caulk or debris from the sink rim area if the sink has lifted.
Find a scraper for old sealant
Use it for: Supports the sink from below while you remove and replace clips so it does not drop or shift.
Shop sink support blocksAs an Amazon Associate I earn from qualifying purchases. Repair Riot may earn a commission at no extra cost to you.
If it works: You found damaged, loose, or missing mounting clips and the sink appears able to be secured again.
If it doesn’t: If the clips look intact and tight, the leak or movement may be coming from failed caulk, a warped sink rim, or countertop damage instead.
If it works: The sink feels supported and does not sag or wobble while you reach the clips.
If it doesn’t: If the sink still moves, improve the support before removing any old clips.
If it works: The damaged clips are off and the mounting points are clean enough for the new clips to seat properly.
If it doesn’t: If a clip will not come off because the screw is seized, use pliers carefully and work it loose without twisting the sink or countertop edge.
If it works: The new clips are installed and the sink is pulled down evenly without obvious gaps at the rim.
If it doesn’t: If a clip does not reach, does not lock onto the rail, or sits crooked, stop and recheck the replacement style before tightening further.
If it works: The sink sits flat, the clips feel snug, and nothing looks twisted or overstressed.
If it doesn’t: If the rim still will not sit flat, the sink may need to be lifted and resealed rather than just reclipped.
If it works: The sink stays solid during normal use and the rim remains tight to the countertop.
If it doesn’t: If the sink loosens again, recheck clip fit and the condition of the sink rim, mounting rail, and countertop before replacing more parts.
Match the replacement part to your exact kitchen sink before ordering.
As an Amazon Associate I earn from qualifying purchases. Repair Riot may earn a commission at no extra cost to you.
If only one or two clips are clearly damaged, you can replace those. If several are rusted, bent, or loose, replacing the full set usually gives a more even hold.
Yes. If the sink lifts away from the countertop, the rim can lose contact and let water work past the edge.
Stop and compare the clip shape, size, and mounting style to the old hardware. Kitchen sink mounting systems are not all the same, so the replacement needs to match your sink.
Tight enough to pull the sink flat and keep it from moving, but not so tight that the countertop chips or the sink rim distorts.
Usually yes, as long as you can reach the clips safely and support the sink without stressing the plumbing. If the drain or disposal blocks access, do not force it.