
Bucket or shallow pan
Use it for: Catches the water and debris that spill out when the trap is removed.
Shop drain catch panTo replace a kitchen sink P-trap kit, confirm the trap is the leaking or clogged section, remove the old trap pieces, dry-fit the new kit, hand-tighten the slip nuts with the washers facing the right direction, then run water and check every joint for leaks.
A P-trap kit is the curved drain section under the sink that holds water to block sewer gas. When it cracks, loosens, corrodes, or stays packed with buildup, replacement is often faster and cleaner than trying to patch it.
Before you start: Match the pipe diameter, inlet and outlet configuration, and trap style before ordering.
Use it for: Catches the water and debris that spill out when the trap is removed.
Shop drain catch pan
Use it for: Helps loosen stubborn slip nuts without crushing the plastic.
Shop channel-lock pliers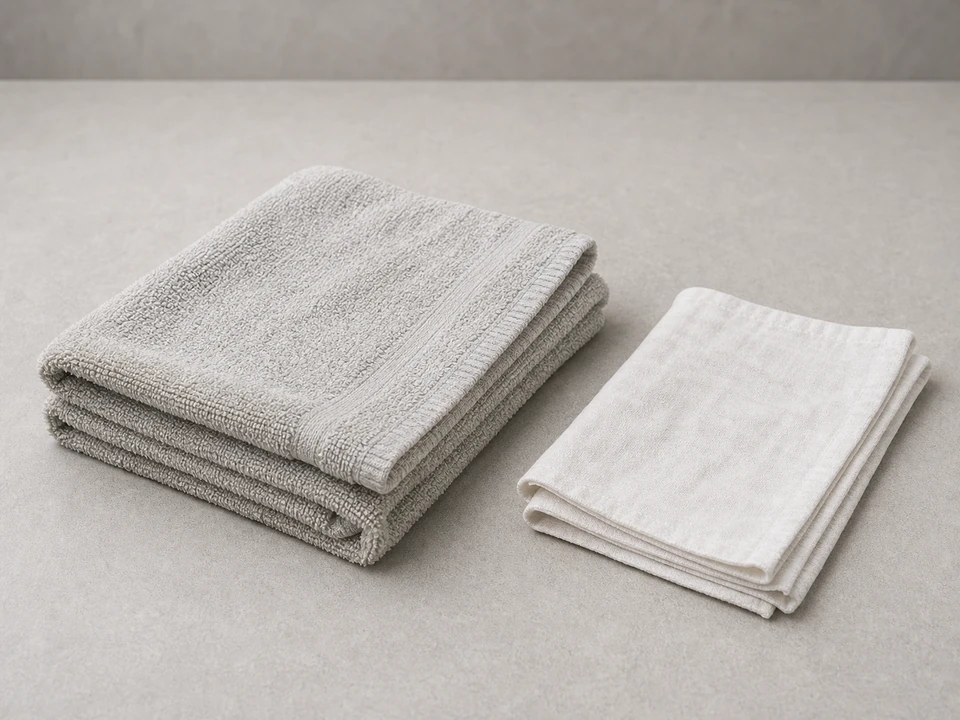
Use it for: Protects the cabinet floor and lets you wipe joints dry for leak checks.
Shop shop towels
Use it for: Helps compare the old trap layout to the new kit before cutting or tightening.
Shop tape measure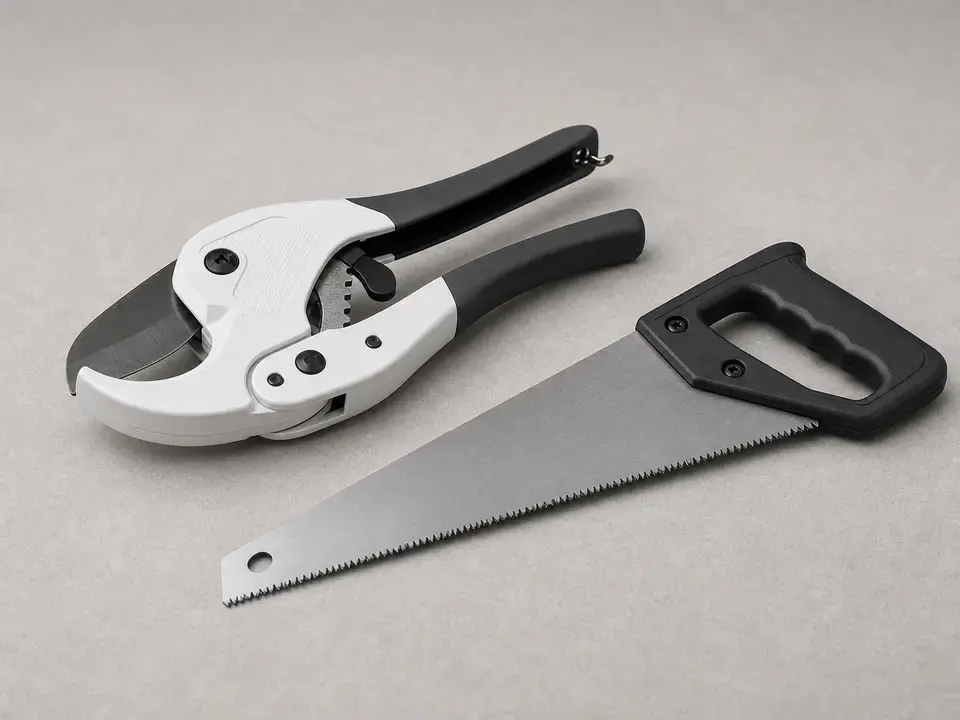
Use it for: Cuts a trap arm or extension tube to length if the new kit is longer than needed.
Shop PVC hand sawAs an Amazon Associate I earn from qualifying purchases. Repair Riot may earn a commission at no extra cost to you.
If it works: You have confirmed the trap kit is damaged, badly clogged, or no longer sealing at its own joints.
If it doesn’t: If water is coming from the sink strainer, disposal, faucet, or a pipe inside the wall, fix that issue instead of replacing the trap kit.
If it works: The old trap assembly is out and the connection points are exposed and clean.
If it doesn’t: If a nut will not loosen, apply steady pressure with pliers and support the connected pipe so you do not crack another fitting.
If it works: The new trap pieces line up naturally between the sink drain and the wall drain without strain.
If it doesn’t: If the new kit will not line up, recheck the diameter, connection style, and whether you need a different trap arm or extension tube.
If it works: The new trap is installed squarely, and the joints are snug without cross-threading or visible strain.
If it doesn’t: If a nut feels crooked or binds early, back it off and restart the threads by hand before tightening again.
If it works: The trap stays dry during both a steady flow and a full sink drain-down.
If it doesn’t: If a joint still drips, loosen it, check the washer direction and pipe alignment, then reassemble and retest.
If it works: The sink drains normally, the cabinet stays dry, and the new trap holds without drips or odor.
If it doesn’t: If the sink still drains slowly with a new trap, the clog is likely farther down the branch drain or at the wall connection.
Match the pipe diameter, inlet and outlet configuration, and trap style before ordering.
As an Amazon Associate I earn from qualifying purchases. Repair Riot may earn a commission at no extra cost to you.
Usually no. Most kitchen sink P-trap kits seal with slip-joint washers, not thread sealant. The seal comes from the washer seating correctly and the nut being tightened enough without distortion.
The most common causes are a crooked nut, a washer facing the wrong direction, a rough cut pipe end, or pipes being forced out of alignment. Take the joint apart, correct the fit, and reassemble it by hand before snugging it down.
It is better to use the new washers that come with the kit. Old washers often flatten, harden, or deform, which makes repeat leaks more likely.
That usually means the clog is farther downstream, often in the trap arm, wall drain, or branch line. The new trap fixes a damaged or blocked trap section, but it will not clear a deeper drain blockage by itself.
Yes, a slight downward pitch toward the wall helps drainage. It should not be steep, and the trap should not be twisted or under tension just to make the connection work.