
Bucket or shallow pan
Use it for: Catches the water left in the trap when you open the drain connection.
Shop buckets and drain pansIf your kitchen sink drain is dripping from a slip-joint connection, replacing the slip joint washer set is often the right fix. The job is usually just loosening the nut, swapping the worn washer, and reassembling the joint cleanly.
This repair works best when the leak is coming from a hand-tightened or nut-tightened drain joint under the sink, especially around the trap or tailpiece connection. Start with a dry inspection so you know which joint is actually leaking before you take anything apart.
Before you start: Match the replacement part to your exact kitchen sink before ordering.
Use it for: Catches the water left in the trap when you open the drain connection.
Shop buckets and drain pans
Use it for: Helps loosen or snug slip-joint nuts that are stuck or too tight for hand turning.
Find channel-lock pliers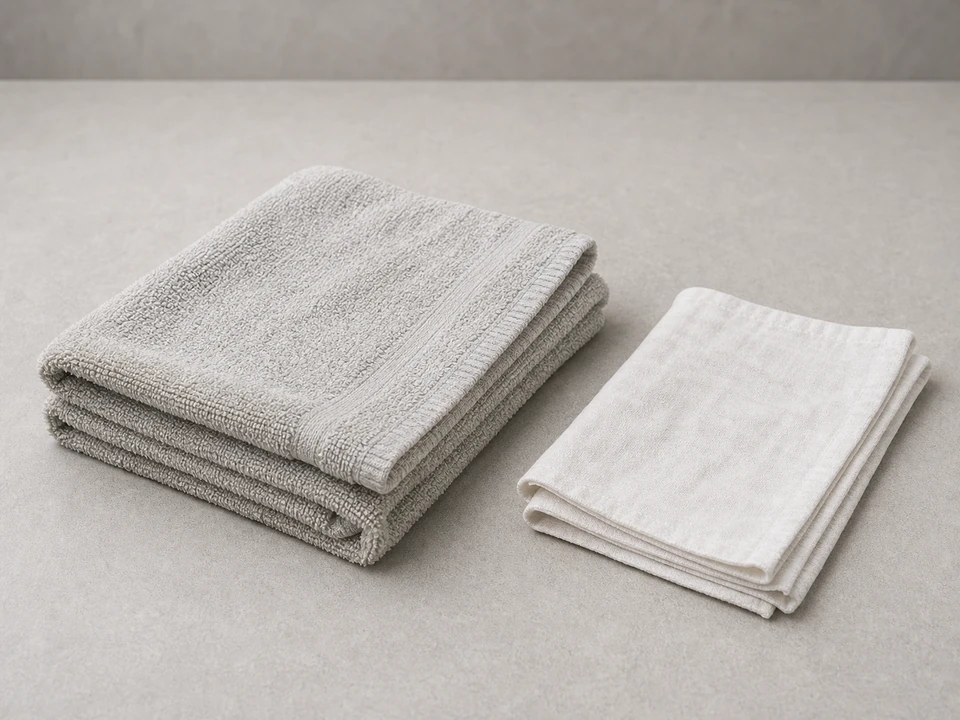
Use it for: Lets you dry the pipes, wipe the joint clean, and spot fresh drips during testing.
Shop shop towels or rags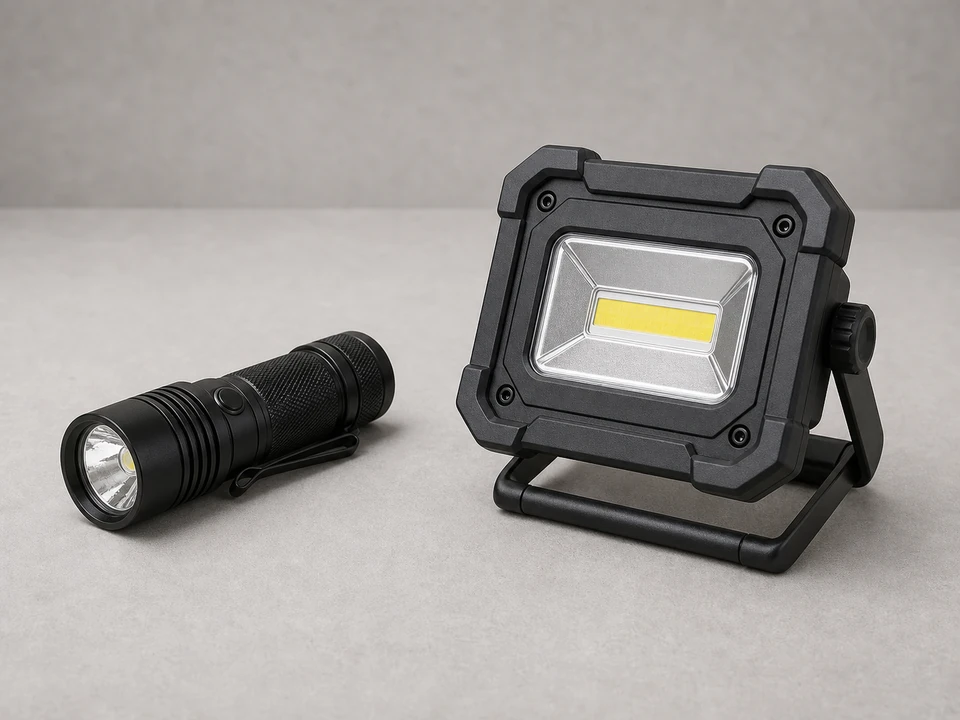
Use it for: Makes it easier to see the exact joint that is leaking under the sink.
Find a small work light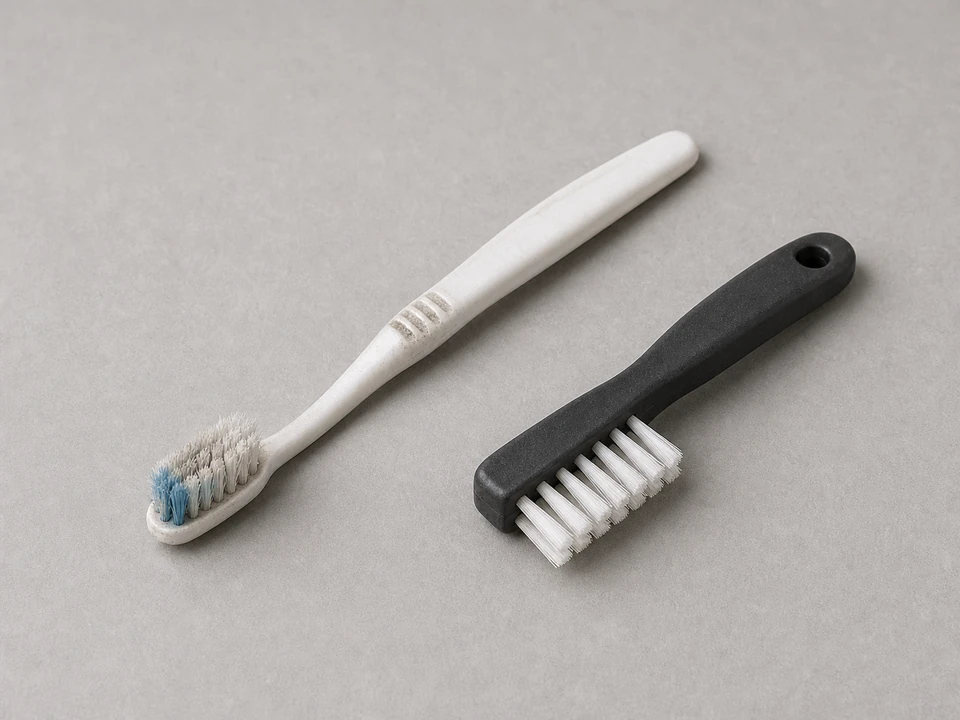
Use it for: Cleans residue from the pipe and nut so the new washer can seat properly.
Shop small cleaning brushesAs an Amazon Associate I earn from qualifying purchases. Repair Riot may earn a commission at no extra cost to you.
If it works: You have traced the leak to a slip-joint connection under the sink.
If it doesn’t: If the water starts higher up at the sink basket, faucet, dishwasher branch, or from a split pipe, this washer replacement is probably not the right repair.
If it works: The leaking joint is open and the old washer is removed.
If it doesn’t: If the nut will not move, dry it off and try again with pliers while supporting the pipe with your other hand to avoid stressing the assembly.
If it works: The joint surfaces are clean and you have the correct replacement washer ready.
If it doesn’t: If the replacement washer does not match the old one closely, pause and get the correct size before reassembling.
If it works: The new washer is installed and the joint is reassembled straight and snug.
If it doesn’t: If the nut binds or the pipes do not line up naturally, back it off and realign the joint before tightening again.
If it works: The joint stays dry during a steady water flow test.
If it doesn’t: If the drip continues after a small adjustment, take the joint back apart and check washer orientation, fit, and pipe alignment.
If it works: The repair holds under normal sink use with no drips or seepage.
If it doesn’t: If moisture returns later, inspect the joint again and replace any damaged nut or misaligned drain section that kept the washer from sealing.
Match the replacement part to your exact kitchen sink before ordering.
As an Amazon Associate I earn from qualifying purchases. Repair Riot may earn a commission at no extra cost to you.
A bad slip joint washer usually causes dripping right at the nut where two drain pieces join. If the leak starts higher up at the sink drain basket or from a crack in the pipe, the washer is not the main problem.
Usually no. Slip-joint washers are meant to seal by compression when the joint is clean, aligned, and tightened correctly. Adding sealant can make the joint harder to assemble and does not fix a wrong-size washer or damaged pipe.
Most standard slip-joint washers install with the tapered side facing into the joint and the flat side toward the nut. If you saved the old washer, match its orientation unless it was clearly installed wrong.
The most common reasons are the wrong washer size, backward washer orientation, dirty sealing surfaces, cross-threaded or cracked nuts, or pipes that are out of alignment. A damaged pipe end can also keep the new washer from sealing.
Yes, if the nut is not cracked and the threads are in good shape. If it is split, stripped, or badly warped, replace it so the new washer can compress evenly.