
Bucket or shallow pan
Use it for: Catches the water that drains out when you loosen the slip joints.
Shop buckets for under-sink workIf your kitchen sink is dripping from a slip-joint connection under the basket strainer or tailpiece, replacing the kitchen sink tailpiece washer set is often the right fix.
This is a straightforward under-sink repair as long as the pipes are not cracked or badly corroded. Work with a bucket underneath, swap the old washers for matching new ones, then tighten the joints just enough to seal without distorting the washers.
Before you start: Match the replacement part to your exact kitchen sink before ordering.
Use it for: Catches the water that drains out when you loosen the slip joints.
Shop buckets for under-sink work
Use it for: Helps loosen or snug slip-joint nuts that are stuck or hand-tightened too much.
Find channel-lock pliers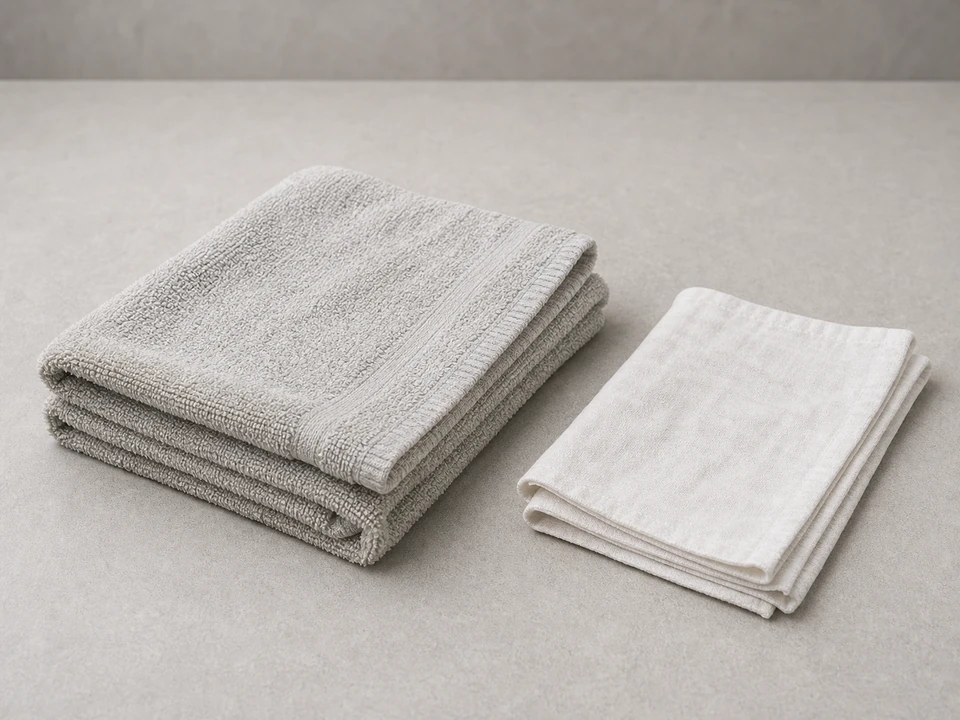
Use it for: Wipes the pipes clean so you can spot the exact leak and dry the joints before testing.
Shop absorbent shop towels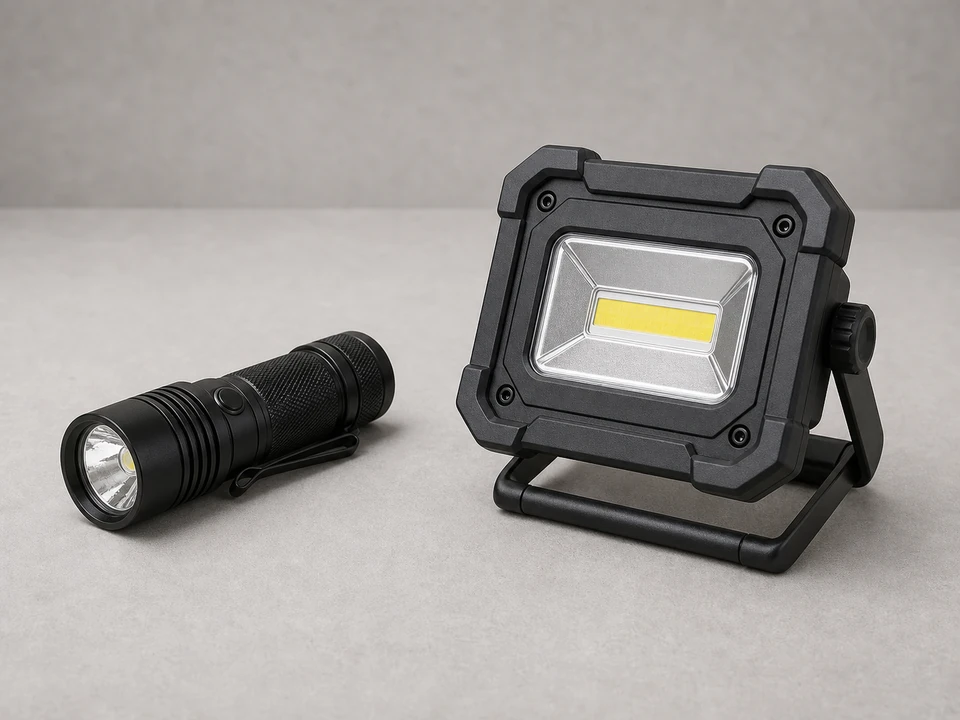
Use it for: Lets you inspect the washer seats, nut threads, and any hairline cracks under the sink.
Find a small work lightAs an Amazon Associate I earn from qualifying purchases. Repair Riot may earn a commission at no extra cost to you.
If it works: You have traced the leak to a tailpiece slip-joint connection where a washer set seals the drain parts together.
If it doesn’t: If the leak starts at the sink basket itself, at a cracked pipe, or from a disposal body or dishwasher hose, this is the wrong repair path.
If it works: The leaking joint is apart and the old washer set is accessible.
If it doesn’t: If the nut will not move, wipe the threads clean and try again with steady pressure instead of forcing it suddenly.
If it works: You have clean sealing surfaces and a new washer set that matches the old parts in size and shape.
If it doesn’t: If the new washers do not match the old ones closely, pause and get the correct set before reassembling.
If it works: The joint is reassembled with the new washer seated evenly and the nut threaded correctly.
If it doesn’t: If the nut binds or goes on crooked, back it off and start the threads again by hand.
If it works: The repaired joint stays dry during a steady drain test.
If it doesn’t: If a small drip continues after careful tightening, take the joint back apart and check for a crooked washer, debris on the seat, or the wrong washer size.
If it works: The joint stays dry during a full drain cycle and remains dry afterward, confirming the repair held in real use.
If it doesn’t: If the joint leaks again after normal use, reopen it and inspect for a damaged nut, misaligned pipe, or a different leak source nearby.
Match the replacement part to your exact kitchen sink before ordering.
As an Amazon Associate I earn from qualifying purchases. Repair Riot may earn a commission at no extra cost to you.
A bad washer usually causes dripping at a slip-joint nut while the sink is draining. The old washer may look flattened, brittle, split, or permanently compressed.
Usually no. Slip-joint washers are meant to seal by shape and compression. Clean parts and correct washer orientation matter more than adding sealant.
The most common reasons are a crooked washer, the wrong size washer, debris on the sealing surface, cross-threaded nut, or a cracked pipe or nut.
Yes, if the nut is not cracked and the threads are in good shape. If it is damaged or will not tighten evenly, replace it too.
If you already have the joint apart, replacing the worn washers in that tailpiece connection is usually the better move. Matching fresh parts helps the joint seal evenly.