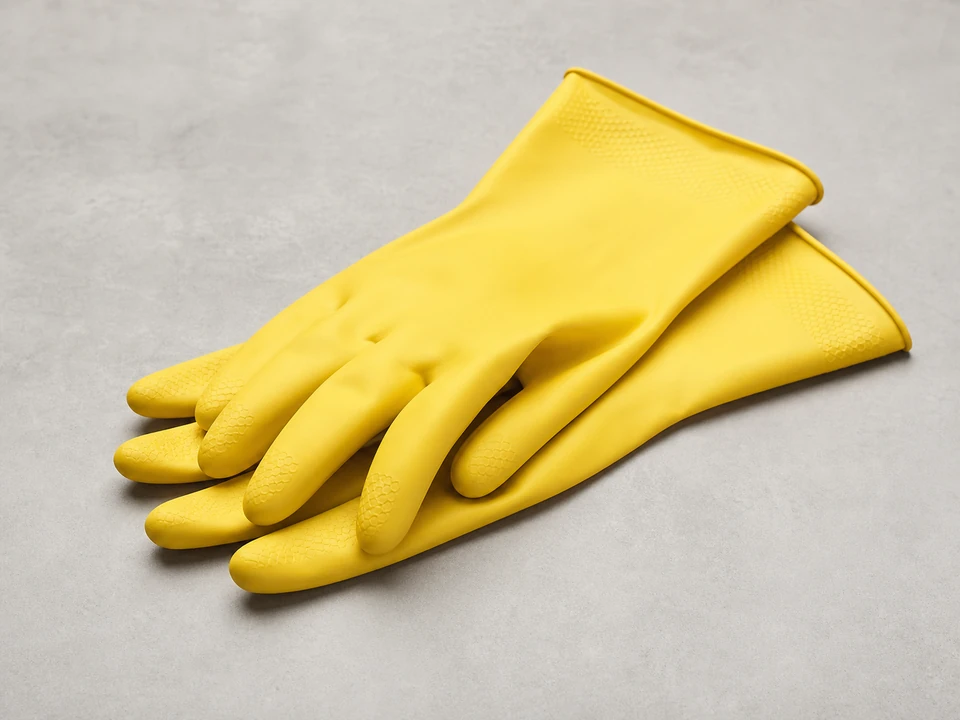
Rubber gloves
Use it for: Keeps your hands clean while working around old food residue and drain sludge.
Shop rubber cleaning glovesTo replace a kitchen sink stopper, first make sure the stopper itself is the reason the sink will not seal or release properly. Then remove the old stopper, clean the drain opening, install a matching replacement, and test it with a full sink of water.
This is usually a straightforward repair if the drain body is still in good shape. The key is getting the right stopper style and making sure old buildup is not keeping the new stopper from seating flat.
Before you start: Match the drain size, stopper style, and linkage compatibility before ordering.
Use it for: Keeps your hands clean while working around old food residue and drain sludge.
Shop rubber cleaning gloves
Use it for: Helps you see the stopper seat, linkage area, and any damage inside the drain opening.
Shop LED flashlight
Use it for: Useful for lifting out the old stopper or handling small clips and linkage parts.
Shop needle-nose pliers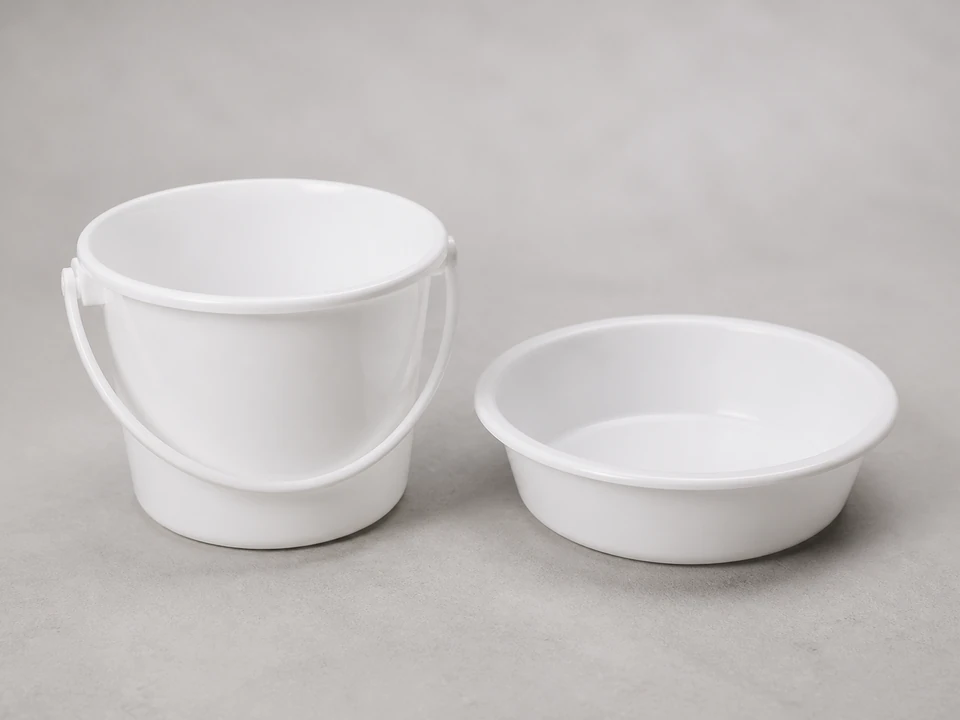
Use it for: Catches drips if you loosen parts under the sink.
Shop small utility bucket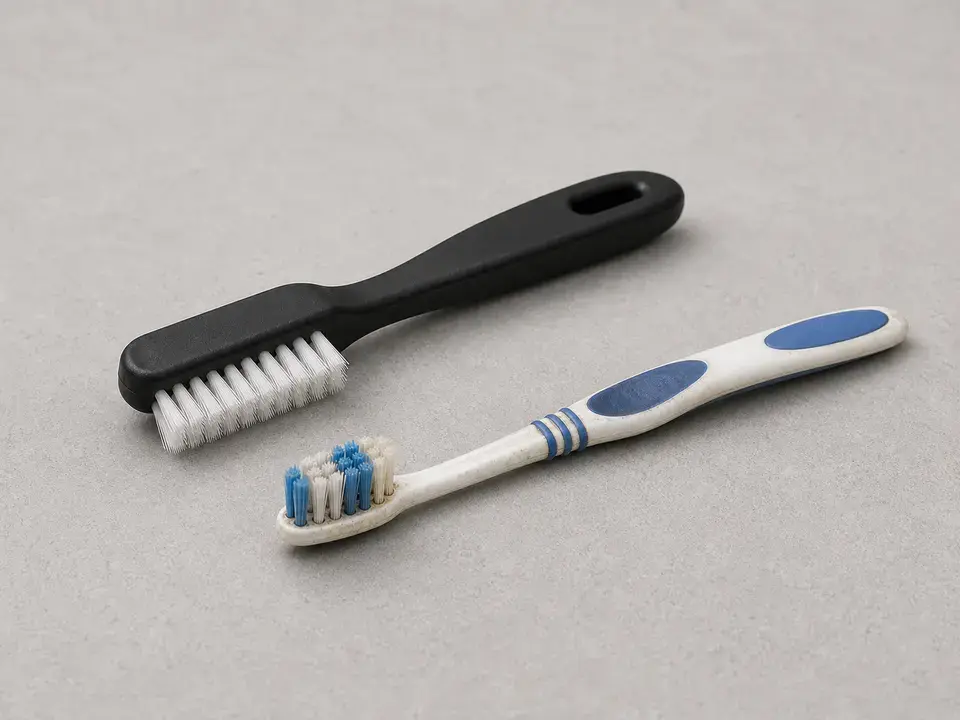
Use it for: Cleans grime and mineral buildup from the stopper seat and drain opening.
Shop small cleaning brush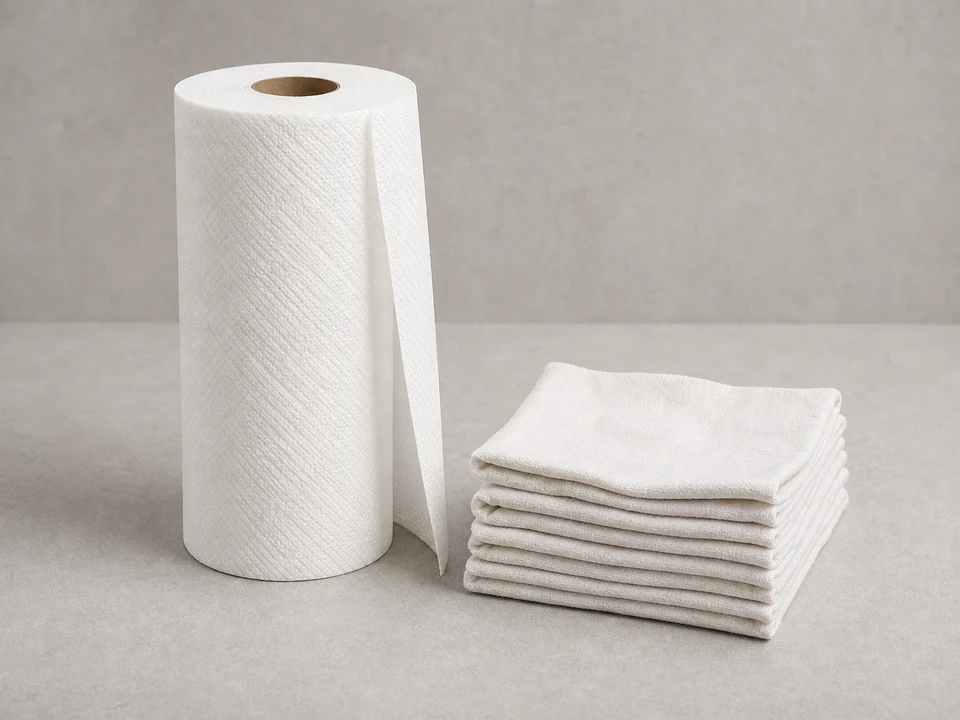
Use it for: Wipes away sludge, water, and loosened debris so the new stopper can seat properly.
Shop shop towelsAs an Amazon Associate I earn from qualifying purchases. Repair Riot may earn a commission at no extra cost to you.
If it works: You confirmed the stopper is worn, damaged, missing, or no longer sealing well, and the drain opening looks usable.
If it doesn’t: If the stopper looks fine but the sink still leaks down, clean the seat thoroughly before buying parts. If the stopper is controlled by a linkage and the linkage is what failed, inspect and repair that hardware too.
If it works: The old stopper is out and any small linkage parts are kept together so they do not get lost.
If it doesn’t: If the stopper will not come free, check again for a pivot rod or retaining clip under the sink before forcing it.
If it works: The drain opening is clean enough for the new stopper to sit flat and seal against the seat.
If it doesn’t: If the seat still feels rough from mineral scale, keep cleaning until the surface is smooth enough that a new stopper can contact it evenly.
If it works: The new stopper fits the drain correctly and moves smoothly without scraping or sticking.
If it doesn’t: If the stopper rocks, binds, or sits too high, remove it and recheck the style and size against the old part and the drain opening.
If it works: The sink holds water when closed, drains normally when opened, and there are no leaks below.
If it doesn’t: If water still slips past the stopper, remove it and clean the seat again, then confirm the replacement is the correct size and style. If the sink drains slowly even with the stopper open, clear the drain separately.
If it works: The new kitchen sink stopper works in real use, holds water when needed, and releases cleanly without leaks.
If it doesn’t: If the stopper starts sticking or leaking again right away, the replacement may be the wrong fit or the drain seat may be too worn for a stopper-only repair.
Match the drain size, stopper style, and linkage compatibility before ordering.
As an Amazon Associate I earn from qualifying purchases. Repair Riot may earn a commission at no extra cost to you.
If the stopper is coated with grime, start with cleaning the stopper and the drain seat. If the stopper seal is worn, the body is bent, parts are missing, or it still will not seal after cleaning, replacement makes more sense.
Usually yes. If the drain body and sealing seat are still in good condition, a stopper-only replacement is often enough. If the drain opening is cracked, badly corroded, or misshapen, the whole drain assembly may need work.
Many online listings use overlapping terms for sink stoppers. What matters most is matching the actual stopper style, diameter, and linkage setup to your kitchen sink drain before ordering.
The most common causes are buildup on the seat, the wrong stopper size, or damage to the drain seat itself. Clean the seat again and compare the new stopper to the old one. If the seat is pitted or warped, the drain body may be the real problem.
Not usually for a basic stopper swap. Putty is more commonly used when removing and reinstalling the drain flange or basket assembly, not when simply replacing the stopper.