
Kitchen sink drain repair

How to Replace a Kitchen Sink Tailpiece

To replace a kitchen sink tailpiece, first confirm the leak is coming from the straight drain tube below the sink basket, then remove the slip nuts, swap in a matching new tailpiece, reconnect the drain, and test for leaks while the sink drains at full flow.

A tailpiece is the vertical drain tube that drops from the sink basket to the trap or a branch connection. When it cracks, corrodes, or no longer seals well, you can usually replace it with basic hand tools and a careful leak check.

Before you start: Match the replacement part to your exact kitchen sink before ordering.

Prepared by: Repair Riot Last updated: 2026-05-31 How we build and check guides

Tailpiece and trap connection to check

The tailpiece has to line up cleanly with the trap so the slip-joint washers can seal without strain.
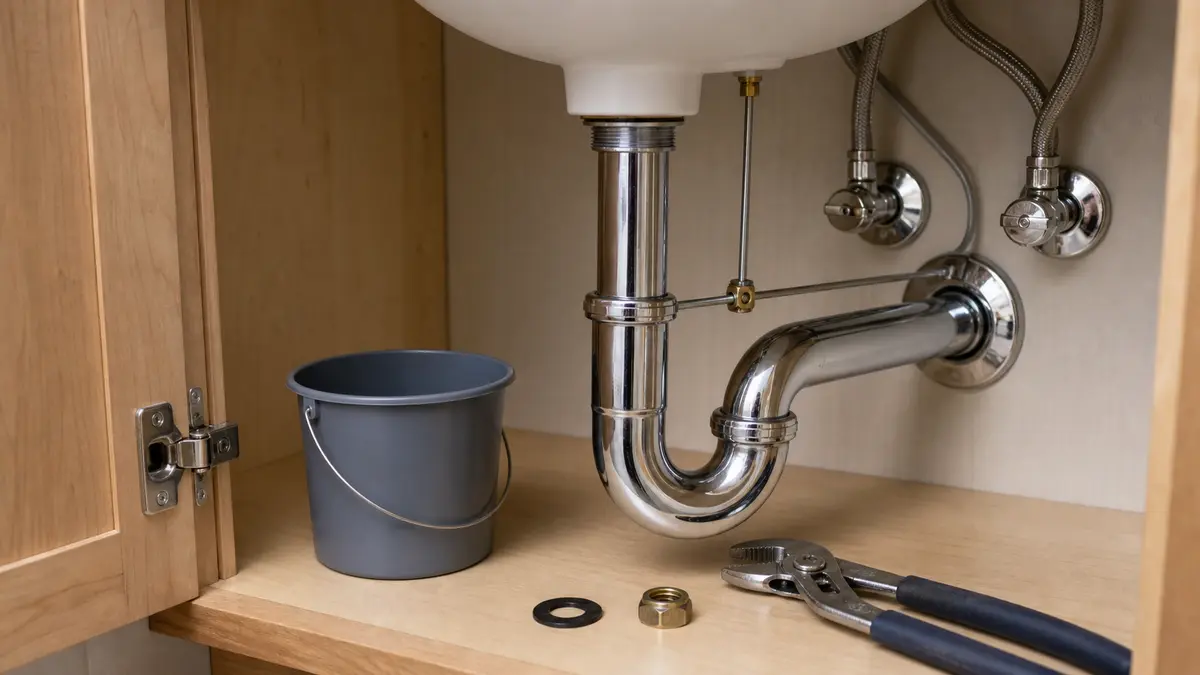
Under-sink drain tailpiece and P-trap connection with tools nearby
Dry-fit the tailpiece and trap before tightening so the washers are not pinched or pulled out of alignment.

Safety first

  • Wear gloves if the old drain parts have sharp metal edges or corrosion.
  • Keep your face out of the direct work area when loosening old drain connections since trapped water can spill suddenly.
  • Do not overtighten plastic slip nuts. Snug is usually enough to seal them without cracking.
  • If you need to cut the new tailpiece, secure it first and smooth the cut edge before installation.

Tools you may need

Bucket or shallow pan tool

Bucket or shallow pan

Use it for: Catches the water that spills when you open the drain connections.

Shop drain catch pan

Tape measure tool

Tape measure

Use it for: Lets you match the new tailpiece length and diameter before cutting or installing.

Shop tape measures
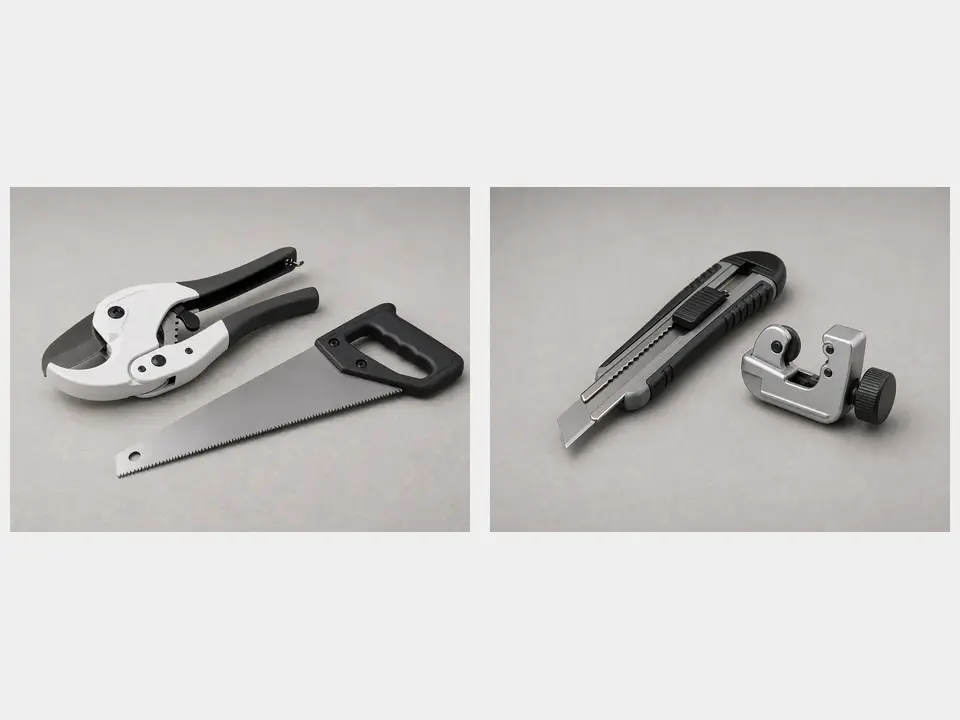
Hacksaw or tubing cutter tool

Hacksaw or tubing cutter

Use it for: Used only if the new tailpiece is longer than needed and must be trimmed to fit.

Shop tubing cutters
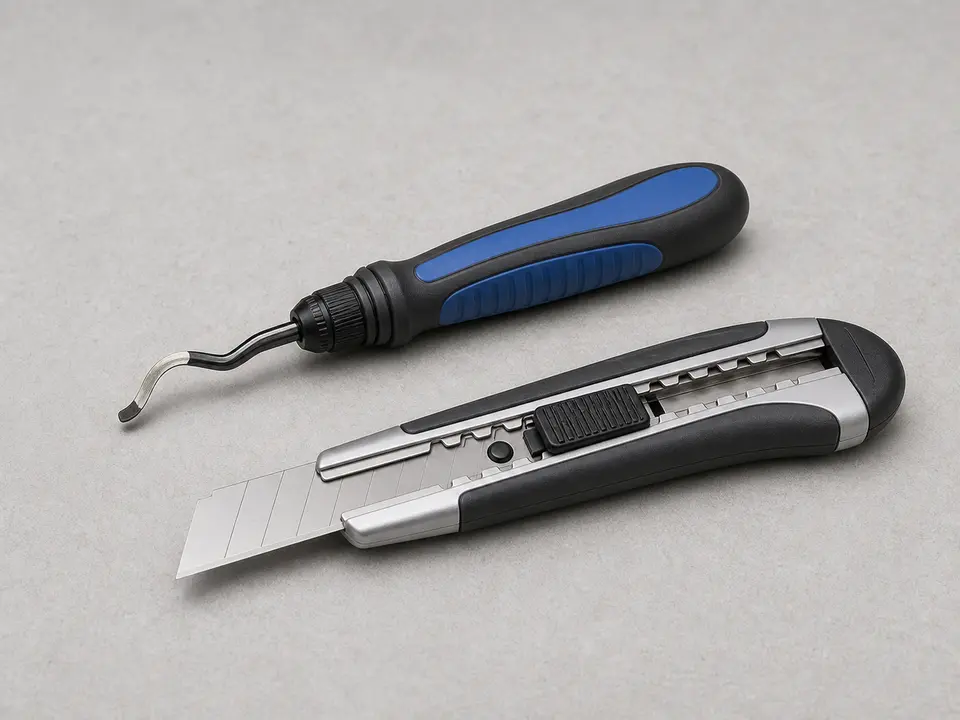
Deburring tool or utility knife tool

Utility knife or deburring tool

Use it for: Cleans rough edges after cutting so washers seat properly.

Shop deburring tools
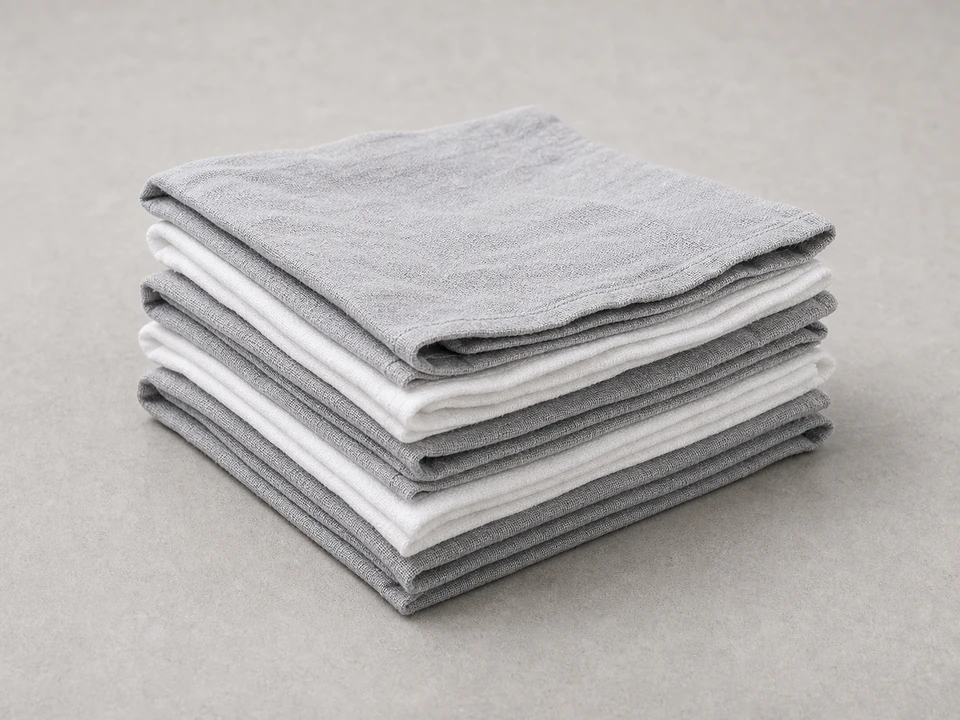
Rags tool

Clean rag

Use it for: Wipes old residue off the sink drain and helps spot fresh drips during testing.

Shop cleaning rags

As an Amazon Associate I earn from qualifying purchases. Repair Riot may earn a commission at no extra cost to you.

Step-by-step fix

Step 1: Confirm the tailpiece is the part that needs replacement

  1. Empty the cabinet under the sink so you can see the full drain assembly.
  2. Dry the drain parts with a rag, then run water and watch where the first drip forms.
  3. Look for water coming from the straight tube directly below the sink basket, from a crack, pinhole, corrosion spot, or a joint at the top or bottom of that tube.
  4. Check whether the leak is actually from the sink basket, the trap, a dishwasher branch, or a supply line instead.

If it works: You have confirmed the leak is coming from the tailpiece or its direct slip-joint connection.

If it doesn’t: If the water starts above the tailpiece at the sink basket flange, tighten or reseal the basket instead. If it starts lower at the trap or from a supply tube, this is the wrong repair.

Stop if:
  • The sink drain parts are badly rusted, frozen together, or likely to break apart inside the wall.
  • You find cabinet damage, mold, or soft wood from a long-term hidden leak that needs broader repair.
  • The leak source is not the tailpiece.

Step 2: Set up the area and remove the old tailpiece

  1. Place a bucket or shallow pan under the trap area.
  2. If the tailpiece connects to a trap directly below it, loosen the slip nut at the tailpiece and the nearby trap connection enough to free the tube.
  3. If there is a branch connection, such as a dishwasher inlet on the tailpiece, disconnect that hose or branch clamp first.
  4. Slide the slip nuts up and remove the old tailpiece from the sink drain assembly.
  5. Keep the old nuts and washers nearby so you can compare sizes and orientation.

If it works: The old tailpiece is out and the surrounding drain parts are accessible.

If it doesn’t: If a nut will not move, apply steady pressure with pliers and support the connected pipe so you do not twist other joints out of alignment.

Stop if:
  • A wall stub-out or trap arm starts moving inside the wall.
  • A metal drain connection crumbles or splits as you loosen it.

Step 3: Match the new tailpiece before installing it

  1. Compare the new tailpiece to the old one for diameter, overall style, and any needed branch connection.
  2. Measure the old installed length from the sink basket outlet to the next connection point.
  3. If the new tailpiece is too long, mark it so the trap can reconnect without being forced up, down, or sideways.
  4. Cut the tailpiece square if needed, then smooth the cut edge so the washer can seal cleanly.
  5. Slide the slip nut and washer onto the new tailpiece in the same direction as the old setup.

If it works: The new tailpiece matches the drain layout and is ready to install without forcing the trap out of position.

If it doesn’t: If the new part does not match the diameter, connection type, or branch layout, pause and get the correct replacement rather than trying to adapt it badly.

Stop if:
  • The sink drain outlet is damaged or out of round and will not accept a proper seal.
  • The trap or branch piping no longer lines up even with the correct tailpiece length.

Step 4: Install the new tailpiece and reconnect the drain

  1. Insert the top of the new tailpiece into the sink basket connection and start the slip nut by hand.
  2. Reconnect the lower end to the trap or branch fitting, again starting the nut by hand to avoid cross-threading.
  3. Make sure washers are seated evenly and the tailpiece is straight, not cocked to one side.
  4. Tighten the slip nuts hand-tight first, then give them a small additional snug with pliers if needed.
  5. Reconnect any branch hose you removed and make sure its clamp is secure.

If it works: The new tailpiece is installed squarely and all drain connections are snug.

If it doesn’t: If the nuts do not thread smoothly by hand, back them off and realign the parts before tightening again.

Stop if:
  • A plastic nut cracks while tightening.
  • The tailpiece must be forced into place to reach the trap, which means the fit is wrong.

Step 5: Test for leaks with a normal drain load

  1. Dry every joint and the outside of the new tailpiece completely.
  2. Run warm water for a minute, then fill the sink partway and let it drain to create a stronger flow.
  3. Watch the top and bottom tailpiece joints closely and wipe them with a dry finger or tissue to catch small drips.
  4. If you see a minor drip at a slip joint, tighten that nut a little more and test again.
  5. Check the cabinet floor and the back side of the piping before putting items back under the sink.

If it works: The drain runs at full flow with no drips from the new tailpiece or its connections.

If it doesn’t: If a joint still drips after careful tightening, reopen it, inspect the washer direction and cut edge, and reinstall. If the leak is from the sink basket above, the basket seal likely needs attention.

Stop if:
  • Water is leaking from multiple drain parts, not just the tailpiece connection.
  • A crack appears in the new part or in an adjacent fitting during testing.

Step 6: Confirm the repair holds in real use

  1. Use the sink normally over the next day with both quick rinses and a full-basin drain if possible.
  2. Check under the sink again after the first few uses, especially around the slip nuts and any branch connection.
  3. Wipe the area dry one last time so any future leak will be easy to spot.
  4. Put the cabinet contents back only after the area stays dry through repeated use.

If it works: The area stays dry during normal sink use, confirming the tailpiece replacement solved the leak.

If it doesn’t: If moisture returns, trace the exact starting point again before replacing more parts. A nearby basket strainer, trap washer, or branch connection may be the real source.

Stop if:
  • You find recurring leaks with no clear source, which may mean the drain assembly is misaligned or another part is failing.

Replacement Parts

As an Amazon Associate I earn from qualifying purchases. Repair Riot may earn a commission at no extra cost to you.

Verify the repair

  • The sink drains at normal speed without drips at the top or bottom of the tailpiece.
  • The trap and connected piping sit naturally without being pulled out of alignment.
  • No water appears on the cabinet floor after several normal sink uses.
  • Any branch hose you reconnected stays dry at its clamp or fitting.

FAQ

What does a kitchen sink tailpiece do?

It carries water straight down from the sink basket to the trap or to a branch fitting. It is the vertical tube directly below the sink drain.

How do I know if the tailpiece is bad instead of the sink basket?

Dry the area and watch where the first drip starts. If water forms above the tailpiece at the sink drain body or flange, the basket is more likely the problem. If it starts on the straight tube or its slip-joint connections, the tailpiece is the better suspect.

Do I need sealant or plumber's tape on the slip-joint nuts?

Usually no. Slip-joint connections seal with the washer, not thread tape. The important part is using the correct washer, correct orientation, and a smooth pipe edge.

Can I cut a new tailpiece shorter?

Yes, if the replacement is too long. Make a square cut and smooth the edge so the washer can seat properly. Do not leave the trap under strain just to avoid trimming the tube.

Why does it still leak after I replaced the tailpiece?

The most common reasons are a misaligned connection, a backwards or damaged washer, an uneven cut edge, or a leak that is actually coming from the sink basket or trap nearby.
