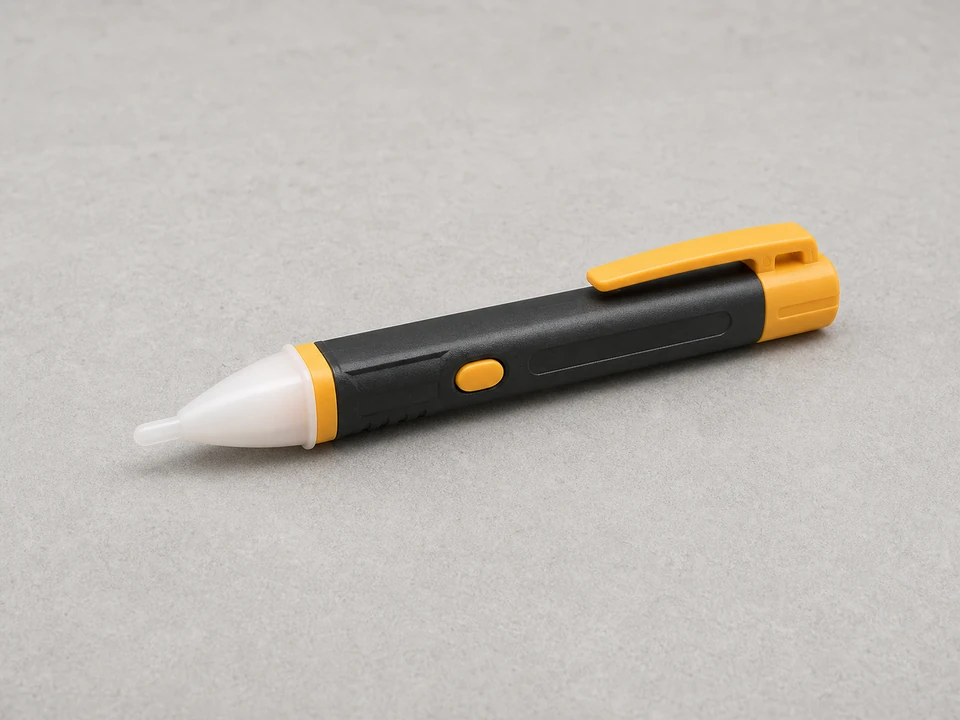
Non contact voltage tester
Use it for: To confirm the circuit is actually off before you touch any wires.
Shop non-contact voltage testersTo replace a light fixture mounting bracket, turn off the breaker, confirm the power is off, remove the fixture canopy, disconnect the fixture, swap the old bracket for the matching replacement, then reconnect and test the light.
A bent, stripped, or loose mounting bracket can leave a light fixture crooked or unable to tighten against the ceiling or wall. This repair is usually straightforward if the electrical box is solid and the replacement bracket matches the fixture.
Before you start: Match the replacement part to your exact light before ordering.
Use it for: To confirm the circuit is actually off before you touch any wires.
Shop non-contact voltage testers
Use it for: To remove the canopy screws, bracket screws, and wire connector screws if present.
Shop screwdriver sets
Use it for: To help hold wires, guide the ground wire, or remove small hardware.
Shop needle-nose pliers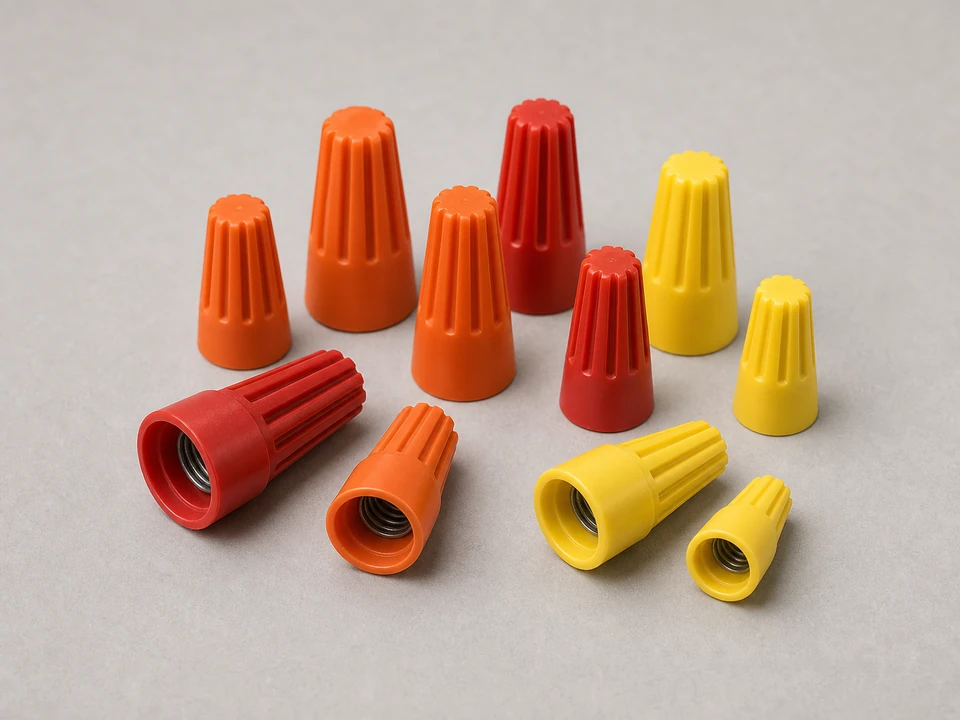
Use it for: To replace any worn or damaged wire nuts during reassembly.
Shop wire connectors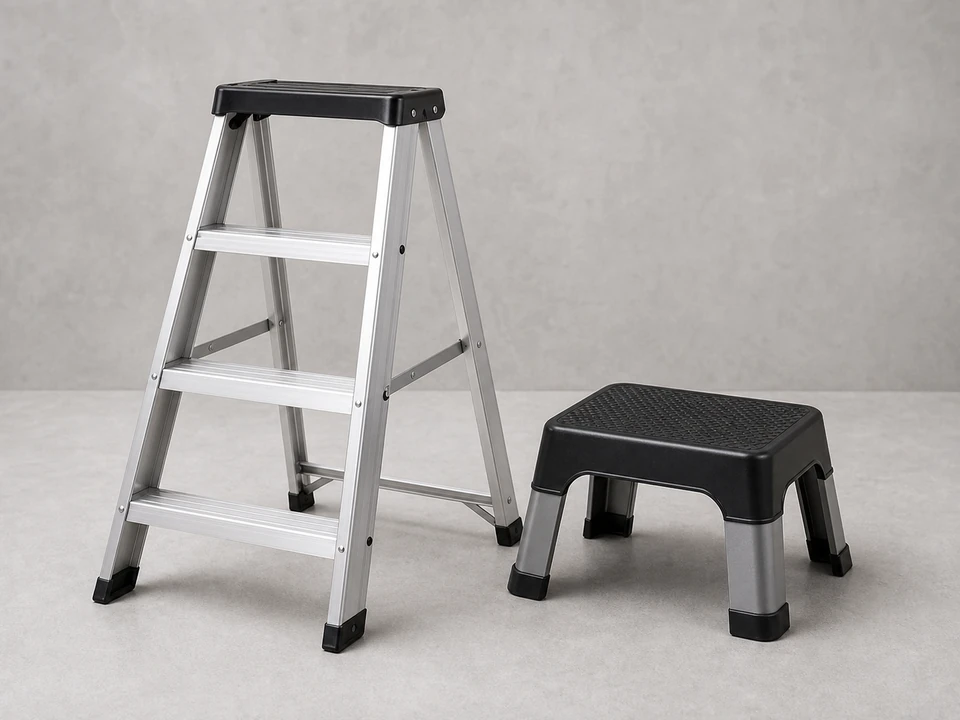
Use it for: To reach the fixture safely and keep both hands free while working.
Shop step ladders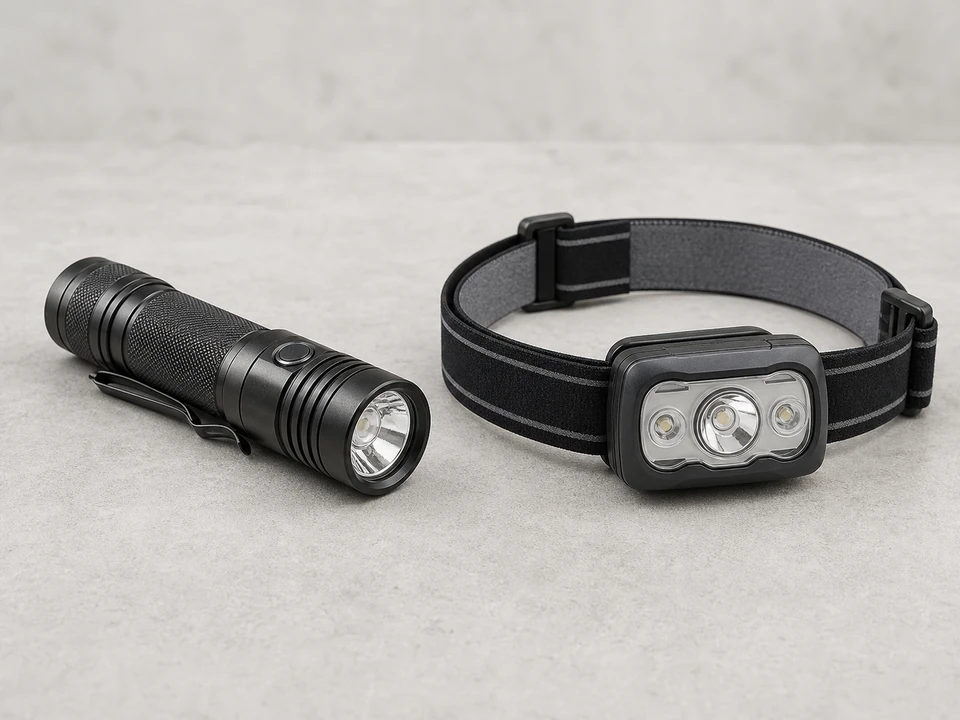
Use it for: To see the box, wires, and screw holes clearly after the power is off.
Shop headlampsAs an Amazon Associate I earn from qualifying purchases. Repair Riot may earn a commission at no extra cost to you.
If it works: You have confirmed the bracket is damaged or incompatible, and the electrical box appears solid enough to accept a new bracket.
If it doesn’t: If the fixture is loose because the electrical box is moving, replace or secure the box first instead of changing only the bracket.
If it works: The power is off, the fixture is open, and you can safely reach the bracket and wiring.
If it doesn’t: If the tester still shows power, go back to the panel and identify the correct breaker before continuing.
If it works: The fixture is fully removed and the old bracket is off the electrical box.
If it doesn’t: If a screw is stripped or stuck, use pliers for extra grip and work slowly to avoid damaging the box threads.
If it works: The new bracket is firmly attached, aligned for the fixture, and ready for wiring.
If it doesn’t: If the canopy will not line up with the mounting screws, loosen the bracket and rotate or adjust the studs before moving on.
If it works: The fixture is wired, mounted, and feels secure with no wobble at the bracket.
If it doesn’t: If the fixture rocks or the canopy gaps on one side, lower it and readjust the bracket or mounting studs before tightening again.
If it works: The light works normally, the fixture is secure, and the new mounting bracket is holding in real use.
If it doesn’t: If the light still flickers or the fixture still will not sit securely, recheck the wire connections, bracket alignment, and the condition of the electrical box.
Match the replacement part to your exact light before ordering.
As an Amazon Associate I earn from qualifying purchases. Repair Riot may earn a commission at no extra cost to you.
Yes, if the fixture itself is in good shape and the problem is a bent, stripped, or mismatched bracket. The replacement bracket still needs to match the fixture and attach securely to the electrical box.
Not always. Many are similar, but screw spacing, stud placement, and center hardware can vary. Match the replacement to your exact light before ordering.
First try rotating the bracket or adjusting the mounting studs or center nipple if your fixture uses them. If it still will not line up, you likely have the wrong bracket for that fixture.
The most common cause is a loose or damaged electrical box, not the bracket itself. A fixture can only be as solid as the box it mounts to.
Only if the old ones are cracked, loose, or no longer grip the wires well. If there is any doubt, replacing them is a simple way to avoid a poor connection later.