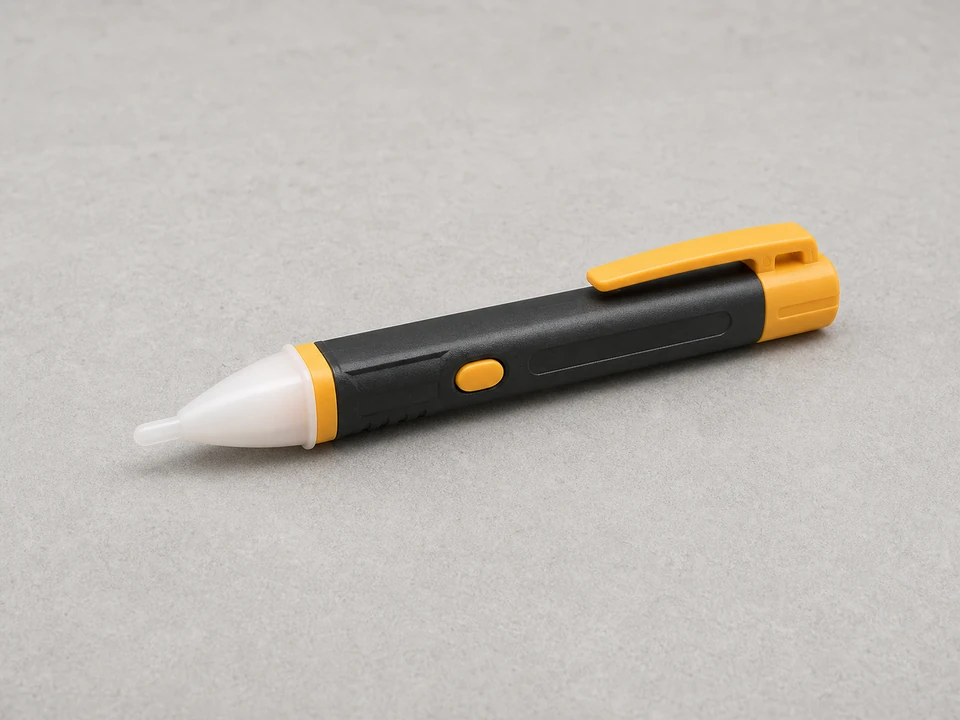
Non contact voltage tester
Use it for: To confirm the fixture is de-energized before you touch any wires.
Shop non-contact voltage testersTo replace a light fixture socket, turn off power at the breaker, confirm the socket is the failed part, remove the fixture cover, disconnect the old socket, install a matching replacement, and test the light under normal use.
A bad socket can cause flickering, a bulb that will not stay lit, visible scorching, or a bulb that feels loose even when it is threaded in correctly. This repair is usually straightforward, but only if the fixture wiring and mounting are still in good shape.
Before you start: Match the replacement part to your exact light before ordering.
Use it for: To confirm the fixture is de-energized before you touch any wires.
Shop non-contact voltage testers
Use it for: To remove the fixture cover, socket screws, and mounting hardware.
Shop screwdriver sets
Use it for: To help pull connectors apart and shape wire ends if needed.
Shop needle-nose pliers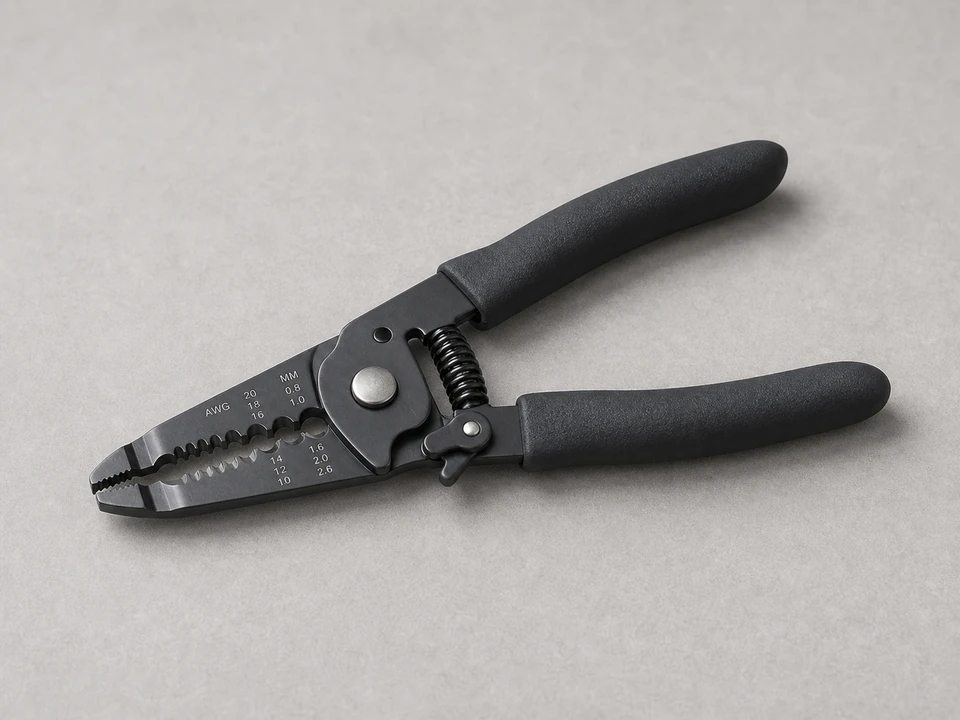
Use it for: To trim and re-strip damaged wire ends if the old connection is burnt or brittle.
Shop wire strippers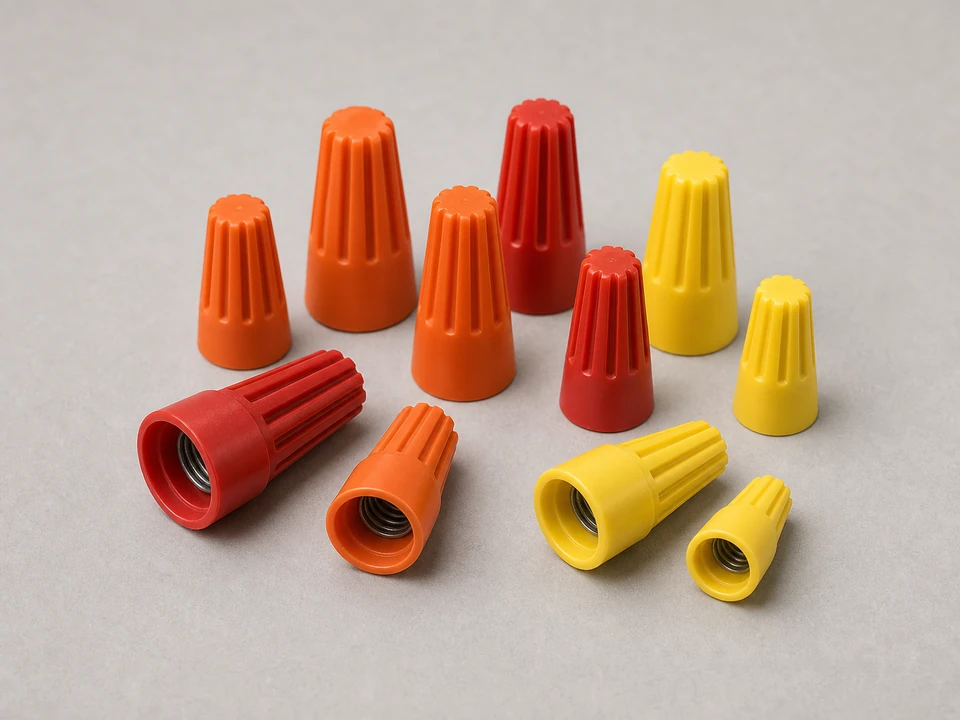
Use it for: To make fresh wire connections if the old connectors are damaged or no longer grip well.
Shop wire connectorsAs an Amazon Associate I earn from qualifying purchases. Repair Riot may earn a commission at no extra cost to you.
If it works: You have a clear reason to replace the light fixture socket instead of only changing the bulb.
If it doesn’t: If a new bulb fixes the problem and the socket looks clean and tight, you likely do not need this repair.
If it works: The fixture is open, accessible, and confirmed de-energized.
If it doesn’t: If your tester still shows power, stop and identify the correct breaker before going further.
If it works: The old socket is out and you know the replacement matches the fixture.
If it doesn’t: If the new socket does not match the old one closely, pause and get the correct replacement rather than forcing it to fit.
If it works: The new socket is mounted securely and the wiring is reconnected cleanly.
If it doesn’t: If the wires will not hold a solid connection or the socket will not sit firmly, remove it and correct the fit before reassembling.
If it works: The light turns on normally and the bulb sits firmly in the new socket.
If it doesn’t: If the light still does not work, turn power back off and recheck your wire connections, bulb condition, and breaker.
If it works: The fixture works consistently in real use, and the new socket stays cool and secure.
If it doesn’t: If flickering returns, the root cause may be in the fixture wiring, switch, or power feed rather than the socket alone.
Match the replacement part to your exact light before ordering.
As an Amazon Associate I earn from qualifying purchases. Repair Riot may earn a commission at no extra cost to you.
Try a known-good bulb first. If the bulb still flickers, will not stay lit, or feels loose in the socket, and the socket shows scorching or corrosion, the socket is a strong suspect.
Yes, if the fixture body, mounting, and wiring are still in good condition and the replacement socket matches properly. If the fixture has broader heat or wiring damage, replacing the whole fixture may be the better repair.
Only if the old connectors are burnt, loose, cracked, or no longer grip well. If they are in good shape and sized correctly, they may be reused, but many homeowners choose fresh connectors during this repair.
Small cosmetic differences can be fine, but the mounting method, size, and wiring style need to match the fixture. If it will not mount securely or connect the same way, get the correct part.
The root cause may be a loose fixture connection, a failing wall switch, a bad bulb, or a circuit issue. Recheck the socket connections first, then look upstream if the problem continues.