Electrical switch replacement

How to Replace a Light Switch Three Way Switch

To replace a light switch three way switch, turn off the correct breaker, confirm the switch is actually a three-way type, label the common wire before disconnecting anything, move the wires to the matching terminals on the new switch, then test both switches through a full on-off cycle.

Three-way switches control one light from two locations, so wire position matters more than color alone. The safest approach is to verify the switch type first, mark the common terminal clearly, and transfer wires carefully one at a time.

Before you start: Buy a three way switch, not a single pole switch. Match the amperage, grounding style, and terminal layout closely enough that you can move each wire to the same function on the new switch.

Prepared by: Repair Riot Last updated: 2026-06-05 How we build and check guides

Safety first

  • This is a moderate-risk electrical repair because the switch box contains live household wiring when energized.
  • Always verify power is off with a tester before touching wires or terminals.
  • Label the common wire before disconnecting the old three-way switch. Mixing up the common and traveler wires is the most common cause of a bad replacement.
  • Do not continue if you find heat damage, brittle insulation, or wiring you cannot identify clearly.

Tools you may need

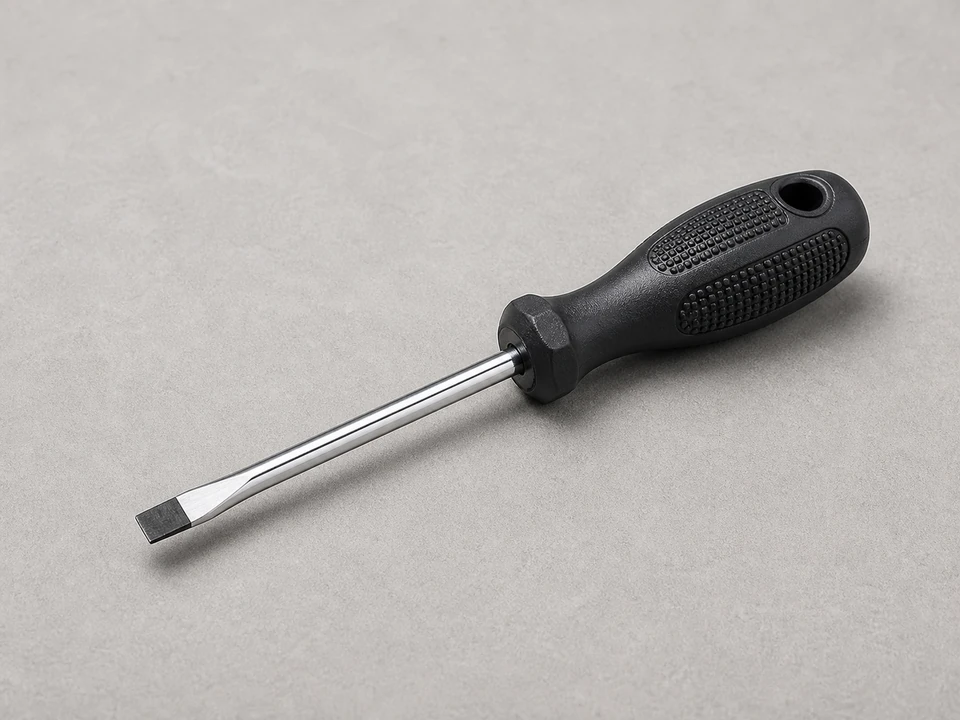
Flat screwdriver tool

Flathead screwdriver

Use it for: To remove the wall plate and help release side-terminal wires if needed.

Shop flathead screwdrivers
Electrical tape or wire labels tool

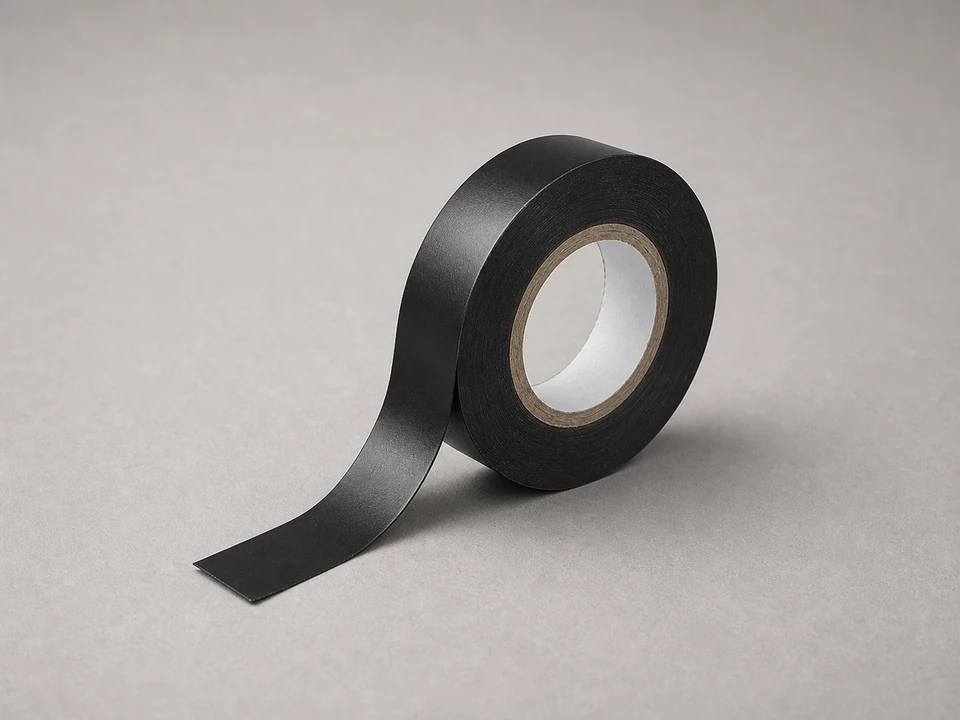
Electrical tape or wire labels

Use it for: To mark the common wire before moving it to the new switch.

Shop electrical tape

Flashlight tool

Flashlight

Use it for: To see terminal colors and wire placement clearly after the breaker is off.

Shop flashlights

As an Amazon Associate I earn from qualifying purchases. Repair Riot may earn a commission at no extra cost to you.

Step-by-step fix

Step 1: Make sure this is the right switch to replace

  1. Check that the same light or fixture is controlled from two different switch locations.
  2. Remove the wall plate and look at the existing switch without touching the terminals yet.
  3. Confirm it is a three-way switch by finding three active terminal connections plus a ground. One terminal is usually a darker screw called the common, and the other two are traveler terminals.
  4. If the switch only has two active terminals plus ground, this is not a three-way switch and this guide is not the right repair.

If it works: You have confirmed the switch is a three-way type and replacement makes sense.

If it doesn’t: If the switch is a dimmer, smart switch, timer, or a standard single-pole switch, use instructions for that exact switch type instead.

Stop if:
  • The box contains scorched insulation, melted plastic, loose copper strands touching other terminals, or signs of overheating.
  • The wiring does not match a basic three-way layout and you cannot identify the common terminal with confidence.

Step 2: Shut off power and expose the switch safely

  1. Turn off the breaker that feeds this switch.
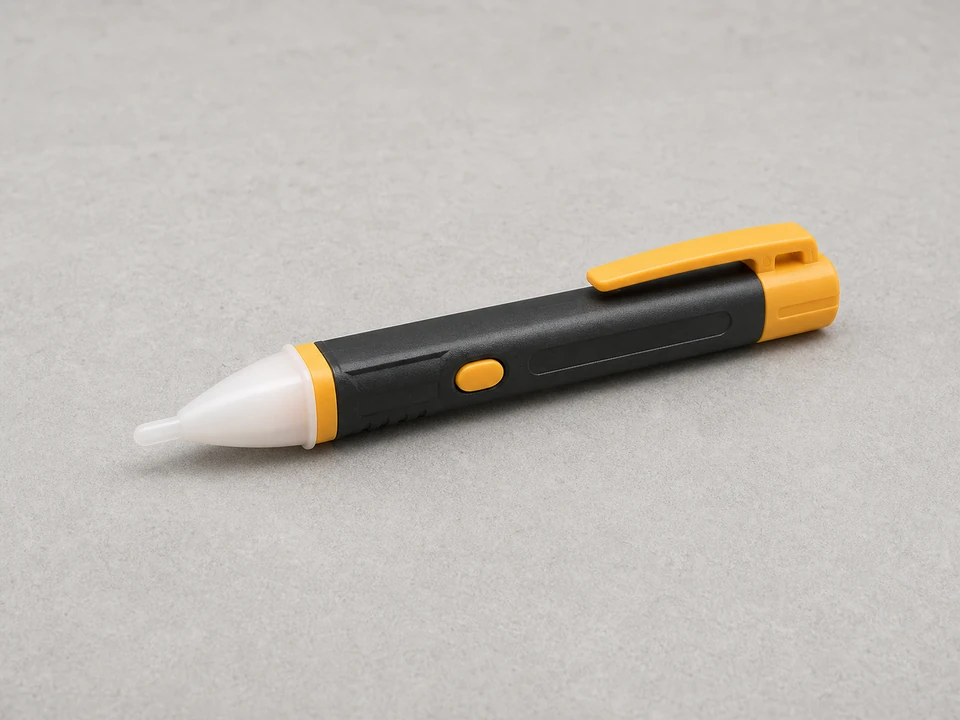
  2. Use the non-contact voltage tester at the switch face, then again on the wires after the switch is pulled slightly from the box.
  3. Remove the wall plate screws and plate.
  4. Remove the switch mounting screws and gently pull the switch out far enough to see the terminal screws and wire positions.

If it works: The switch is out where you can inspect it, and you have confirmed the power is off.

If it doesn’t: If your tester still shows power, stop and identify the correct breaker before going further.

Stop if:
  • Any wire still tests live after you believe the breaker is off.
  • The box is crowded enough that pulling the switch out damages insulation or loosens other connections.

Step 3: Label the common wire before disconnecting anything

  1. Find the common terminal on the old switch. It is usually the darker screw than the two traveler screws.
  2. Mark the wire on that common terminal with tape or a clear label.
  3. Take a clear photo showing which wire is on the common terminal, which two are on the traveler terminals, and where the ground connects.
  4. If the old switch uses push-in connections, note each wire location before releasing it.

If it works: The common wire is clearly marked, and you have a photo backup of the original wiring.

If it doesn’t: If you cannot tell which terminal is the common, compare screw colors carefully and inspect both sides of the switch body before removing any wires.

Stop if:
  • You still cannot identify the common wire with confidence after inspecting the switch closely.

Step 4: Move the wires to the new three-way switch

  1. Disconnect the ground wire and the three active wires from the old switch.
  2. Connect the labeled common wire to the common terminal on the new three-way switch.
  3. Connect the other two wires to the two traveler terminals on the new switch.
  4. Attach the ground wire to the green grounding screw.
  5. Tighten terminal screws firmly and make sure no bare copper is exposed beyond what is needed under the screw.
  6. If you need to reshape wire ends, use needle-nose pliers to make neat clockwise loops so tightening the screw pulls the wire in, not out.

If it works: All wires are attached to the matching terminals on the new switch, with the common wire on the correct screw.

If it doesn’t: If a wire is too short, damaged, or will not tighten securely, correct that issue before reinstalling the switch.

Stop if:
  • A wire breaks, insulation crumbles badly, or the grounding connection is missing or damaged.
  • The new switch terminal layout does not let you match the common and traveler functions correctly.

Step 5: Reinstall the switch and restore power

  1. Fold the wires back into the box carefully so the terminals do not press hard against other conductors.
  2. Mount the new switch straight and tighten the mounting screws.
  3. Reinstall the wall plate.
  4. Turn the breaker back on.

If it works: The new switch is mounted securely and power is restored.

If it doesn’t: If the breaker trips immediately, turn it back off and recheck for a misplaced common wire, a loose strand, or a ground touching a terminal.

Stop if:
  • You hear buzzing, see sparking, smell burning, or the breaker will not stay on.

Step 6: Test both switch locations through real use

  1. Operate the new switch and the other three-way switch in several different sequences.
  2. Confirm the light turns on and off from either location, regardless of the other switch position.
  3. Check that the switch feels solid in the box and the wall plate sits flat.
  4. After a few minutes of normal use, touch the wall plate lightly to make sure it does not feel unusually warm.

If it works: The light works correctly from both locations, and the repair holds during normal use.

If it doesn’t: If the light only works in some switch positions, the common and traveler wires are likely not on the right terminals. Turn the breaker off and recheck the wire placement against your photo and labels.

Stop if:
  • The switch or plate becomes hot, the light flickers with switch movement, or operation is inconsistent after rewiring.

Replacement Parts

Find a light switch three way switch on Amazon

Buy a three way switch, not a single pole switch. Match the amperage, grounding style, and terminal layout closely enough that you can move each wire to the same function on the new switch.

As an Amazon Associate I earn from qualifying purchases. Repair Riot may earn a commission at no extra cost to you.

Verify the repair

  • The light can be turned on and off from both switch locations.
  • The breaker stays on and does not trip after the repair.
  • The switch feels secure, with no wobble or crackling sound during use.
  • The wall plate stays normal in temperature during a short real-world test.

FAQ

How do I know if I need a three-way switch or a regular switch?

If one light is controlled from two different switch locations, you need a three-way switch at each location. A regular single-pole switch is for one-location control only.

Does wire color tell me which terminal to use?

Not by itself. On a three-way switch, the most important wire to identify is the common wire, which must go back on the common terminal of the new switch. Use the old switch terminal position and screw color, not color alone.

What happens if I mix up the traveler wires?

Usually the switch may still work, because the two traveler wires can often swap places without causing a problem. Mixing up the common wire with a traveler is the mistake that usually causes incorrect operation.

Can I replace just one three-way switch if the other one still works?

Yes. You can replace one failed three-way switch without replacing the other, as long as the new switch is the correct type and the wires are moved to the right terminals.

Why does the breaker trip after I replaced the switch?

A tripped breaker usually points to a wiring mistake, a loose copper strand touching another terminal, or a ground contacting a live terminal. Turn the breaker off and inspect the wiring carefully before trying again.